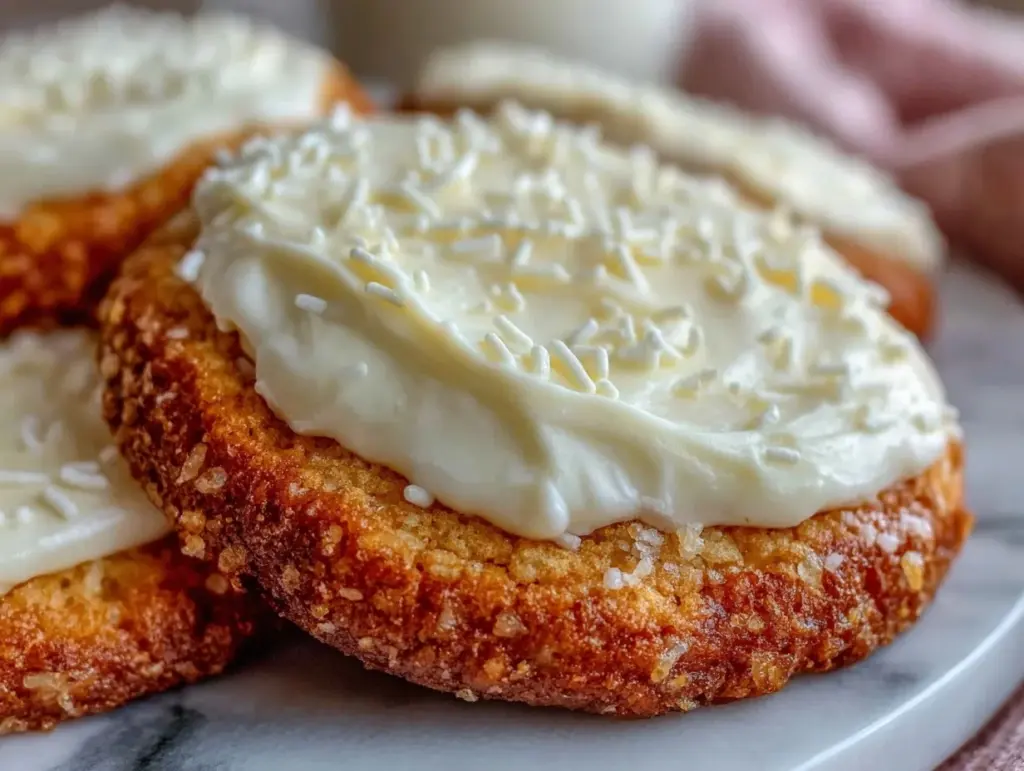
The smell of freshly baked sugar cookies, topped with that dreamy, creamy sugar cookie icing, always brings back sweet memories of holiday baking marathons with my family. Honestly, I first stumbled upon this creamy sugar cookie icing recipe after a few too many failed frosting attempts that were too runny or just too sweet. Once I nailed this version, it quickly became my go-to for decorating everything from simple shapes to elaborate designs.
What I love most about this creamy sugar cookie icing is how effortlessly it glides onto cookies, making even the most amateur decorator feel like a pro. I’ve made it dozens of times, tweaking it to get the texture just right—smooth, thick enough to hold shape, but still soft and luscious enough to spread or pipe. You’ll find it perfect for not only sugar cookies but also for gingerbread and other holiday treats.
If you’re someone who’s ever wrestled with gritty, cracked, or overly sweet cookie icing, this recipe will be your new best friend. It’s simple, quick to whip up, and uses ingredients you likely have on hand. Plus, it’s a little healthier than traditional royal icing, thanks to a creamy base that adds richness without overpowering your cookie. Whether you’re decorating with kids, prepping for a bake sale, or just craving that nostalgic sugary sweetness, this creamy sugar cookie icing is a must-try that never disappoints.
Why You’ll Love This Creamy Sugar Cookie Icing Recipe
- Quick & Easy: Whips together in under 10 minutes, which is perfect when your baking day gets busy.
- Simple Ingredients: No need to hunt for specialty items—just basics like powdered sugar, butter, and cream cheese.
- Perfect for Decorating: Achieves a smooth, creamy texture that holds piped details but also spreads beautifully.
- Crowd-Pleaser: Kids and adults alike rave about the balance of sweetness and creaminess—it’s never too sugary.
- Versatile: Great for sugar cookies, gingerbread, and even as a frosting for cupcakes or cakes.
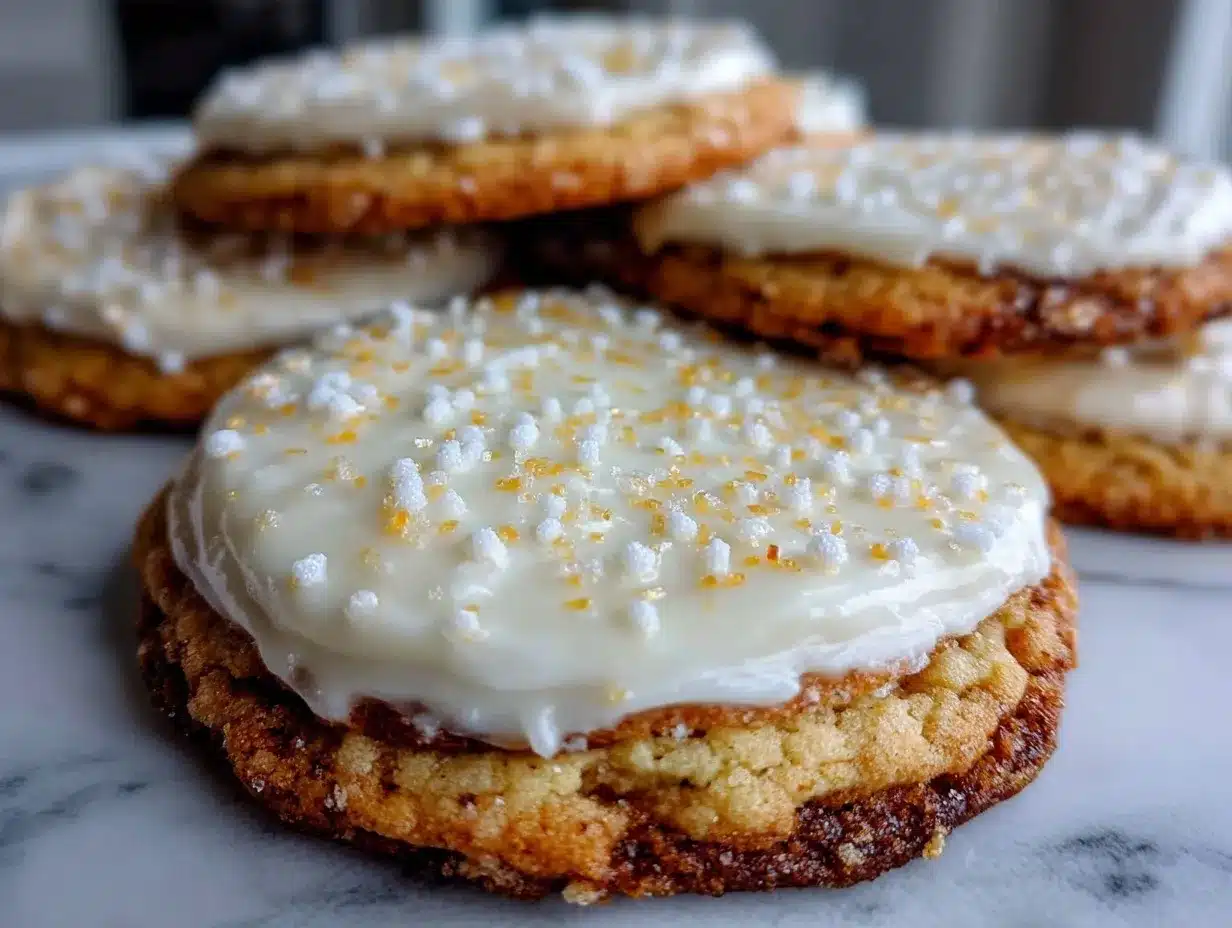
What sets this recipe apart is the creamy base created by cream cheese and butter, which makes the icing silky and stable without the chalkiness that royal icing sometimes has. I’ve experimented with a few versions, and honestly, this one hits the perfect note between taste and texture. Plus, the ease of adjusting consistency by adding a splash of milk or a pinch more sugar means you can tailor it whether you want to pipe delicate designs or just spread a luscious layer.
When I first used this icing at a holiday party, my niece shouted, “This is the best cookie ever!” and honestly, that kind of feedback is priceless. It’s comfort food, nostalgic and creamy, but with a fresh take that makes decorating fun and stress-free.
What Ingredients You Will Need
This creamy sugar cookie icing recipe relies on simple, wholesome ingredients that come together to create a luscious texture and rich flavor. Most are pantry staples, which makes it easy to mix up a batch whenever the decorating urge strikes.
- Powdered Sugar (also called confectioners’ sugar) – about 3 cups (360g). This provides the sweetness and structure.
- Unsalted Butter, softened – 1/2 cup (113g). Adds richness and smoothness. I prefer using a high-quality brand like Kerrygold for creaminess.
- Cream Cheese, softened – 4 ounces (113g). This is the secret for that creamy texture and slight tang that balances the sugar.
- Vanilla Extract – 1 teaspoon. Pure vanilla gives the icing a warm, inviting aroma.
- Milk (whole or 2%) – 2 to 4 tablespoons (30-60ml), adjusted to get the perfect consistency. For dairy-free, almond or oat milk works fine.
- Salt – a pinch, to cut the sweetness and enhance flavor.
Optional but recommended:
- Gel Food Coloring – if you want to tint your icing without thinning it out.
- Lemon Zest – a teaspoon can brighten the flavor if you want a citrus twist.
Pro tip: Use room temperature ingredients to avoid lumps and get a smooth blend. If you want a thicker icing for piping fine details, reduce the milk a bit. For spreading, add a splash more milk for a softer finish.
Equipment Needed
- Mixing Bowl: A medium to large bowl, preferably glass or metal, to mix everything easily.
- Electric Mixer: Stand mixer with paddle attachment or a hand mixer. While you can mix by hand, the electric mixer makes it silky smooth and saves time.
- Measuring Cups and Spoons: For precise ingredient amounts, critical for consistent icing.
- Rubber Spatula: Helps scrape down the sides of your bowl to get every bit of icing mixed evenly.
- Piping Bags and Tips: Optional but great if you want to pipe borders or intricate designs. I like reusable silicone bags for less waste.
- Bowls for Coloring: Small bowls if you plan to divide and tint the icing into multiple colors.
If you don’t have a stand mixer, a sturdy hand mixer works just fine. For piping, even a simple zip-top bag with a tiny corner snipped off can do the trick in a pinch. I’ve always found that well-maintained beaters and clean bowls make mixing easier and prevent any graininess in the icing.
Preparation Method
- Soften Butter and Cream Cheese: Leave butter and cream cheese out at room temperature for 30-45 minutes until soft but not melted. This step is crucial for smooth mixing.
- Beat Butter and Cream Cheese: In your mixing bowl, beat 1/2 cup (113g) softened unsalted butter with 4 ounces (113g) softened cream cheese on medium speed for about 2-3 minutes until creamy and fluffy. The mixture should look pale and smooth.
- Add Vanilla and Salt: Blend in 1 teaspoon vanilla extract and a pinch of salt. This will brighten the flavor and balance the sweetness.
- Incorporate Powdered Sugar: Gradually add 3 cups (360g) powdered sugar, about 1/2 cup at a time, mixing on low speed. Scrape down the sides as needed. This slow addition helps avoid a sugar cloud and ensures even mixing.
- Adjust Consistency: Add 2 tablespoons (30ml) milk and beat on medium speed. If the icing feels too stiff, add up to 2 more tablespoons (30ml) milk, one tablespoon at a time, to reach your preferred spreading or piping consistency. For thicker icing, use less milk.
- Test and Modify: Use a spoon to test the consistency. It should hold shape but still be soft enough to spread without cracking. If too runny, add a bit more powdered sugar; if too thick, add a splash more milk.
- Color Your Icing (Optional): Divide icing into bowls and mix in gel food coloring a tiny bit at a time until you get your desired shade. Avoid liquid food coloring; it can thin the icing.
- Decorate: Use immediately or store in an airtight container in the fridge for up to 3 days. If chilled, re-whip gently before use.
Quick tip: If your icing gets too soft while decorating, pop it in the fridge for 10 minutes—it firms up perfectly without losing creaminess. Also, be patient when mixing powdered sugar; rushing can cause a grainy texture.
Cooking Tips & Techniques
One of the biggest hurdles with sugar cookie icing is getting a texture that’s just right—not too runny, not too stiff. From my experience, always start with softened (not melted) butter and cream cheese. That’s the foundation for creamy icing that pipes well and tastes rich.
When mixing in powdered sugar, add it slowly and keep the mixer on low to avoid a sugar dust cloud in your kitchen (been there, done that!). Scraping the bowl often helps keep everything smooth and lump-free.
If you want sharp edges on your decorated cookies, chill the iced cookies for a bit after decorating. The icing firms up nicely, holding your design crisp.
Another tip: Use gel food coloring instead of liquid to keep your icing thick. If you accidentally add too much liquid, just add a bit more powdered sugar to compensate.
Lastly, don’t rush the decorating process. If your hands get warm and the icing softens too much, take a short break or refrigerate your batch briefly. It makes a huge difference in control and final appearance.
Variations & Adaptations
- Dairy-Free Version: Swap cream cheese and butter for dairy-free alternatives like vegan cream cheese and margarine. Use almond or oat milk instead of dairy milk.
- Flavored Icing: Add a teaspoon of almond extract, lemon zest, or orange blossom water to switch up the flavor profile.
- Chocolate Twist: Mix in 2 tablespoons of cocoa powder for a quick chocolate cream cheese icing variation. Adjust sugar and milk to maintain texture.
For a seasonal spin, I sometimes add a pinch of cinnamon or pumpkin pie spice during fall. It’s a subtle change but gives the icing a cozy vibe that pairs beautifully with spiced sugar cookies.
If you prefer piping to spreading, reduce the milk slightly for a firmer consistency that holds detail well. For spreading, add a splash more milk for that creamy, glide-on texture.
Serving & Storage Suggestions
Serve your iced sugar cookies at room temperature to enjoy the creamy, smooth texture of the icing. Presentation-wise, these look fantastic on simple white platters or festive holiday trays. Pair with a warm cup of tea, coffee, or even a cold glass of milk to complete the cozy feel.
To store, place iced cookies in an airtight container layered with parchment paper to prevent sticking. They stay fresh for up to 3 days at room temperature. For longer storage, refrigerate for up to 5 days; just bring to room temp before serving.
If you need to freeze, flash freeze iced cookies on a tray, then transfer to a freezer-safe container for up to a month. Thaw in the fridge overnight and allow to warm to room temperature before serving.
Pro tip: Flavors deepen after a day or two, so if you can, make your cookies a day ahead. The icing softens slightly and becomes even more luscious.
Nutritional Information & Benefits
This creamy sugar cookie icing is moderately sweet compared to traditional royal icing and benefits from the addition of cream cheese, which adds a touch of protein and calcium. Each serving (about 2 tablespoons) contains roughly 100 calories, mainly from the sugar and fat.
While it’s still a treat, using unsalted butter and controlling the sugar amount means you can enjoy it mindfully. For those with dairy sensitivities, the dairy-free adaptations keep the indulgence accessible.
Plus, homemade icing lets you avoid preservatives and artificial additives found in some store-bought frostings, making it a cleaner choice for your festive baking.
Conclusion
All in all, this creamy sugar cookie icing recipe is a game-changer if you want easy, delicious, and beautifully decorated cookies without the fuss. It’s forgiving, luscious, and just sweet enough to make every bite a little celebration. I love that it’s versatile for different occasions and a joy to make with kids or solo.
Feel free to tweak the flavors, colors, and textures to suit your style—this icing is like a blank canvas that welcomes creativity. So, grab your mixing bowl, whip up a batch, and start decorating your perfect sugar cookies today!
Don’t forget to share your decorating wins or questions in the comments—I’m always here to chat all things sweet and creamy!
Frequently Asked Questions
Can I make this creamy sugar cookie icing ahead of time?
Yes! You can prepare it up to 3 days in advance and store it in an airtight container in the fridge. Just give it a quick stir or re-whip before using.
What if my icing is too runny or too thick?
If it’s too runny, add a little more powdered sugar. If it’s too thick, add a splash of milk, one teaspoon at a time, until you reach your desired consistency.
Can I use this icing for other baked goods?
Definitely! It works wonderfully on gingerbread, cupcakes, or even as a creamy filling between cakes.
Is this icing suitable for piping detailed designs?
Yes, just reduce the milk slightly for a thicker consistency that holds shape better. For spreading, add a bit more milk.
How do I color the icing without changing its texture?
Use gel food coloring rather than liquid to avoid thinning the icing. Add color gradually to get the perfect shade.
Pin This Recipe!

Creamy Sugar Cookie Icing Recipe for Perfect Easy Decorating Tips

A smooth, creamy sugar cookie icing that is easy to whip up and perfect for decorating sugar cookies, gingerbread, and other holiday treats. This icing balances sweetness and creaminess with a luscious texture that holds shape well for piping or spreading.
- Prep Time: 10 minutes
- Cook Time: 0 minutes
- Total Time: 10 minutes
- Yield: About 1 1/2 cups icing (approximately 12 servings of 2 tablespoons each) 1x
- Category: Dessert
- Cuisine: American
Ingredients
- 3 cups (360g) powdered sugar (confectioners’ sugar)
- 1/2 cup (113g) unsalted butter, softened
- 4 ounces (113g) cream cheese, softened
- 1 teaspoon vanilla extract
- 2 to 4 tablespoons (30-60ml) milk (whole or 2%; almond or oat milk for dairy-free)
- Pinch of salt
- Optional: gel food coloring
- Optional: 1 teaspoon lemon zest
Instructions
- Soften butter and cream cheese by leaving them out at room temperature for 30-45 minutes until soft but not melted.
- In a mixing bowl, beat 1/2 cup (113g) softened unsalted butter with 4 ounces (113g) softened cream cheese on medium speed for 2-3 minutes until creamy and fluffy.
- Blend in 1 teaspoon vanilla extract and a pinch of salt.
- Gradually add 3 cups (360g) powdered sugar, about 1/2 cup at a time, mixing on low speed and scraping down the sides as needed.
- Add 2 tablespoons (30ml) milk and beat on medium speed. If the icing is too stiff, add up to 2 more tablespoons (30ml) milk, one tablespoon at a time, to reach desired consistency.
- Test consistency with a spoon; if too runny, add more powdered sugar; if too thick, add a splash more milk.
- Optional: Divide icing into bowls and mix in gel food coloring a little at a time until desired shade is reached.
- Use immediately or store in an airtight container in the fridge for up to 3 days. Re-whip gently before use if chilled.
Notes
Use room temperature ingredients to avoid lumps and achieve a smooth blend. Adjust milk quantity to control icing thickness for piping or spreading. Use gel food coloring to avoid thinning the icing. Chill icing briefly if it becomes too soft while decorating. Store in an airtight container and re-whip before use if refrigerated.
Nutrition
- Serving Size: 2 tablespoons
- Calories: 100
- Sugar: 13
- Sodium: 40
- Fat: 5
- Saturated Fat: 3
- Carbohydrates: 14
- Protein: 1
Keywords: sugar cookie icing, creamy icing, easy cookie frosting, cream cheese icing, holiday baking, cookie decorating


