Introduction
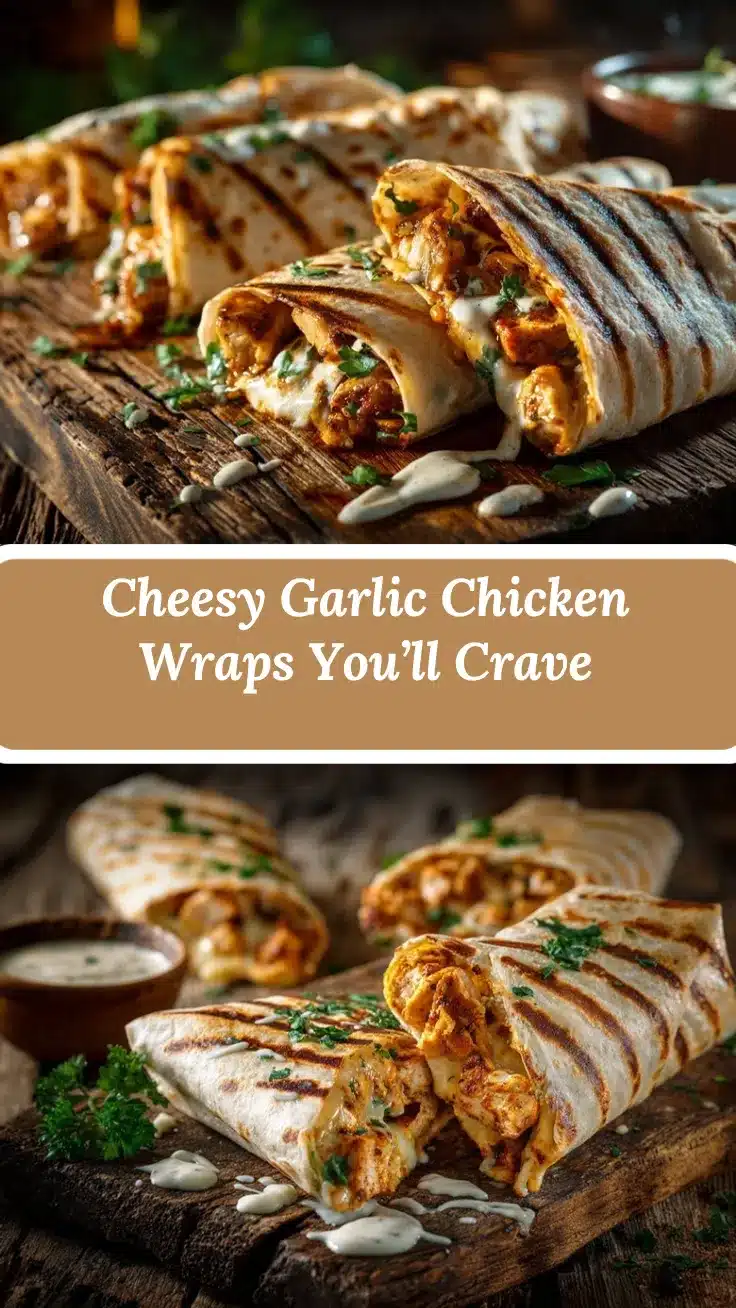
The first bite of a cheesy garlic chicken wrap is pure magic. The gooey cheese, the juicy chicken, and the garlicky kick wrapped in a warm tortilla—it’s the kind of dinner that makes you sigh with satisfaction. Honestly, these wraps are my go-to when I want something quick, comforting, and downright irresistible. I stumbled upon this recipe one evening when I was craving something hearty but didn’t have the patience for a long prep. And let me tell you, it’s been a family favorite ever since!
This cheesy garlic chicken wrap recipe is perfect for busy weeknights when you need dinner on the table fast but still want something that feels indulgent. It’s packed with flavor, super versatile, and you probably already have most of the ingredients in your kitchen. Plus, it’s a great way to use up leftover chicken or veggies. So, grab your favorite skillet and let’s get cooking!
Why You’ll Love This Recipe
- Quick & Easy: Ready in under 30 minutes, making it a lifesaver for hectic evenings.
- Simple Ingredients: No fancy shopping trips required—just everyday pantry staples.
- Family-Friendly: Kids and adults alike will love the cheesy, garlicky goodness.
- Customizable: Perfect for picky eaters or dietary preferences—you can tweak the fillings to suit your taste.
- Irresistibly Delicious: The combination of melted cheese and garlic chicken is comfort food at its best.
What sets this recipe apart is the balance of flavors. The garlic isn’t overpowering, the chicken stays juicy, and the wraps hold everything together perfectly without falling apart. You’ll get that satisfying stretch of melted cheese with every bite. Honestly, it’s the kind of meal that turns a busy Tuesday night into something special.
What Ingredients You Will Need
This recipe uses simple, wholesome ingredients to create a wrap that’s bursting with flavor. Here’s what you’ll need:
- Chicken: 2 cups cooked chicken breast, shredded or diced (rotisserie chicken works great).
- Cheese: 1 ½ cups shredded mozzarella cheese (or your favorite melty cheese).
- Garlic: 3 cloves fresh garlic, minced (or 1 teaspoon garlic powder for a quicker option).
- Butter: 2 tablespoons unsalted butter, melted (adds richness and helps toast the wraps).
- Tortillas: 4 large flour tortillas (you can use whole wheat or gluten-free if preferred).
- Seasonings: Salt, pepper, and ½ teaspoon smoked paprika (optional for a hint of smokiness).
- Fresh Herbs: 1 tablespoon chopped parsley (optional, for garnish).
- Olive Oil: 2 teaspoons for sautéing the garlic and chicken.
Feel free to add extras like sautéed onions, spinach, or avocado slices to make the wraps even heartier.
Equipment Needed
You don’t need much to whip up these cheesy garlic chicken wraps. Here’s a handy checklist:
- Skillet or Frying Pan: A non-stick or cast-iron skillet works best for cooking the garlic and chicken.
- Spatula: For flipping the wraps without tearing them.
- Small Bowl: To mix the melted butter with garlic for brushing onto the tortillas.
- Cheese Grater: If you’re grating your own cheese.
- Knife and Cutting Board: For chopping garlic and shredding chicken.
If you don’t have a skillet, you can use a griddle or even a toaster oven to toast the wraps.
Preparation Method
- Prepare the Garlic Butter: In a small bowl, mix the melted butter with minced garlic. Set aside.
- Sauté the Chicken: Heat 2 teaspoons of olive oil in a skillet over medium heat. Add the shredded chicken and season with salt, pepper, and smoked paprika. Stir occasionally for 3-5 minutes until warmed through.
- Toast the Garlic: Push the chicken to one side of the skillet and add the minced garlic. Cook for 1-2 minutes until fragrant, being careful not to burn it.
- Assemble the Wraps: Lay out the tortillas and brush one side with the garlic butter mixture. On the unbrushed side, add a layer of chicken, followed by a generous sprinkle of shredded mozzarella cheese.
- Fold the Wraps: Fold the tortillas into a tight wrap, tucking in the edges to keep the filling secure.
- Cook the Wraps: Heat the skillet over medium heat and place the wraps seam-side down. Cook for 2-3 minutes per side, brushing with more garlic butter as needed, until golden brown and crispy.
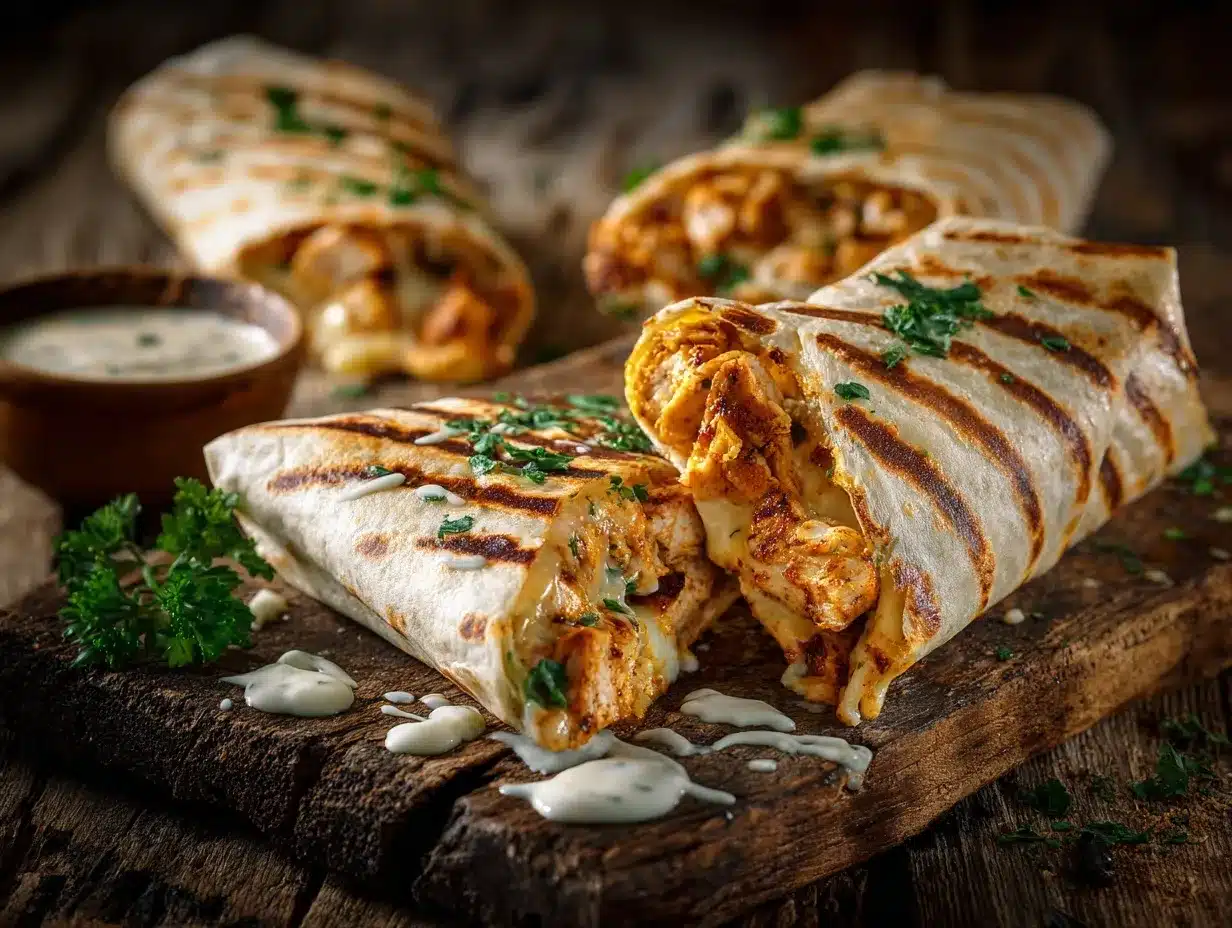
- Serve: Slice the wraps in half and garnish with fresh parsley for a pop of color. Serve warm and enjoy!
Pro tip: If the wraps start to unfold, use a toothpick to hold them together while cooking.
Cooking Tips & Techniques
- Don’t Overstuff: Resist the urge to overload the wraps with filling—it’ll make them harder to fold and cook evenly.
- Melt Cheese Evenly: Cover the skillet with a lid for a minute while cooking to help the cheese melt perfectly.
- Use Fresh Garlic: Freshly minced garlic gives a stronger, more aromatic flavor compared to garlic powder.
- Toast to Perfection: If your wraps are browning too quickly, lower the heat to avoid burning.
- Make Ahead: Prepare the chicken filling in advance and refrigerate it. Assemble and cook the wraps when ready to serve.
These little tips make all the difference in achieving a crispy, gooey, and perfectly seasoned wrap every single time.
Variations & Adaptations
- Low-Carb Option: Use low-carb tortillas or lettuce wraps instead of flour tortillas.
- Vegetarian Version: Swap the chicken for sautéed mushrooms or roasted veggies like zucchini and bell peppers.
- Spicy Twist: Add a drizzle of hot sauce or sprinkle red pepper flakes for a zesty kick.
- Seasonal Additions: In summer, add fresh tomato slices or grilled corn kernels for extra flavor.
- Cheese Swap: Try cheddar, Monterey Jack, or a mix of cheeses for a different flavor profile.
One of my favorite variations is adding sliced avocado and a dollop of sour cream—it’s like a mini fiesta in your mouth!
Serving & Storage Suggestions
Serving: These wraps are best enjoyed warm and fresh off the skillet. Pair them with a side of crispy fries, a garden salad, or even a bowl of tomato soup for a cozy meal. Serve with a chilled drink like iced tea or lemonade for balance.
Storage: If you have leftovers, wrap them tightly in foil and refrigerate for up to 2 days. To reheat, place them in a skillet over low heat until warmed through, or use an oven at 350°F (175°C) for 10 minutes.
Freezing: Assemble the wraps but don’t cook them. Wrap each one individually in plastic wrap and store in a freezer-safe bag for up to 1 month. Thaw overnight in the fridge before cooking.
Nutritional Information & Benefits
Each cheesy garlic chicken wrap is loaded with protein from the chicken and calcium from the cheese, making it a balanced meal. Here’s an approximate breakdown per wrap:
- Calories: 350
- Protein: 25g
- Carbohydrates: 20g
- Fat: 15g
These wraps are a great option for those following high-protein diets or looking for a satisfying meal that won’t weigh them down. Just keep in mind the sodium content if you’re using pre-seasoned chicken or store-bought tortillas.
Conclusion
If you’re searching for a dinner idea that’s easy, delicious, and sure to please, these cheesy garlic chicken wraps are your answer. They’re quick to make, packed with flavor, and endlessly customizable. Whether you make them for a family dinner, a casual gathering, or just because you’re craving something cheesy and garlicky, this recipe is bound to become a favorite!
I love how versatile these wraps are—you can make them as indulgent or as healthy as you like. And trust me, once you try them, you’ll be making them on repeat. So, grab your skillet and let’s get wrapping!
Don’t forget to leave a comment below and let me know how you customized your wraps. I’d love to hear your creative ideas!
FAQs
Can I use a different type of cheese?
Absolutely! Cheddar, Monterey Jack, or even pepper jack cheese work beautifully in this recipe.
Can I make these wraps gluten-free?
Yes! Just substitute the flour tortillas with gluten-free tortillas or use lettuce wraps.
What’s the best way to reheat leftovers?
Reheat the wraps in a skillet over low heat or in an oven at 350°F (175°C) for 10 minutes to revive the crispiness.
Can I make these wraps ahead of time?
You can prepare the filling in advance and refrigerate it. Assemble and cook the wraps fresh for the best results.
What can I serve with these wraps?
Pair them with fries, a salad, or a bowl of soup for a complete and satisfying meal.
Pin This Recipe!