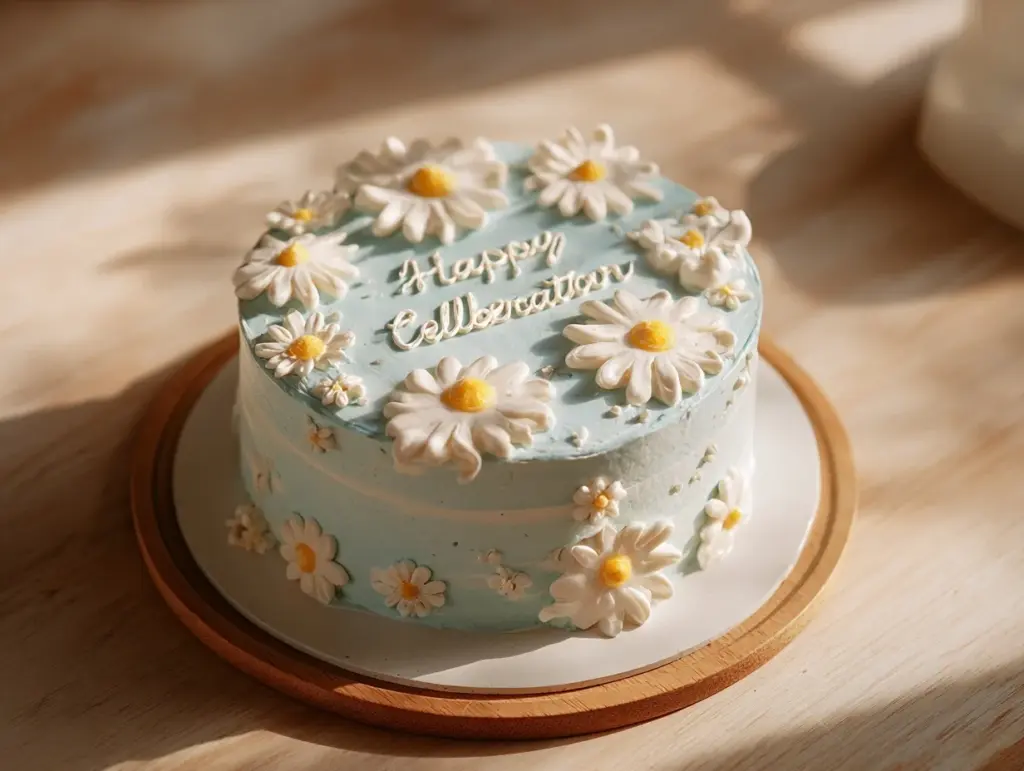
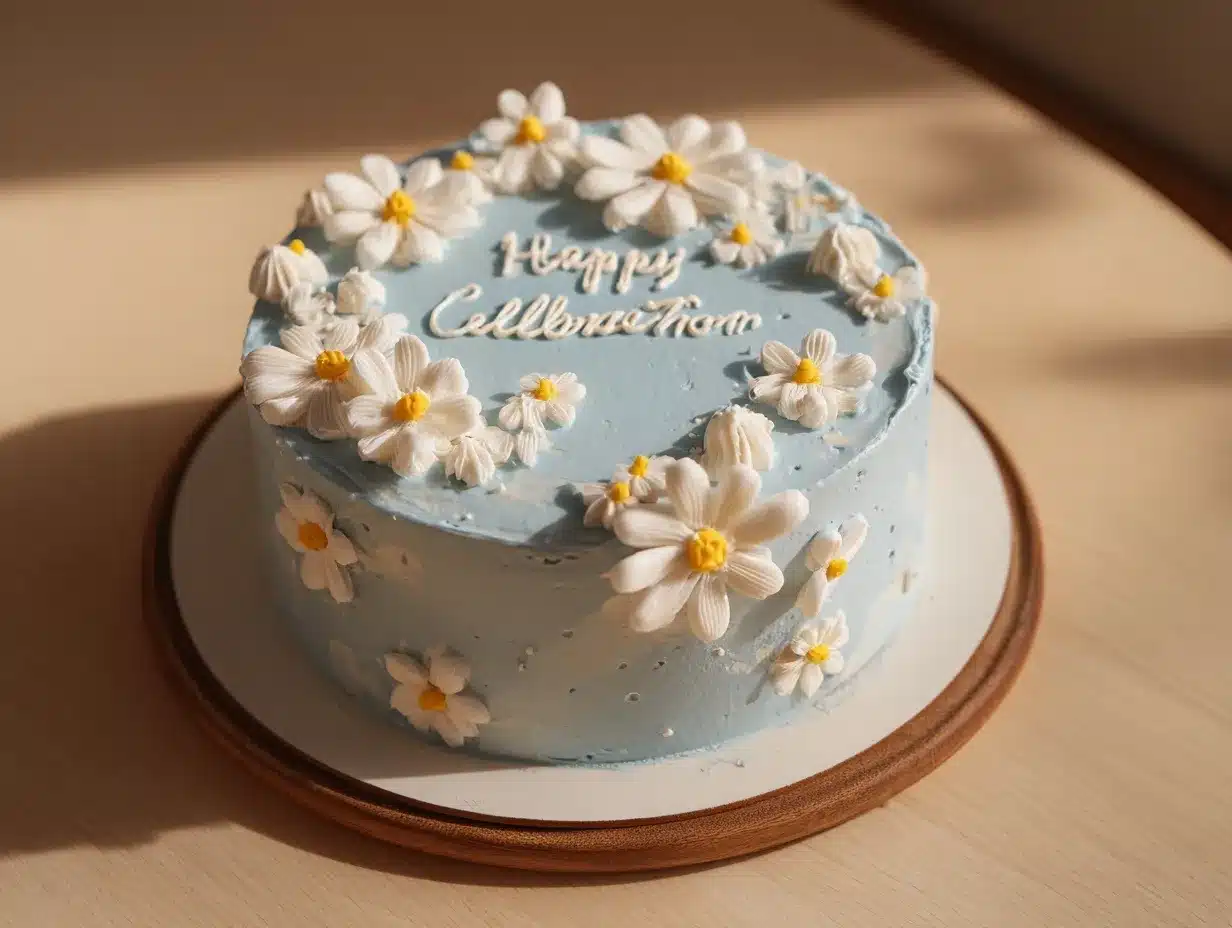
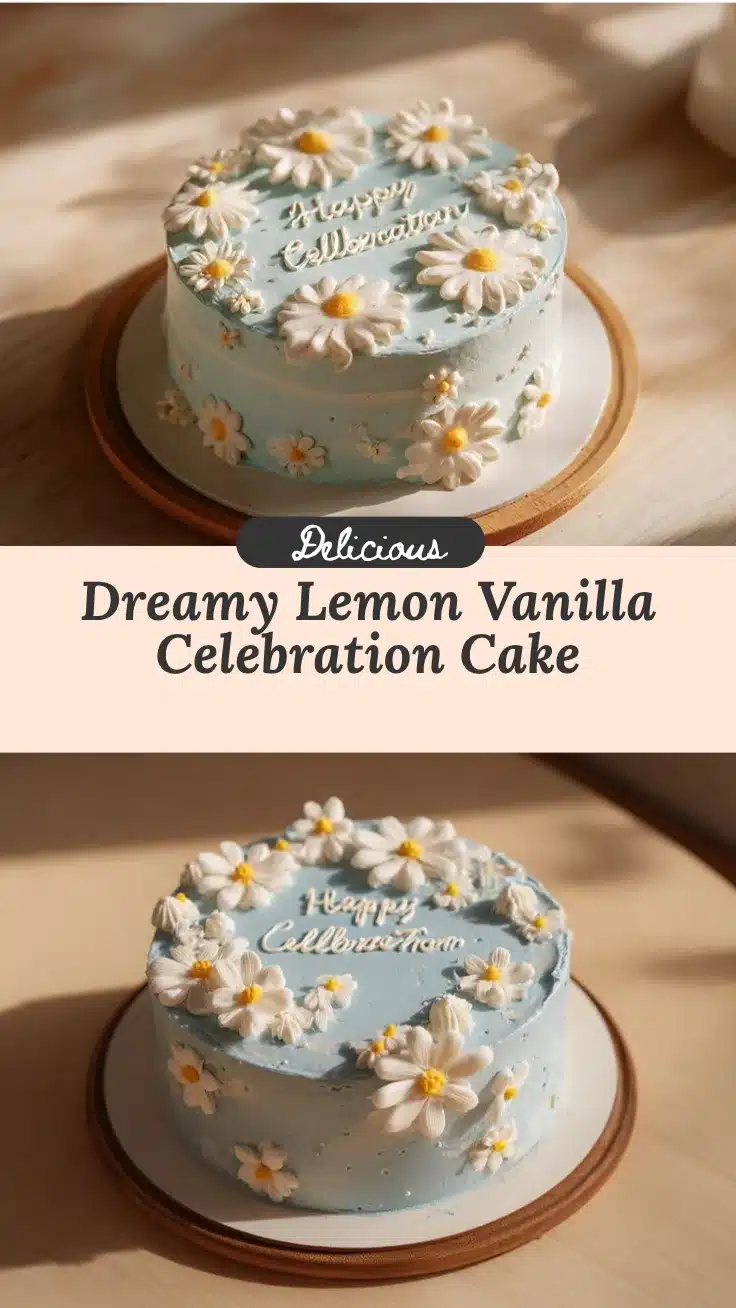
There’s something magical about a cake that looks like it came straight out of a storybook. The Dreamy Blue Daisy Celebration Cake is one of those recipes—perfect for marking those extra-special birthdays. Picture this: soft layers of moist vanilla cake, silky buttercream frosting, and delicate daisy decorations that’ll make everyone at the party stop and stare. It’s not just a dessert; it’s the centerpiece of your celebration. And trust me, it’s as fun to make as it is to eat!
This recipe is close to my heart because it’s the one I turn to for my loved ones’ milestone birthdays. I still remember the first time I made it for my niece—her reaction was priceless! The vibrant blue frosting paired with the cheerful white daisies brought such joy to her day. Whether it’s for a child’s birthday bash or a classy adult soirée, this cake is guaranteed to leave a lasting impression.
If you’ve been searching for a birthday cake that’s as beautiful as it is delicious, this is your sign to give it a try. It might look fancy, but don’t worry—it’s surprisingly doable, even for beginner bakers. Plus, customizing the colors and decorations makes it uniquely yours. Let’s dive into this dreamy creation!
Why You’ll Love This Recipe
- Visually Stunning: The blue frosting and daisy decorations make this cake look like a work of art—perfect for photo-worthy celebrations.
- Customizable: You can adapt the colors, flowers, or even the cake flavor to suit the theme of your party.
- Surprisingly Simple: While it looks intricate, the step-by-step instructions make it approachable for bakers of all skill levels.
- Perfect for Any Age: Whether it’s a child’s birthday or an elegant adult gathering, this cake fits the bill.
- Unforgettable Flavor: The moist vanilla sponge and creamy buttercream frosting are a match made in dessert heaven.
- Party-Ready: This cake doesn’t just taste good—it’s designed to be the centerpiece of your celebration.
What sets this recipe apart is the balance between beauty and practicality. It’s not just about the looks; the cake itself is tender, flavorful, and holds up beautifully under the frosting. The daisy decorations add a whimsical touch, making it feel extra special for the guest of honor. And let’s be real—there’s something so joyous about slicing into a cake that everyone’s been admiring all day!
What Ingredients You Will Need
This recipe uses simple, high-quality ingredients to create a cake that’s as delicious as it is beautiful. Here’s what you’ll need:
- For the Cake:
- 2 ½ cups (315g) all-purpose flour
- 2 ½ tsp baking powder
- ½ tsp salt
- ¾ cup (170g) unsalted butter, softened
- 2 cups (400g) granulated sugar
- 4 large eggs, room temperature
- 1 cup (240ml) whole milk, room temperature
- 2 tsp pure vanilla extract
- For the Buttercream Frosting:
- 1 cup (230g) unsalted butter, softened
- 4 cups (500g) powdered sugar
- 3 tbsp (45ml) heavy cream
- 1 tsp pure vanilla extract
- Blue gel food coloring
- For the Daisy Decorations:
- White fondant
- Yellow fondant or edible pearls
- Daisy-shaped cookie cutter
If needed, you can substitute the whole milk with a dairy-free option like almond milk, and the butter with a plant-based alternative. The food coloring is optional, but it really makes the blue pop!
Equipment Needed
Here’s what you’ll need to create this dreamy celebration cake:
- Two 9-inch round cake pans
- Parchment paper
- Electric mixer (hand or stand mixer)
- Mixing bowls
- Offset spatula
- Rolling pin (for fondant)
- Daisy-shaped cookie cutter
- Pastry bags and piping tips (optional)
If you don’t have a daisy-shaped cutter, you can freehand the flower shapes or use a small round cutter to layer petals. A bench scraper or cake comb can also be handy for smoothing out the frosting.
Preparation Method
- Prepare the Cake Batter: Preheat your oven to 350°F (175°C). Grease and line your cake pans with parchment paper. In a medium bowl, whisk together the flour, baking powder, and salt.
- In a large bowl, beat the butter and sugar until light and fluffy (about 3 minutes). Add the eggs one at a time, beating well after each addition. Stir in the vanilla extract.
- Alternate adding the dry ingredients and milk to the butter mixture, starting and ending with the dry ingredients. Mix until just combined.
- Bake the Cakes: Divide the batter evenly between the prepared pans. Bake for 25-30 minutes or until a toothpick inserted into the center comes out clean. Let the cakes cool completely before frosting.
- Make the Buttercream: Beat the butter until creamy. Gradually add the powdered sugar, heavy cream, and vanilla extract, mixing until smooth. Add the blue food coloring and beat until evenly colored.
- Decorate the Cake: Spread a layer of frosting between the cooled cake layers. Frost the outside of the cake, smoothing it with an offset spatula. Roll out the white fondant and cut out daisy shapes. Add yellow centers using fondant or edible pearls. Arrange the daisies on the cake as desired.
Pro tip: Chill the cake layers before frosting to prevent crumbs from mixing into the buttercream.
Cooking Tips & Techniques
- Room Temperature Ingredients: Using room-temperature eggs, milk, and butter ensures a smoother batter and better texture.
- Don’t Overmix: Overmixing the batter can make the cake dense instead of fluffy.
- Chill the Cake Layers: Refrigerate your cake layers for 20-30 minutes before frosting to make them easier to handle.
- Smooth Buttercream: To achieve a smooth finish, use a warm offset spatula or bench scraper to smooth out the frosting.
- Fondant Tips: Dust your work surface with cornstarch or powdered sugar to prevent sticking when rolling out fondant.
Variations & Adaptations
Here are some fun ways to adapt this recipe:
- Flavor Variations: Swap the vanilla cake for chocolate, lemon, or almond cake for a different flavor profile.
- Seasonal Themes: Change the colors of the frosting and flowers to match the season—think pastel pinks for spring or deep reds for fall.
- Dietary Adjustments: Make it gluten-free by using a 1:1 gluten-free flour, or dairy-free by substituting the butter and milk.
- Personalized Decorations: Add the birthday person’s name in fondant letters or use edible glitter for extra sparkle.
Serving & Storage Suggestions
Serve this cake at room temperature for the best flavor and texture. Pair it with a glass of milk, coffee, or even a celebratory glass of champagne.
To store leftovers, cover the cake tightly and keep it in the refrigerator for up to 5 days. You can also freeze individual slices by wrapping them in plastic wrap and storing them in an airtight container for up to 3 months. To thaw, simply let them sit at room temperature for about an hour.
Fun fact: The flavors of this cake deepen after a day, making leftovers even more delicious!
Nutritional Information & Benefits
Here’s a rough estimate per serving (based on 12 servings):
- Calories: 450
- Protein: 5g
- Fat: 20g
- Carbohydrates: 62g
- Sugar: 45g
This cake is rich in flavor but can be enjoyed in moderation as part of a balanced celebration. The fondant decorations are purely decorative, so feel free to peel them off if you’re watching your sugar intake!
Conclusion
The Dreamy Blue Daisy Celebration Cake is more than just a recipe—it’s a way to bring joy to someone’s special day. From the moist vanilla sponge to the whimsical daisy decorations, every detail of this cake is designed to make birthdays unforgettable.
Whether you’re new to baking or a seasoned pro, this recipe offers plenty of room for creativity and customization. I love it because it’s not just a treat—it’s a labor of love that brings people together.
Give it a go, and let me know how it turns out! Drop a comment below if you tried the recipe or made any fun variations. I’d love to hear your ideas and see your creations. Happy baking!
FAQs
Can I make the cake layers ahead of time?
Yes! You can bake the layers a day or two in advance. Wrap them tightly in plastic wrap and store in the refrigerator or freezer.
Do I need to use fondant for the daisies?
No, you can use royal icing or buttercream to pipe the daisies directly onto the cake if you prefer.
What’s the best way to achieve smooth frosting?
Use a warm offset spatula or bench scraper, and chill the frosted cake briefly before making final touches.
Can I use regular food coloring instead of gel?
Gel food coloring is recommended for vibrant colors, but you can use liquid food coloring—just use less to avoid thinning the frosting.
How do I transport this cake safely?
Place the cake on a sturdy cake board and use a cake carrier or box. Chill the cake beforehand to keep the frosting firm during transport.
Pin This Recipe!
Dreamy Blue Daisy Birthday Cake
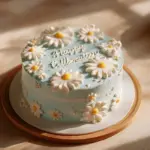
A visually stunning vanilla cake with blue buttercream frosting and whimsical daisy decorations, perfect for special celebrations.
- Prep Time: 30 minutes
- Cook Time: 30 minutes
- Total Time: 1 hour
- Yield: 12 servings 1x
- Category: Dessert
- Cuisine: American
Ingredients
- 2 ½ cups (315g) all-purpose flour
- 2 ½ tsp baking powder
- ½ tsp salt
- ¾ cup (170g) unsalted butter, softened
- 2 cups (400g) granulated sugar
- 4 large eggs, room temperature
- 1 cup (240ml) whole milk, room temperature
- 2 tsp pure vanilla extract
- 1 cup (230g) unsalted butter, softened
- 4 cups (500g) powdered sugar
- 3 tbsp (45ml) heavy cream
- 1 tsp pure vanilla extract
- Blue gel food coloring
- White fondant
- Yellow fondant or edible pearls
- Daisy-shaped cookie cutter
Instructions
- Preheat your oven to 350°F (175°C). Grease and line your cake pans with parchment paper. In a medium bowl, whisk together the flour, baking powder, and salt.
- In a large bowl, beat the butter and sugar until light and fluffy (about 3 minutes). Add the eggs one at a time, beating well after each addition. Stir in the vanilla extract.
- Alternate adding the dry ingredients and milk to the butter mixture, starting and ending with the dry ingredients. Mix until just combined.
- Divide the batter evenly between the prepared pans. Bake for 25-30 minutes or until a toothpick inserted into the center comes out clean. Let the cakes cool completely before frosting.
- Beat the butter until creamy. Gradually add the powdered sugar, heavy cream, and vanilla extract, mixing until smooth. Add the blue food coloring and beat until evenly colored.
- Spread a layer of frosting between the cooled cake layers. Frost the outside of the cake, smoothing it with an offset spatula. Roll out the white fondant and cut out daisy shapes. Add yellow centers using fondant or edible pearls. Arrange the daisies on the cake as desired.
Notes
Chill the cake layers before frosting to prevent crumbs from mixing into the buttercream. Use gel food coloring for vibrant colors.
Nutrition
- Serving Size: 1 slice
- Calories: 450
- Sugar: 45
- Fat: 20
- Carbohydrates: 62
- Protein: 5
Keywords: birthday cake, vanilla cake, buttercream frosting, daisy decorations, celebration cake