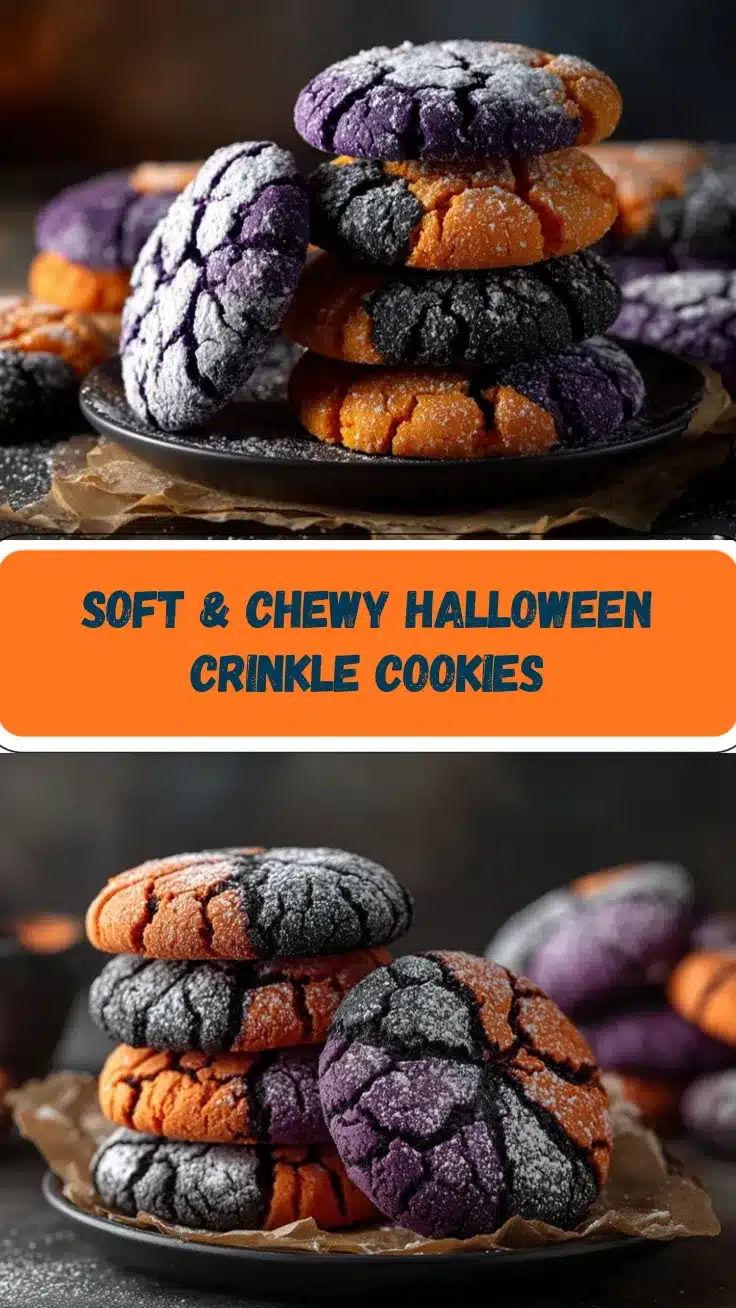
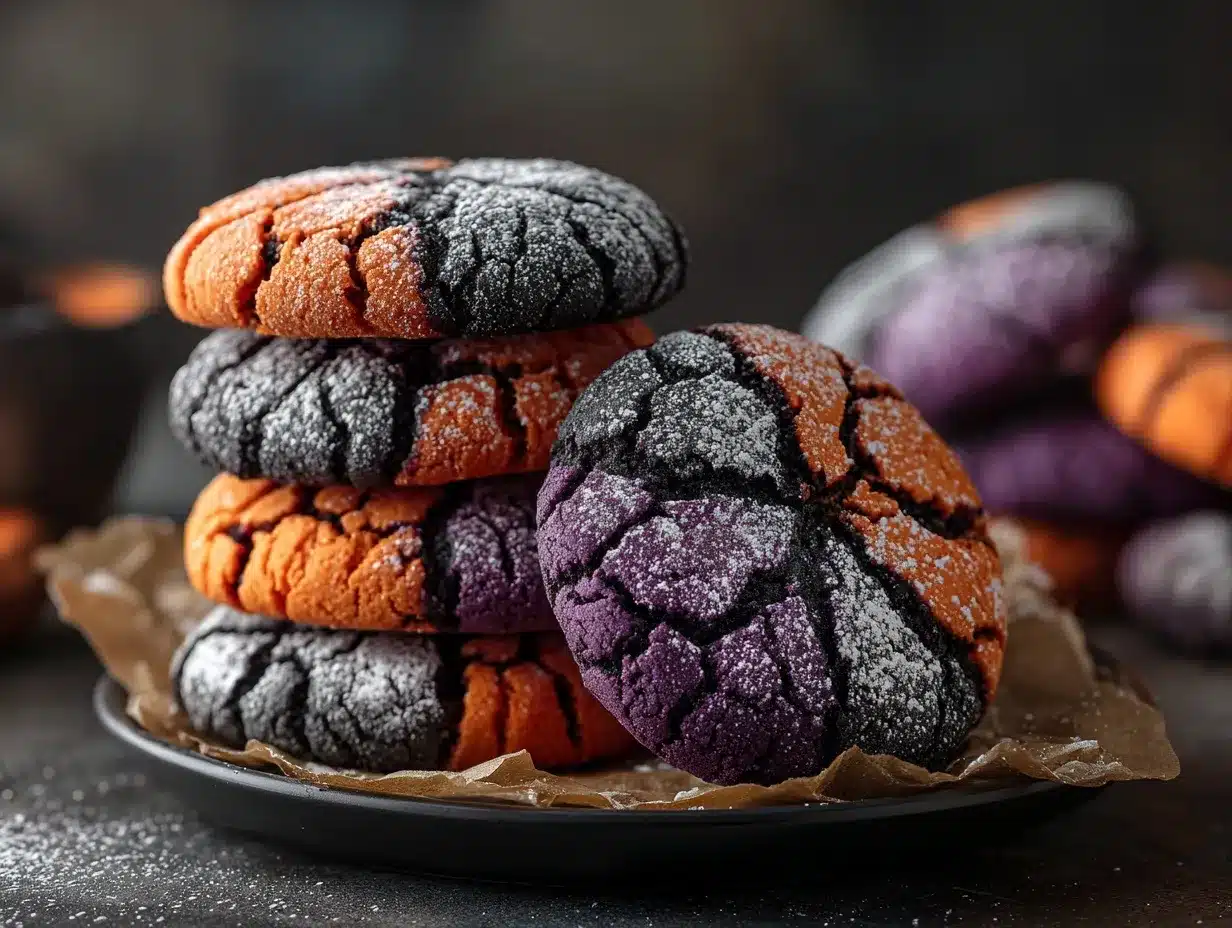
The crackly, spooky look of Halloween crinkle cookies is enough to make anyone smile, but wait until you take your first bite—soft, chewy, and bursting with flavor, they’re the perfect treat for your Halloween festivities! These cookies are as fun to make as they are to eat, and you’ll love how simple this recipe is to pull together. Whether you’re hosting a Halloween party or just treating yourself to some seasonal baking, these cookies are sure to be a hit.
I first made these Halloween crinkle cookies for a neighborhood Halloween party, and let me tell you—they were gone in minutes! The kids loved the fun, eerie look of the powdered sugar cracks on top, while adults couldn’t get enough of the chewy, rich texture. Plus, the recipe uses pantry staples, so I didn’t even have to make an extra grocery run. Now, making these cookies has become an annual tradition, and I can’t wait to share this spooky goodness with you!
Why You’ll Love This Recipe
- Quick & Easy: These cookies come together in under an hour, perfect for last-minute Halloween party prep.
- Simple Ingredients: You probably already have everything you need in your kitchen—no special trips required!
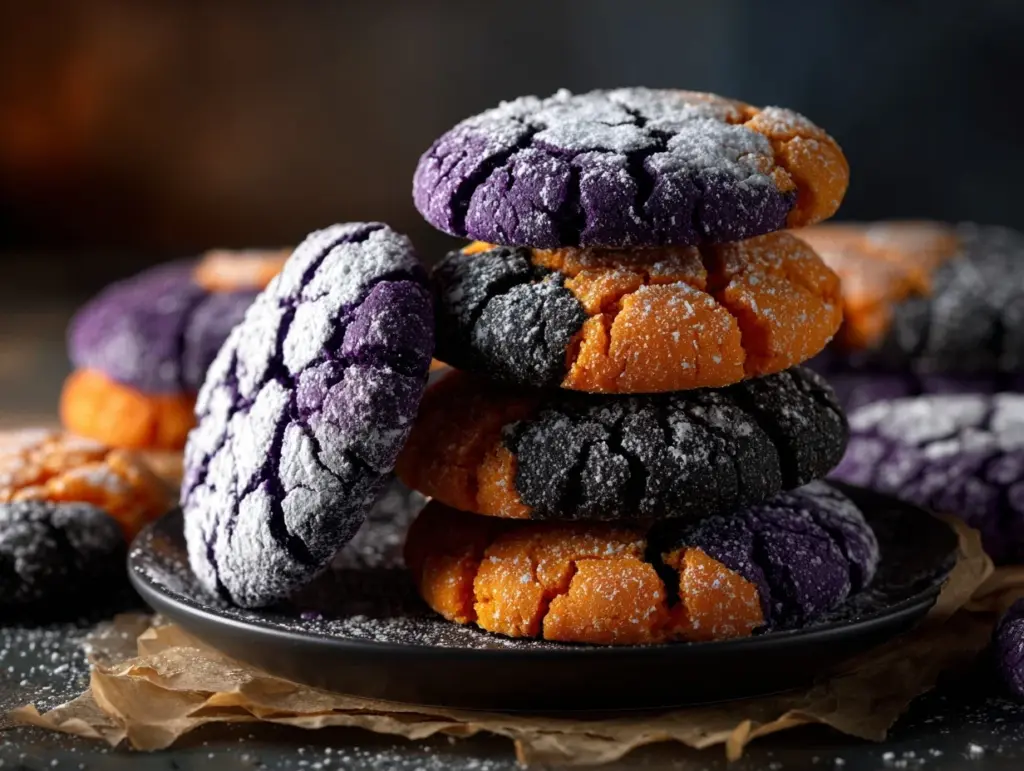
- Perfect for Halloween Parties: With their spooky cracked tops, these cookies are a festive addition to any celebration.
- Crowd-Pleasing Flavor: Soft, chewy, and packed with rich chocolate goodness, they’re loved by kids and adults alike.
- Fun to Make: Rolling cookie dough balls in powdered sugar is a delight—get the kids involved for a fun family activity!
What sets these Halloween crinkle cookies apart? It’s the perfect balance of texture and flavor. The crackled tops give them a spooky, cobweb-like look (ideal for Halloween), while their soft, fudgy centers make them utterly irresistible. And, let’s not forget how forgiving this recipe is. Whether you’re a seasoned baker or a newbie trying to whip up something festive, this recipe has your back. Plus, there’s plenty of room for creative adaptations to make it uniquely yours!
What Ingredients You Will Need
This recipe uses simple ingredients that come together to create cookies that are as festive as they are delicious. Here’s what you’ll need:
- All-purpose flour: The base of our cookies. You can swap for gluten-free flour if needed.
- Unsweetened cocoa powder: Gives the cookies their rich chocolate flavor.
- Baking powder: Helps the cookies puff up while baking, creating those signature cracks.
- Salt: Enhances the flavor and balances the sweetness.
- Granulated sugar: For sweetness and structure.
- Vegetable oil: Keeps the cookies moist and chewy. You can use melted coconut oil for a subtle flavor twist.
- Large eggs: Provides structure and richness to the dough.
- Vanilla extract: Adds depth and enhances the chocolate flavor.
- Powdered sugar: The secret to those spooky crinkles—don’t skip this step!
These ingredients are pantry staples, but feel free to experiment with substitutions if you’re catering to dietary needs or prefer a different flavor twist. For example, you could use almond flour for a gluten-free version or swap vegetable oil for melted butter for a richer flavor. The possibilities are endless!
Equipment Needed
Here’s what you’ll need to whip up these Halloween crinkle cookies:
- Mixing bowls: One large bowl for the wet ingredients and one medium bowl for the dry ingredients.
- Whisk: Essential for mixing the ingredients until smooth.
- Spatula: To fold the ingredients together without overmixing.
- Measuring cups and spoons: Precision matters for baking!
- Baking sheets: Line them with parchment paper to prevent sticking.
- Small bowl: For rolling the cookie dough balls in powdered sugar.
- Wire rack: Helps cool your cookies evenly after baking.
If you don’t have parchment paper, silicone baking mats work wonderfully as well. And if you’re missing a whisk, a fork can work in a pinch—just be sure to mix thoroughly!
Preparation Method
Let’s get baking! Follow these simple steps to create your own batch of irresistible Halloween crinkle cookies:
- Prepare your baking sheets: Line two large baking sheets with parchment paper or silicone mats and set aside.
- Mix the dry ingredients: In a medium bowl, whisk together 1 cup (125g) of all-purpose flour, ½ cup (50g) of unsweetened cocoa powder, 1 teaspoon of baking powder, and ¼ teaspoon of salt until well combined.
- Combine wet ingredients: In a large bowl, whisk together 1 cup (200g) of granulated sugar, ⅓ cup (80ml) of vegetable oil, 2 large eggs, and 1 teaspoon of vanilla extract. Mix until smooth and glossy.
- Incorporate the dry into the wet: Gradually add the dry ingredients into the wet ingredients. Use a spatula to fold everything together until a sticky dough forms. Be careful not to overmix.
- Chill the dough: Cover the bowl with plastic wrap and refrigerate for at least 30 minutes. This helps the dough firm up and makes it easier to handle.
- Preheat the oven: While the dough is chilling, preheat your oven to 350°F (175°C).
- Shape the cookies: Once the dough is chilled, use a tablespoon or cookie scoop to portion out the dough. Roll each piece into a ball, then coat generously in powdered sugar. Be sure to cover the entire surface for maximum crinkle effect!
- Bake: Arrange the coated balls on the prepared baking sheets, ensuring they’re spaced about 2 inches apart. Bake in the preheated oven for 10-12 minutes. The cookies should puff up and develop their signature cracks.
- Cool: Let the cookies cool on the baking sheet for 5 minutes before transferring them to a wire rack to cool completely.
That’s it! You’ve just made a batch of spooky, delicious Halloween crinkle cookies. Now it’s time to enjoy them!
Cooking Tips & Techniques
- Don’t skip chilling the dough: This step is crucial for preventing the cookies from spreading too much in the oven.
- Use fresh baking powder: Old baking powder may not provide the lift needed for the crinkle effect. Double-check the expiration date!
- Generously coat with powdered sugar: Don’t skimp—this is what helps create those dramatic cracks.
- Don’t overbake: The cookies should look set but still soft in the center. Overbaking will make them dry instead of chewy.
- Test one cookie first: If you’re unsure, bake one test cookie to see how it spreads and adjust your technique as needed.
Remember, baking is an art and a science. If your cookies don’t turn out perfectly the first time, tweak your method and try again—they’re worth it!
Variations & Adaptations
- Gluten-Free Option: Swap out all-purpose flour for a 1:1 gluten-free baking flour blend.
- Seasonal Twist: Add pumpkin spice for an autumn flavor or mix in orange zest for a citrusy kick.
- Dairy-Free Version: Use coconut oil instead of vegetable oil for a subtle tropical flavor.
- Colorful Crinkles: Roll the cookie dough in orange or black sanding sugar instead of powdered sugar for a festive Halloween look.
- Spooky Shapes: Flatten each dough ball slightly and use a toothpick to draw spooky faces before baking!
My favorite twist? Adding a few drops of peppermint extract to the dough for a mint-chocolate flavor. It takes these cookies to a whole new level of yum!
Serving & Storage Suggestions
These Halloween crinkle cookies are best served at room temperature, alongside a tall glass of milk or a steaming cup of hot cocoa. They’re ideal for sharing at Halloween parties or as a treat for trick-or-treaters.
To store, place the cooled cookies in an airtight container and keep them at room temperature for up to 5 days. For longer storage, freeze the cookies in a resealable plastic bag for up to 3 months. To enjoy frozen cookies, let them thaw at room temperature for about 20 minutes or pop them in the microwave for 10 seconds.
Pro tip: The flavors deepen and intensify after a day, so if you can resist eating them all right away, they’re even better the next day!
Nutritional Information & Benefits
Each Halloween crinkle cookie contains approximately:
- Calories: 120
- Fat: 5g
- Carbohydrates: 18g
- Protein: 2g
- Sugar: 12g
These cookies are a great little treat for satisfying your sweet tooth while keeping portions in check. The cocoa powder is rich in antioxidants, and the eggs provide a touch of protein. While these cookies are indulgent, they’re perfect for an occasional treat, especially during the festive season!
Conclusion
If you’re looking for a Halloween treat that’s equal parts spooky and delicious, these crinkle cookies are a must-make. I love how easy they are to customize, whether you’re adding a personal flavor twist or making them fit your dietary needs. Plus, they’re a great way to get into the spirit of the season with minimal effort.
I hope this recipe becomes a yearly tradition for you, just like it has for my family. Give it a try, and let me know how yours turn out! And don’t forget to share pictures of your spooky creations—I’d love to see them!
FAQs
Can I make the dough ahead of time?
Yes! You can prepare the dough a day in advance and store it in the refrigerator. Just be sure to cover it tightly with plastic wrap to prevent drying out.
What if my cookies don’t crack?
Ensure your dough is chilled properly and that you’re generously coating the cookies in powdered sugar before baking. Also, check that your oven temperature is accurate.
Can I double the recipe?
Absolutely! Just make sure you have enough pans and space in your refrigerator to chill the larger batch of dough.
Are these cookies suitable for freezing?
Yes, you can freeze both the baked cookies and the unbaked dough balls. For baked cookies, let them cool completely before freezing. For dough balls, freeze them uncoated and roll them in powdered sugar right before baking.
Can I use butter instead of oil?
Yes, melted butter will work as a substitute for vegetable oil, giving the cookies a slightly richer flavor.
Pin This Recipe!