Introduction
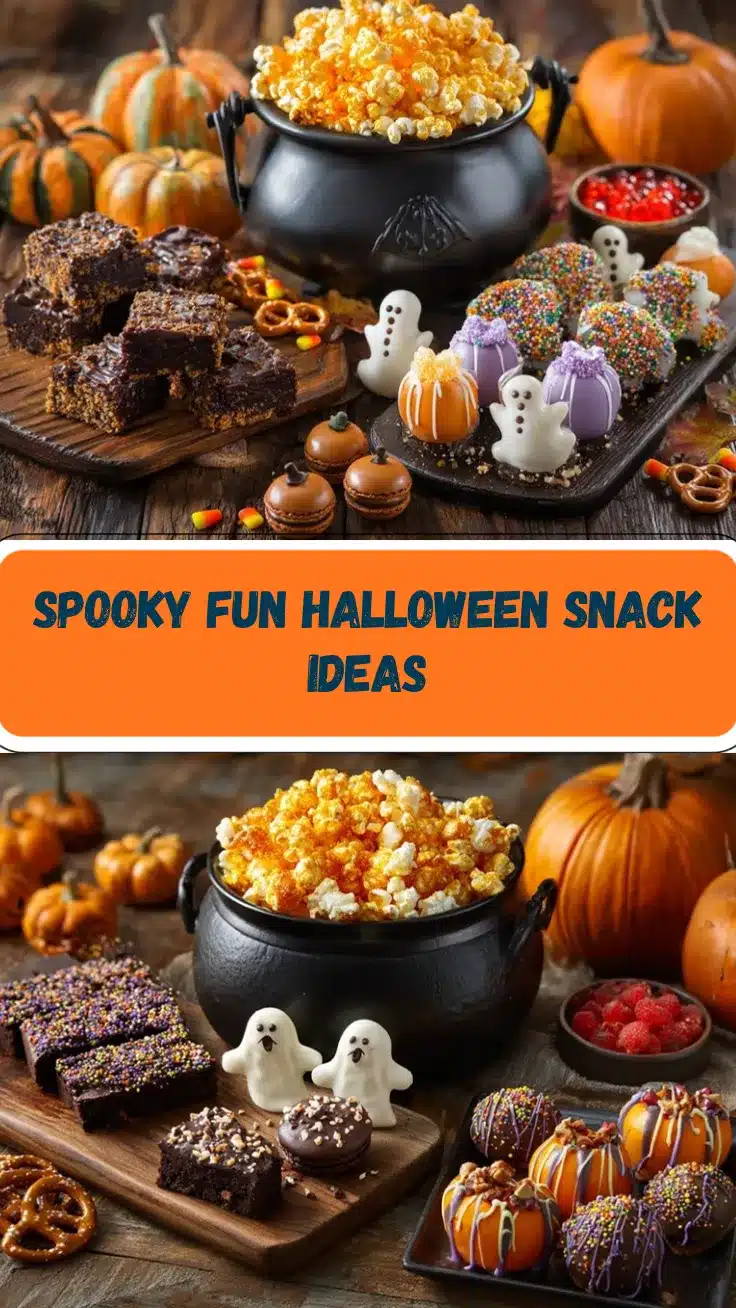
The spooky season is upon us, and honestly, what’s a Halloween party without some festive snacks to set the mood? Whether you’re hosting a crowd or just a few friends, these irresistible Halloween snacks will bring the perfect mix of spooky and sweet to your table. I still remember the first time I made Halloween treats—my kitchen was a mess of candy wrappers and orange frosting, but the smiles on everyone’s faces made it all worth it.
These snacks aren’t just fun to look at; they’re delicious and super easy to whip up too! From creepy mummy hot dogs to gory yet oddly delightful blood-red velvet cupcakes, there’s something for everyone. Plus, some of these recipes are perfect for little hands to help with, making them great for family bonding. Whether you’re a seasoned party host or a last-minute planner, you’re going to love these ideas!
So grab your apron and let’s get our Halloween party started—because these snacks are about to cast a spell on everyone who tries them.
Why You’ll Love These Halloween Snacks
- Quick and Easy: Perfect for busy party planners who don’t have hours to spend in the kitchen.
- Kid-Friendly: These recipes are great for little ones to help with—think decorating cookies or wrapping mummy hot dogs!
- Perfectly Spooky: These snacks aren’t just tasty; they bring the Halloween vibe to life with their creative designs.
- Crowd-Pleasers: Whether you love sweet, salty, or savory, there’s something here for every taste bud.
- Customizable: Most recipes can be tailored to fit dietary needs or preferences, so everyone can enjoy the fun.
Unlike the usual chips-and-dip routine, these Halloween snacks are festive and memorable. They’re perfect for impressing guests without spending hours in the kitchen. Plus, the kids will love helping you prepare them, turning cooking into a fun activity rather than a chore.
Whether you’re hosting a spooky movie night, a big costume party, or simply celebrating at home, these treats are sure to make your Halloween unforgettable. They’re scary good, and you might find yourself making them long after October 31st!
Ingredients Needed
These Halloween snacks are all about simple ingredients with maximum festive flair. Most of what you need can be found in your pantry or picked up during a quick grocery store visit.
- Mummy Hot Dogs:
- Hot dogs
- Refrigerated crescent roll dough
- Mustard or ketchup (for the “eyes”)
- Witch Finger Cookies:
- Butter, softened
- Powdered sugar
- Vanilla extract
- Almond flour
- Whole almonds
- Green food coloring
- Blood-Red Velvet Cupcakes:
- All-purpose flour
- Cocoa powder
- Sugar
- Vegetable oil
- Eggs
- Red food coloring
- Cream cheese
- Powdered sugar
- Pumpkin Cheese Ball:
- Shredded cheddar cheese
- Cream cheese
- Ranch seasoning
- Crushed nacho chips
- Stem of a bell pepper (for decoration)
- Monster Eyeball Pretzel Bites:
- Pretzels
- White chocolate candy melts
- Food coloring pens
- M&Ms or candy eyeballs
Equipment Needed
- Baking sheets
- Parchment paper
- Mixing bowls
- Electric mixer (for cupcakes and cheese ball)
- Rolling pin (for witch finger cookies)
- Decorating tools (like piping bags or food coloring pens)
If you don’t have fancy tools like a piping bag for your cupcakes, don’t worry! A simple zip-top bag with the corner snipped off works like a charm. For the witch fingers, you can shape the dough with your hands if you don’t own a rolling pin. These snacks are fuss-free, so don’t stress about having every gadget.
Preparation Method
- Mummy Hot Dogs:
- Preheat your oven to 375°F (190°C).
- Cut strips of crescent roll dough and wrap them around each hot dog to resemble mummy bandages.
- Place on a parchment-lined baking sheet and bake for 12-15 minutes or until golden brown.
- Dot mustard or ketchup for the “eyes” once cooled slightly.
- Witch Finger Cookies:
- Preheat your oven to 350°F (175°C).
- Mix butter, powdered sugar, vanilla extract, and almond flour until you have a soft dough. Add green food coloring.
- Shape the dough into finger-sized logs. Press a whole almond into one end to resemble a fingernail.
- Use a knife to score lines for knuckles. Bake for 10-12 minutes.
- Blood-Red Velvet Cupcakes:
- Preheat the oven to 350°F (175°C).
- Mix flour, cocoa powder, sugar, oil, eggs, and red food coloring until smooth.
- Fill cupcake liners two-thirds full and bake for 18-20 minutes.
- Combine cream cheese and powdered sugar for frosting. Pipe onto cooled cupcakes and drizzle with red food coloring for a “bloody” effect.
- Pumpkin Cheese Ball:
- Combine shredded cheddar, cream cheese, and ranch seasoning in a bowl until smooth.
- Shape into a ball and roll in crushed nacho chips.
- Press the bell pepper stem into the top for a pumpkin look. Chill until ready to serve.
- Monster Eyeball Pretzel Bites:
- Melt white chocolate candy melts and dip pretzels halfway into the chocolate.
- Place candy eyeballs or M&Ms on top while the chocolate is still soft.
- Use food coloring pens to draw veins on the white chocolate for a creepy effect.
Cooking Tips & Techniques
- When working with crescent roll dough, keep it cold for easier handling.
- For witch finger cookies, don’t skip the step of scoring knuckles—it makes them extra creepy!
- Use gel food coloring for vibrant hues without altering the texture of your dough or frosting.
- If your cheese ball mixture feels too soft, pop it in the fridge for 10-15 minutes before shaping.
- Keep your cupcakes completely cool before frosting—this prevents the frosting from melting.
I’ve learned these tricks the hard way (like when my cheese ball melted into a sad puddle during my first attempt). A little patience and preparation go a long way in making these snacks party-ready!
Variations & Adaptations
- Gluten-Free: Use gluten-free crescent roll dough and almond flour for the cookies.
- Vegan Options: Substitute cream cheese with a plant-based alternative and use vegan hot dogs.
- Add Spice: Mix a pinch of cayenne into the cheese ball for a spicy surprise!
- Seasonal Twist: Add pumpkin spice to the witch finger cookies or use orange candy melts for the pretzel bites.
- Make It Your Own: Use dark chocolate for the pretzel bites or swap almonds for pumpkin seeds in the cookies for a nut-free option.
Last year, I swapped out the cheddar in the cheese ball for pepper jack and added jalapeños for a little kick—it was a hit!
Serving & Storage Suggestions
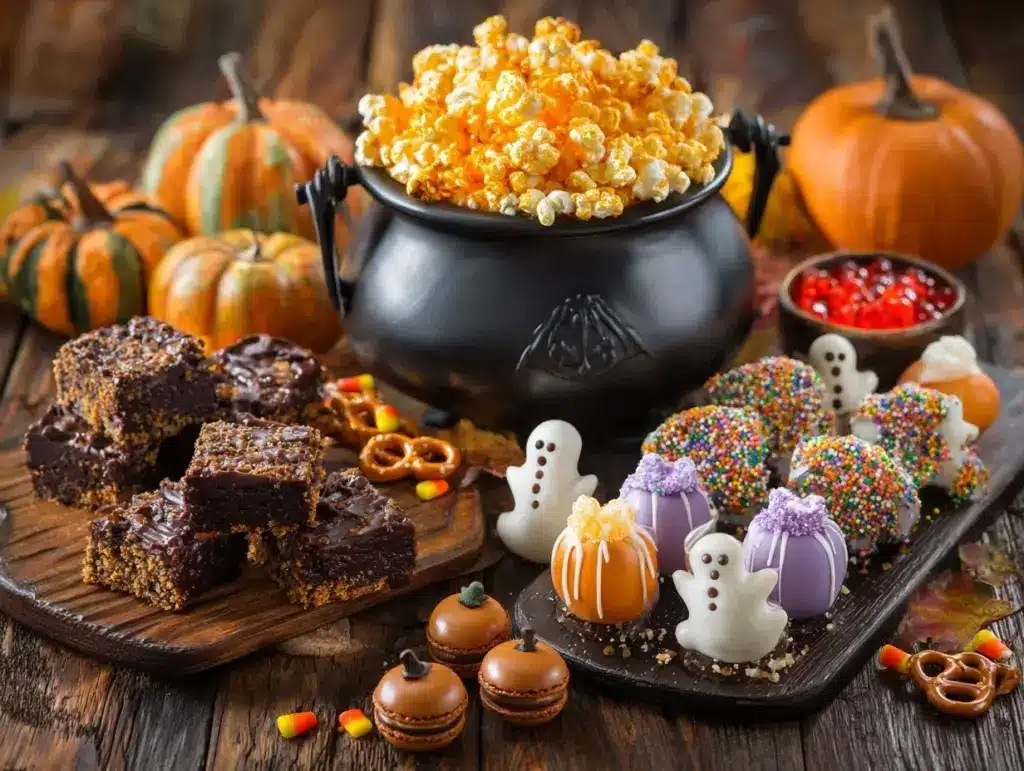
Serve these snacks on Halloween-themed platters or colorful dishes to amp up the festive factor. Arrange the mummy hot dogs in a “graveyard” scene with some crushed chips as dirt, and place the pumpkin cheese ball in the center of a platter surrounded by crackers.
Store any leftovers in airtight containers. Mummy hot dogs and cheese balls can be refrigerated for up to 3 days, while cupcakes and cookies will last up to 5 days. To reheat the mummy hot dogs, just pop them in the oven at 350°F (175°C) for 5-7 minutes.
Pro tip: The cupcakes taste even better the next day as the flavors have time to meld together beautifully!
Nutritional Information & Benefits
While these Halloween snacks lean toward the indulgent side, they can be made slightly healthier with a few tweaks. For example, using almond flour in the cookies adds a dose of healthy fats and protein. Similarly, choosing low-fat cream cheese for the cheese ball can cut down on calories. Here’s an approximate breakdown per serving:
- Mummy Hot Dogs: 150 calories, 8g fat, 12g protein
- Witch Finger Cookies: 120 calories, 6g fat, 2g protein
- Blood-Red Velvet Cupcakes: 250 calories, 10g fat, 3g protein
- Pumpkin Cheese Ball: 200 calories, 15g fat, 5g protein
- Monster Eyeball Pretzel Bites: 100 calories, 5g fat, 1g protein
While these snacks are a fun treat, it’s always good to balance them with healthier options at your party, like fresh fruit or veggie platters.
Conclusion
There you have it—a lineup of irresistible Halloween snacks that will take your festive party to the next level. These treats are fun, tasty, and easy enough for anyone to make. Whether you stick to the recipes or add your own spooky twist, they’re bound to be a hit!
Personally, I love these snacks because they bring out my inner child. There’s something so magical about creating creepy yet delicious food that makes everyone smile. It’s the perfect way to celebrate the spooky season with loved ones.
So, what are you waiting for? Whip up a few of these recipes, snap some photos, and share your creations with me in the comments below. Happy Halloween, and may your party be frightfully delightful!
FAQs
Can I make these snacks ahead of time?
Yes! Most snacks like witch finger cookies and cupcakes can be made a day or two in advance. Just store them properly to keep them fresh.
What’s the best way to involve kids in making these snacks?
Kids love decorating! Let them add candy eyes to pretzel bites or pipe frosting onto cupcakes. They’ll also enjoy shaping the witch finger cookies.
Can I make these snacks healthier?
Absolutely! Use whole wheat flour for cookies, swap cream cheese for Greek yogurt in the cheese ball, and opt for turkey hot dogs instead of regular ones.
What drinks pair well with these snacks?
Serve apple cider, pumpkin spice lattes, or a spooky punch with gummy worms for a festive touch.
How can I make these snacks look more festive?
Get creative with your presentation—use Halloween-themed plates, add spiderweb decorations, or serve snacks with dry ice for a spooky effect!
Pin This Recipe!