Introduction
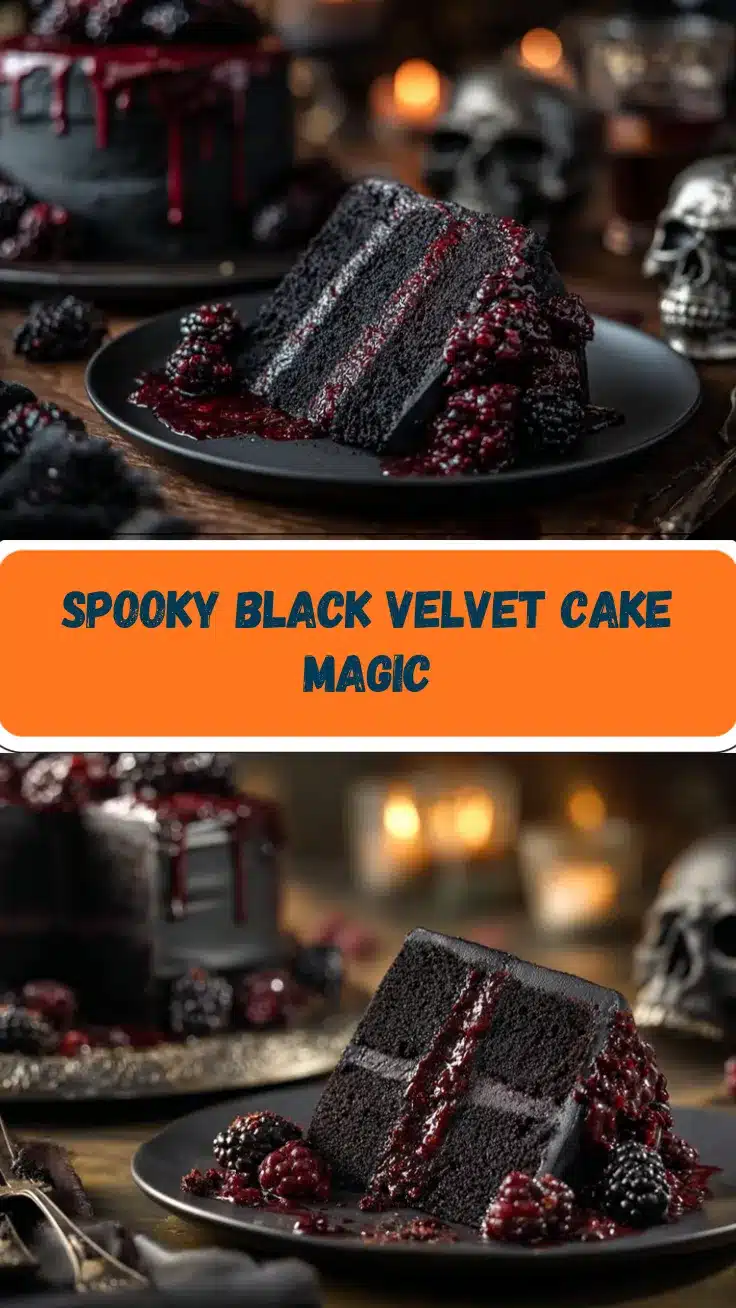
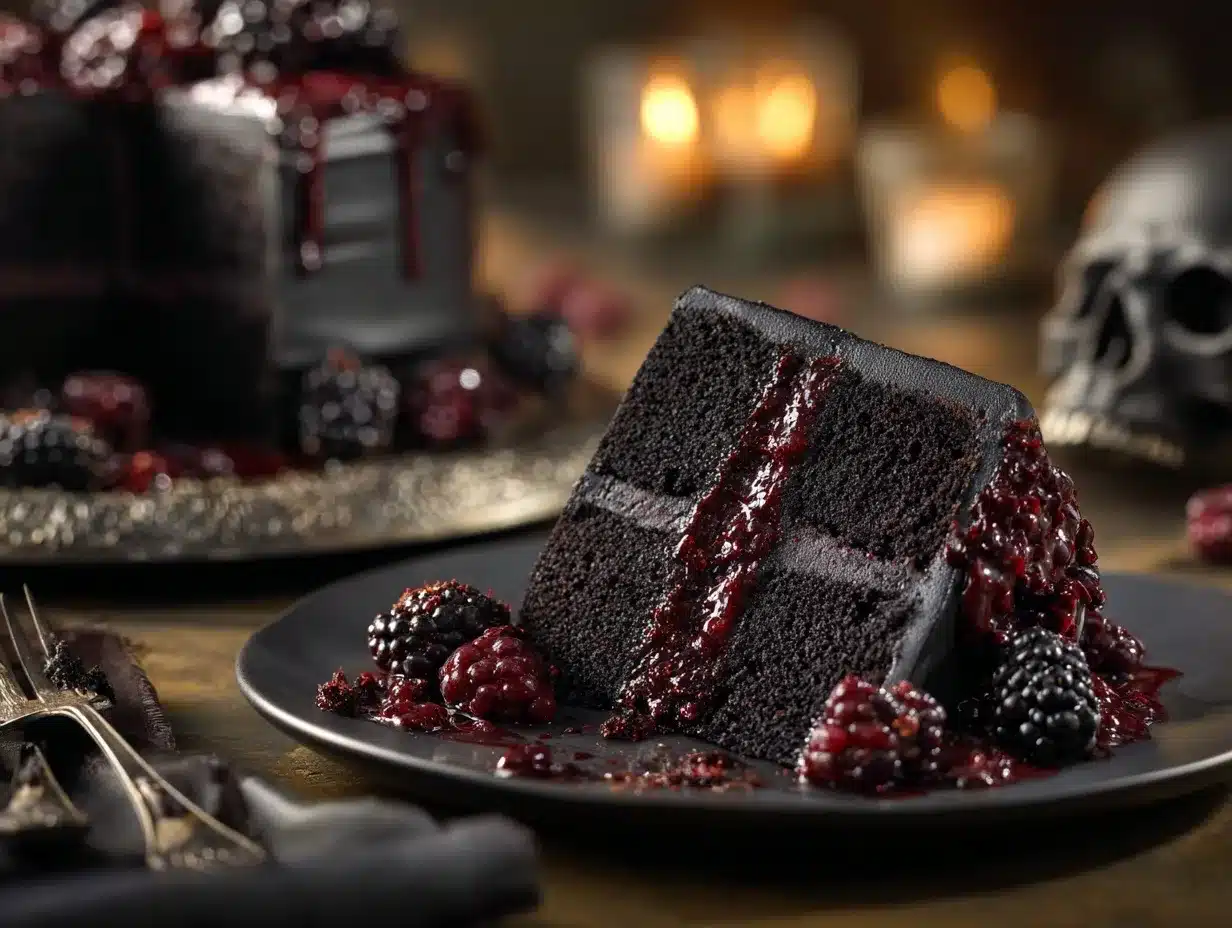
The first time I made this Spooky Black Velvet Halloween Cake, I could hardly believe how stunning it turned out. The deep, dramatic black hue paired with a velvety texture felt straight out of a movie set. It’s the kind of cake that makes people stop and say, “Whoa!” Whether you’re hosting a Halloween party or just want to embrace the spooky season, this recipe is your showstopper.
When I was brainstorming Halloween treats, I knew I wanted something that was equal parts eerie and delicious. That’s when the idea of a black velvet cake hit me. Velvet cakes are known for their soft, melt-in-your-mouth crumb and rich flavor, and I thought, “Why not give it a Halloween twist?” With a little experimenting (and a lot of cocoa powder), I landed on this dark beauty.
This recipe is perfect for anyone looking to impress their guests with a unique dessert. It’s not just about the visuals—this cake is moist, decadent, and pairs beautifully with a rich cream cheese frosting. Trust me, it’s worth every bite!
Why You’ll Love This Recipe
- Perfect for Halloween Parties: The striking black color and spooky decorations make this cake a centerpiece for any festive gathering.
- Rich and Decadent: The black velvet texture is soft, moist, and absolutely luxurious—a true treat for the taste buds.
- Simple Ingredients: No need to hunt for fancy items; chances are, you already have most of these in your kitchen.
- Customizable Decorations: This cake is your blank canvas for Halloween creativity—add ghost toppers, candy eyeballs, or even a drizzle of red “blood” icing!
- Kid-Friendly Fun: Let your little ones help with the spooky decorations for a fun family activity.
What sets this cake apart is the perfect balance between flavor and appearance. The black cocoa gives it a rich, almost mysterious chocolate flavor, and the smooth cream cheese frosting adds a tangy contrast. And the best part? You don’t need professional baking skills to make this cake look amazing. Just a few simple tricks, some fun decorations, and you’ll have a cake that steals the spotlight.
What Ingredients You Will Need
This Spooky Black Velvet Halloween Cake uses basic ingredients that come together to create a masterpiece. Here’s what you’ll need:
- All-purpose flour (for the perfect crumb)
- Unsweetened black cocoa powder (the secret to the deep black color)
- Granulated sugar (for sweetness)
- Baking powder (helps the cake rise)
- Salt (balances the sweetness)
- Unsalted butter, softened (adds richness)
- Vegetable oil (keeps the cake moist)
- Large eggs, room temperature (binds everything together)
- Buttermilk (gives that classic tang and extra moisture)
- Vanilla extract (rounds out the flavors)
- Black gel food coloring (for an extra boost of color)
- Cream cheese (for the frosting)
- Powdered sugar (sweetens the frosting)
- Heavy cream (for a silky smooth frosting texture)
If you can’t find black cocoa powder, don’t worry—Dutch-processed cocoa works too, though the color won’t be as intense. For the food coloring, gel-based options are best because they’re highly concentrated and won’t affect the consistency of your batter.
Equipment Needed
- Mixing bowls: You’ll need a few sizes for the dry and wet ingredients.
- Electric mixer: A stand or hand mixer works great for combining the batter and whipping up the frosting.
- Cake pans: Two 8-inch round pans are ideal for this layered cake.
- Parchment paper: For easy removal of your cake layers.
- Rubber spatula: Perfect for scraping down the bowl and spreading frosting.
- Wire rack: Helps cool your cake layers evenly.
If you don’t have cake pans, you can use a bundt pan for a single-layer cake. Just be sure to adjust the baking time accordingly. And if you don’t have an electric mixer, a good old-fashioned whisk and some elbow grease will do the trick!
Preparation Method
- Preheat your oven to 350°F (175°C) and grease two 8-inch round cake pans. Line the bottoms with parchment paper for easy removal.
- In a large mixing bowl, sift together 2 ½ cups (315g) all-purpose flour, ½ cup (50g) black cocoa powder, 2 teaspoons baking powder, and ½ teaspoon salt. Set aside.
- In another bowl, cream together ½ cup (115g) unsalted butter and 1 ½ cups (300g) granulated sugar until light and fluffy. This should take about 3 minutes with an electric mixer.
- Add ½ cup (120ml) vegetable oil, 2 large eggs, and 1 teaspoon vanilla extract to the butter mixture. Mix until combined, scraping down the sides as needed.
- Gradually alternate adding the dry ingredients and 1 cup (240ml) buttermilk to the wet mixture, starting and ending with the dry ingredients. Mix until just combined—don’t overmix!
- Add 1-2 teaspoons black gel food coloring to the batter and mix until fully incorporated. Adjust the amount based on your desired shade of black.
- Divide the batter evenly between the prepared pans and smooth the tops. Bake for 30-35 minutes, or until a toothpick inserted in the center comes out clean.
- Let the cakes cool in their pans for 10 minutes, then transfer to a wire rack to cool completely.
- To make the frosting, beat 8oz (225g) cream cheese until smooth. Gradually add 2 cups (240g) powdered sugar and 2-3 tablespoons (30-45ml) heavy cream until the frosting is light and fluffy.
- Once the cakes are cool, spread a layer of frosting on top of one cake. Place the second cake layer on top and frost the entire cake. Use a spatula to create spooky swirls or smooth edges.
- Decorate with Halloween-themed toppings like candy eyeballs, spider-shaped candies, or red gel icing for a blood-drip effect.
Cooking Tips & Techniques
- Don’t skip the parchment paper: Black velvet cakes are moist, and the parchment makes removing them from the pans much easier.
- Use black gel food coloring: Liquid food coloring can dilute the batter, so opt for gel-based options for a rich black color.
- Cool completely before frosting: Frosting a warm cake can lead to a melted mess, so patience is key!
- Level your layers: If your cake layers have domed tops, use a serrated knife to level them out for a smoother finish.
- Decorate with confidence: Don’t worry about perfection—Halloween is all about embracing the spooky and fun!
Variations & Adaptations
- Gluten-Free: Swap out the all-purpose flour for a gluten-free baking blend.
- Dairy-Free: Use a plant-based butter and non-dairy milk instead of buttermilk.
- Add a twist: Mix in a teaspoon of cinnamon or pumpkin spice for a fall-inspired flavor.
- Single-layer option: Bake in a bundt pan for a unique shape and adjust the baking time to 40-50 minutes.
- Personal spin: I once added crushed peppermint candy to the frosting for a spooky-cool minty touch—it was a hit!
Serving & Storage Suggestions
This cake is best served at room temperature so the frosting is perfectly creamy and the cake is soft. Pair it with a hot cup of coffee or apple cider for the ultimate Halloween vibe.
Store any leftovers in an airtight container in the refrigerator for up to 5 days. Let slices come to room temperature before serving again. For longer storage, wrap the cake tightly in plastic wrap and freeze for up to 3 months. Thaw in the fridge overnight, then bring to room temperature.
If you’re planning for a party, you can make the cake layers a day ahead and frost it just before serving. This way, the cake stays fresh and the decorations look their best!
Nutritional Information & Benefits
This Spooky Black Velvet Halloween Cake is as indulgent as it gets, but it’s worth every bite! Each slice contains approximately:
- Calories: 450
- Fat: 20g
- Carbohydrates: 60g
- Protein: 5g
The black cocoa provides a rich chocolate flavor without being too sweet, and the cream cheese frosting adds a creamy, tangy balance. Plus, you can easily make this recipe gluten-free or dairy-free for guests with dietary restrictions. Just keep in mind that black cocoa is processed, so moderation is key!
Conclusion
There you have it—the ultimate Spooky Black Velvet Halloween Cake! Not only is it a visual stunner that will impress everyone at your Halloween gathering, but it’s also packed with flavor and so much fun to make.
Don’t be afraid to put your own twist on this recipe. Whether you want to go all out with decorations or keep it simple, this cake is your blank canvas for creativity. I’d love to hear how yours turns out—drop a comment below and let me know!
Now, grab your apron, gather your ingredients, and get ready to create a Halloween masterpiece. Happy baking! 🎃
FAQs
Can I make this cake without black cocoa powder?
Yes, you can substitute black cocoa with Dutch-processed cocoa powder. The flavor will be similar, but the color won’t be as dark.
What’s the best way to achieve a rich black color?
Using black gel food coloring along with black cocoa powder will give you a deep, spooky black color.
Can I use a different frosting?
Absolutely! While cream cheese frosting complements black velvet perfectly, you could use a chocolate ganache or even a whipped buttercream for a different twist.
How do I prevent my cake from sticking to the pans?
Grease your pans well and line them with parchment paper. This ensures your cake layers come out cleanly every time.
Can I make this cake ahead of time?
Yes! You can bake the cake layers a day or two ahead of time and store them in the fridge. Just frost and decorate them right before serving.
Pin This Recipe!