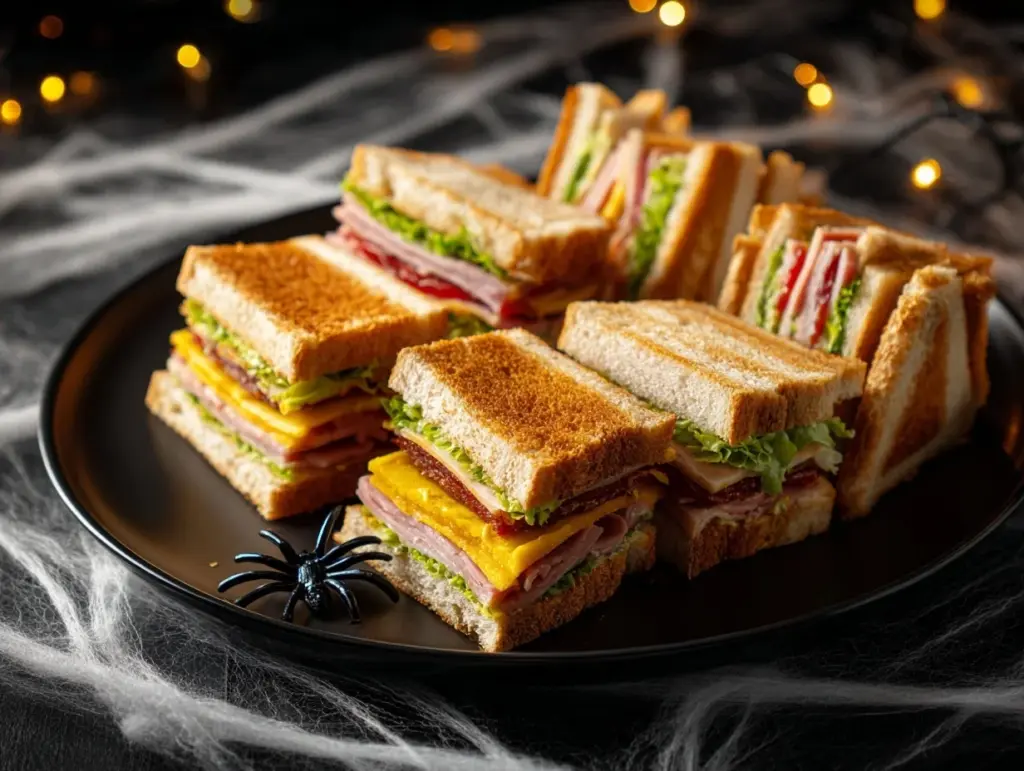
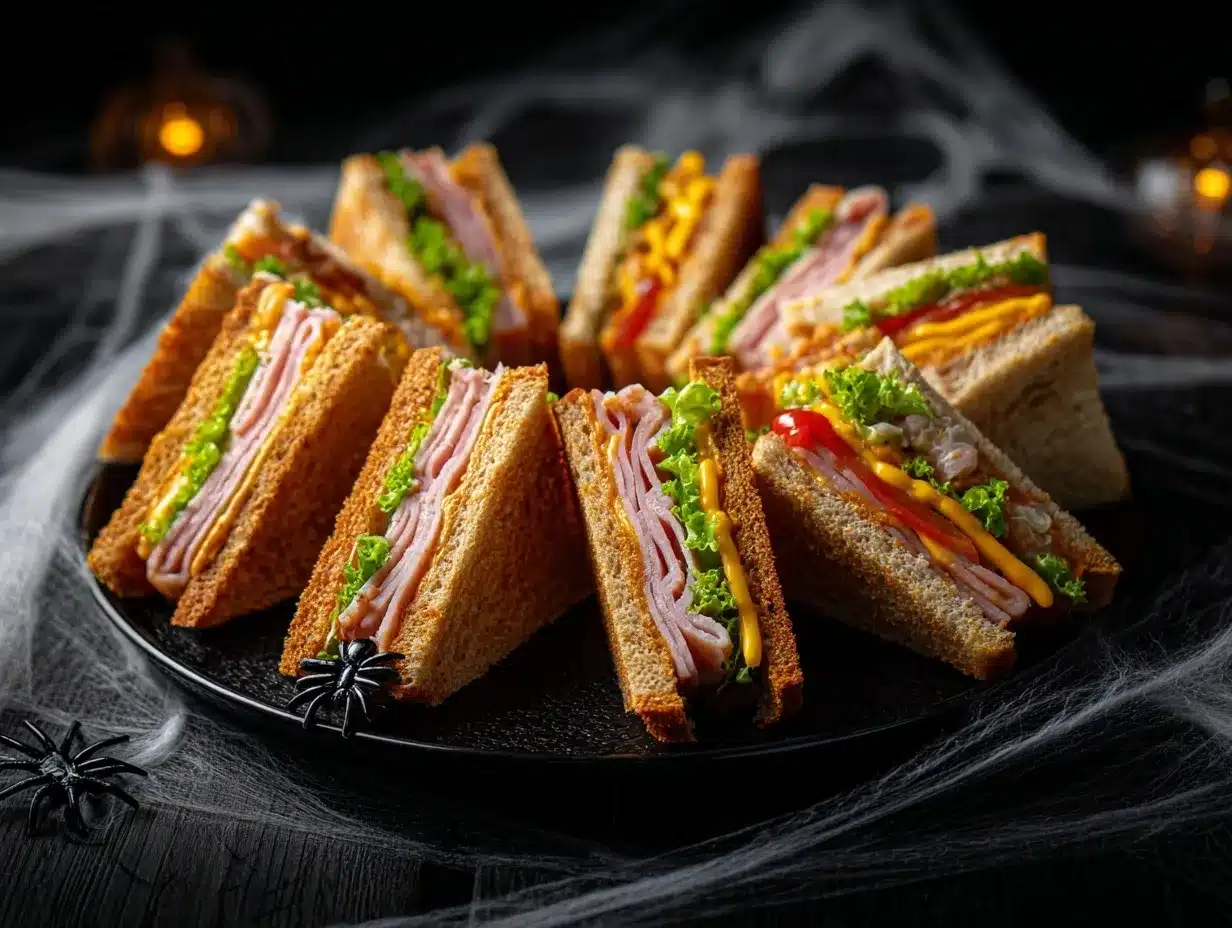
The crunch of toasted bread, the creamy filling, and the eerie yet charming shape of these spooky DIY coffin sandwiches make them the ultimate Halloween party treat. Whether you’re hosting a spooky soirée or just want to surprise your family with a fun lunch, these sandwiches are as delicious as they are hauntingly festive. I first created these for a Halloween potluck, and honestly, they were the first thing to disappear from the table—before the candy bowls even had a chance! Plus, they’re so easy to make that even your little ghouls can join in on the fun.
Halloween snacks don’t need to be complicated to impress, and this recipe proves it. With some simple ingredients, a playful approach, and a little creativity, you can transform ordinary sandwiches into spooky delights that look like they were conjured up in a haunted kitchen. Let’s dive into the magic of creating these coffin-shaped treats that will delight kids and adults alike. Trust me, your guests will be asking for the recipe!
Why You’ll Love This Recipe
- Easy to Make: These spooky coffin sandwiches come together in no time with minimal effort. Perfect for busy hosts looking for Halloween fun without the stress.
- Creative and Fun: Get the kids involved! They’ll love shaping the sandwiches and decorating them with spooky designs.
- Versatile Filling Options: You can customize the fillings to suit everyone’s taste. Sweet, savory, or even vegan—there’s something for everyone.
- Party-Perfect: These themed sandwiches are guaranteed to be the highlight of your Halloween spread. They’re Instagram-worthy and a total crowd-pleaser.
- No Fancy Ingredients: Everything you need is already in your pantry or easily available at the grocery store.
What makes these coffin sandwiches stand out is their unique shape and the endless possibilities for fillings. You can use a cookie cutter for perfect shapes, or simply freehand it with a knife if you’re feeling bold. Either way, you’ll end up with sandwiches that are spooky, delicious, and guaranteed to bring smiles (and maybe a few playful screams) to your guests!
What Ingredients You Will Need
This recipe relies on simple ingredients that are easy to find and customize. Here’s the rundown:
- Sandwich Bread: White or whole wheat works best for cutting into shapes, but rye or pumpernickel can add a darker, spookier vibe.
- Butter: Softened, for spreading on the bread before toasting.
- Cheese: Slices of cheddar, Swiss, or mozzarella—choose your favorites.
- Deli Meat: Ham, turkey, or roast beef—thinly sliced for easy layering.
- Mayonnaise: For a creamy base (you can swap it for mustard or dairy-free options).
- Vegetables: Lettuce, spinach, or arugula for some crisp and color.
- Decorating Supplies: Edible food markers or thinly sliced vegetables for adding spooky designs.
If you’re catering to dietary needs, you can easily swap out ingredients. Gluten-free bread works just as well, and you can use vegan cheese, plant-based deli slices, and dairy-free spreads to make these sandwiches suitable for all your guests.
Equipment Needed
- Coffin-shaped cookie cutters: Essential for creating that spooky shape. If you don’t have a cookie cutter, a sharp knife works too.
- Cutting board: For slicing the bread and fillings.
- Butter knife: To spread butter and mayo evenly.
- Toaster or griddle: For toasting the bread to golden perfection.
- Edible markers or decorating tools: Optional, but great for adding creepy details.
Pro tip: If you don’t have a coffin-shaped cutter, draw a stencil on parchment paper, cut it out, and use a sharp knife to trace and cut the bread into shape. It’s a little extra work but worth it for the spooky effect!
Preparation Method
- Start by cutting the sandwich bread into coffin shapes. If you’re using a cookie cutter, press firmly to ensure clean edges. If using a knife, carefully trace the stencil or freehand your design—just be sure to keep the edges neat.
- Spread a thin layer of softened butter on one side of each piece of bread. This step gives a golden, crisp finish when toasted.
- Heat a griddle or non-stick pan over medium heat. Place the buttered side of the bread down and toast until golden brown, about 2-3 minutes. Flip and toast the other side for 1-2 minutes.
- While the bread is toasting, prepare your fillings. Layer your choice of cheese, deli meat, and veggies. Don’t overstuff—remember, these sandwiches are meant to be finger food!
- Spread mayonnaise (or your chosen condiment) on the unbuttered side of the bread. Add your fillings, layering cheese first for a smooth base.
- Top with the second piece of bread, buttered side out. Press gently to seal the sandwich.
- Now for the spooky fun! Use edible markers to draw coffin details, like cross designs or skulls. Alternatively, cut thin strips of red bell pepper or olives for creepy accents.
- Arrange the sandwiches on a platter for serving. Get creative with the presentation—add fake cobwebs, plastic spiders, or pumpkin decorations to go all out.
And voilà! Your spooky coffin sandwiches are ready to serve.
Cooking Tips & Techniques
These tips will ensure your coffin sandwiches turn out perfect every time:
- Choose the right bread: Softer bread is easier to cut into shapes, while firmer bread holds its shape better when toasted.
- Don’t skip toasting: Toasted bread adds flavor and structure, preventing the sandwiches from getting soggy.
- Layer strategically: Place the cheese directly against the bread to act as a barrier and keep the sandwich from becoming too wet.
- Get creative with decorations: Don’t worry about making the designs perfect—quirky imperfections add to the charm of these spooky snacks.
- Keep it simple: If you’re short on time, skip the detailed decorations and let the coffin shape speak for itself.
Remember, the goal is to have fun while making these. If you’re prepping with kids, let them take charge of the decorating—it’s all about creating memories!
Variations & Adaptations
Here are a few ways to make these coffin sandwiches your own:
- Vegetarian Option: Swap the deli meat for grilled vegetables like zucchini or roasted red peppers. Add hummus or cream cheese for extra flavor.
- Sweet Version: Use Nutella or peanut butter as the filling. Decorate with candy eyes or sprinkles instead of vegetables.
- Seasonal Twist: Use cranberry sauce and turkey for a Thanksgiving-inspired Halloween treat. Add a slice of Brie for extra creaminess.
These sandwiches are incredibly adaptable! Try using different cookie cutter shapes for variety—bats, pumpkins, or ghosts would be equally festive.
Serving & Storage Suggestions
For the best experience, serve your spooky coffin sandwiches freshly toasted and slightly warm. Arrange them on a platter with Halloween-themed decorations like spiderwebs, mini pumpkins, or spooky lights for a show-stopping party centerpiece.
If you have leftovers, wrap each sandwich tightly in plastic wrap or store them in an airtight container in the refrigerator for up to two days. To reheat, place them in a toaster oven or on a warm griddle for a few minutes, just until heated through. Avoid microwaving, as it can make the bread soggy.
Pro tip: The flavors of the fillings often meld together overnight, making the sandwiches taste even better the next day!
Nutritional Information & Benefits
These coffin sandwiches are a well-rounded snack perfect for kids and adults. Here’s what you can expect nutritionally:
- Calories: Roughly 250-300 per sandwich, depending on the fillings and bread type.
- Protein: Packed with protein from cheese and deli meat, making them a great pick-me-up during a long party.
- Vitamins: Add vegetables like spinach, cucumbers, or bell peppers for extra fiber and vitamins.
- Dietary Adjustments: Can easily be made gluten-free, vegetarian, or dairy-free to cater to dietary needs.
With wholesome ingredients and easy swaps, you can make these sandwiches as healthy or indulgent as you want. Plus, they’re perfectly portioned for guilt-free snacking!
Conclusion
Spooky DIY coffin sandwiches are more than just party food—they’re a fun, creative way to add something special to your Halloween celebration. Whether you’re entertaining a group or just want to enjoy a festive treat with your family, these sandwiches bring spooky vibes and delicious flavors to the table.
What I love most about this recipe is how easy it is to customize. From fillings to decorations, the possibilities are endless. Plus, the process of crafting each spooky design is just as enjoyable as eating them.
So go ahead—grab your ingredients and get started. I’d love to hear how you make this recipe your own! Leave me a comment below or share your creations on social media. Happy Halloween!
FAQs
Can I make these sandwiches ahead of time?
Yes! You can prepare the sandwiches a few hours in advance and store them in an airtight container in the fridge. Toast them right before serving for the best texture.
What if I don’t have a coffin-shaped cookie cutter?
No problem! You can use a sharp knife to cut the bread into coffin shapes. If needed, draw a stencil on parchment paper to guide your cuts.
Can I make these sandwiches gluten-free?
Absolutely! Simply use gluten-free bread as a substitute. Most brands toast just as well as regular bread.
What other fillings can I use?
Get creative! Try egg salad, tuna salad, or even a vegetarian option with hummus and roasted veggies. Sweet fillings like jam or Nutella are also fun for kids.
How do I keep the sandwiches from getting soggy?
Toast the bread and use a layer of cheese or butter to act as a barrier between the bread and wetter fillings like mayo or vegetables.
Pin This Recipe!
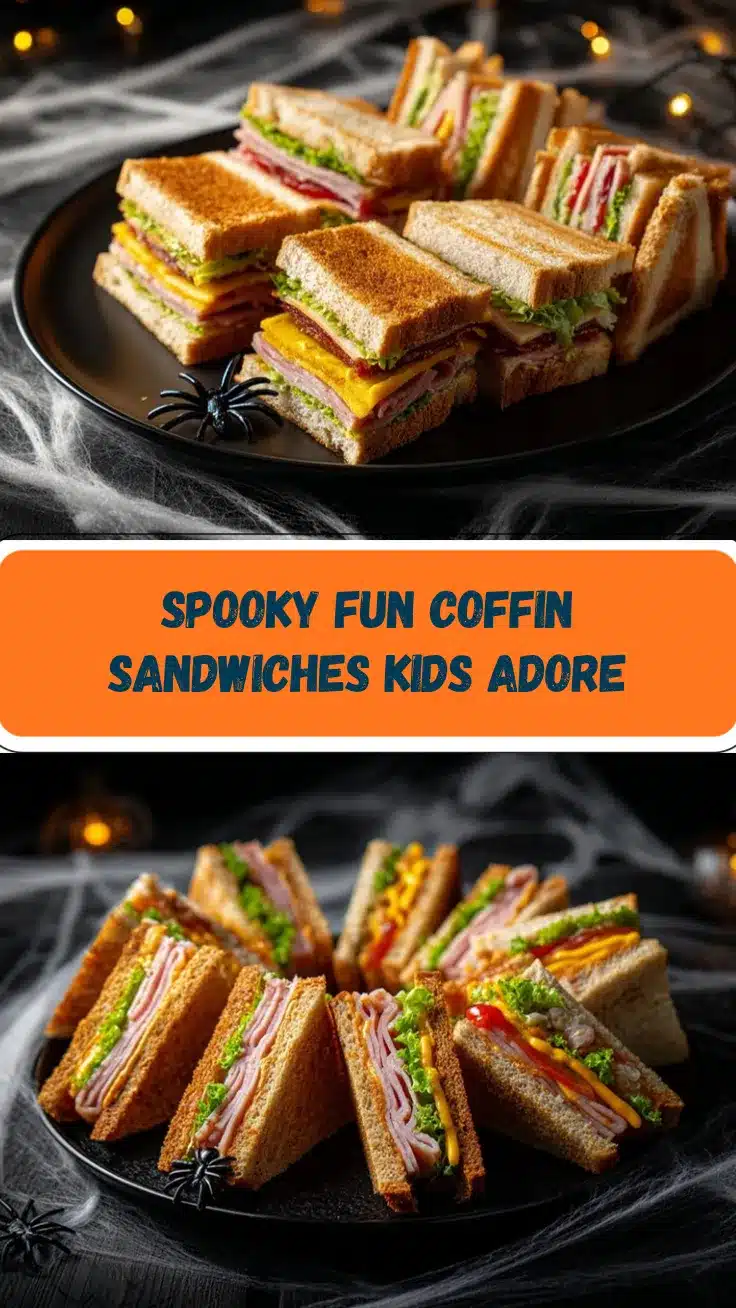
Spooky DIY Coffin Sandwiches for the Ultimate Halloween Party

These spooky coffin-shaped sandwiches are perfect for Halloween parties, combining a crunchy toasted bread, creamy fillings, and festive decorations to delight kids and adults alike.
- Prep Time: 15 minutes
- Cook Time: 10 minutes
- Total Time: 25 minutes
- Yield: 4 servings
- Category: Snack
- Cuisine: American
Ingredients
- Sandwich bread (white, whole wheat, rye, or pumpernickel)
- Softened butter
- Cheese slices (cheddar, Swiss, or mozzarella)
- Deli meat (ham, turkey, or roast beef)
- Mayonnaise (or mustard/dairy-free options)
- Vegetables (lettuce, spinach, or arugula)
- Decorating supplies (edible food markers or thinly sliced vegetables)
Instructions
- Cut the sandwich bread into coffin shapes using a cookie cutter or a knife with a stencil.
- Spread a thin layer of softened butter on one side of each piece of bread.
- Heat a griddle or non-stick pan over medium heat. Toast the buttered side of the bread until golden brown, about 2-3 minutes. Flip and toast the other side for 1-2 minutes.
- Prepare your fillings by layering cheese, deli meat, and vegetables. Avoid overstuffing the sandwiches.
- Spread mayonnaise or your chosen condiment on the unbuttered side of the bread.
- Add your fillings, layering cheese first for a smooth base.
- Top with the second piece of bread, buttered side out, and press gently to seal the sandwich.
- Decorate the sandwiches using edible markers or thinly sliced vegetables to create spooky designs.
- Arrange the sandwiches on a platter with Halloween-themed decorations for serving.
Notes
Toast the bread to prevent sogginess and use cheese or butter as a barrier between the bread and wet fillings. Get creative with decorations and involve kids for a fun activity.
Nutrition
- Serving Size: 1 sandwich
- Calories: 250300
- Sugar: 3
- Sodium: 450
- Fat: 12
- Saturated Fat: 5
- Carbohydrates: 28
- Fiber: 2
- Protein: 12
Keywords: Halloween, spooky snacks, coffin sandwiches, Halloween party food, festive sandwiches