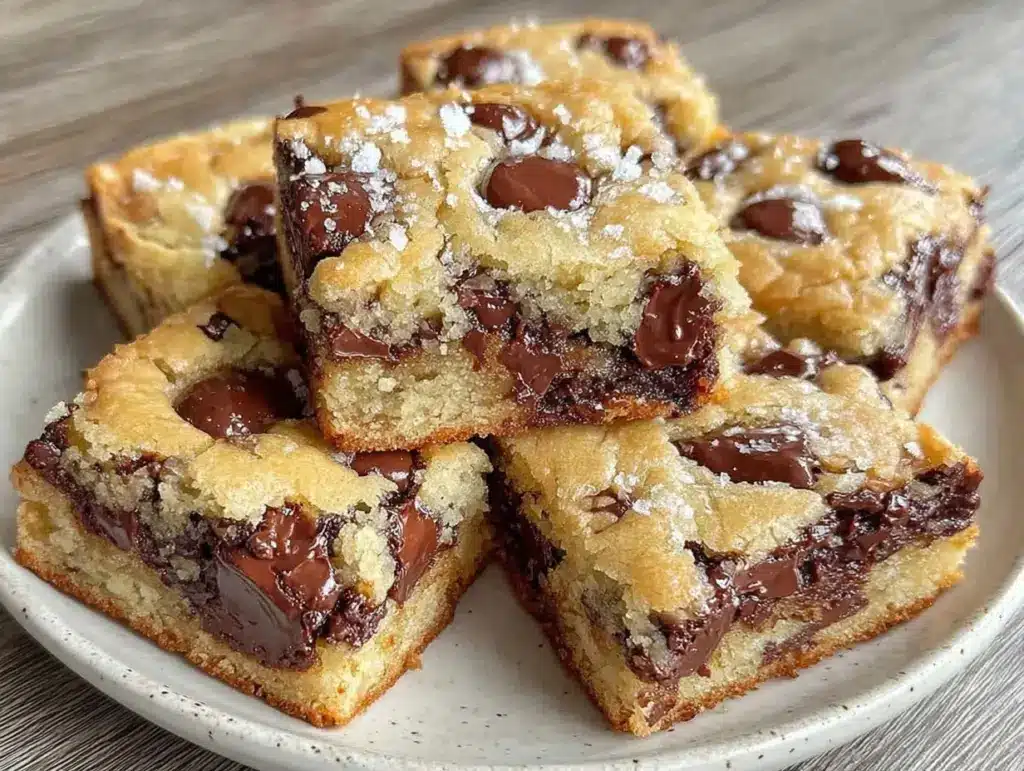
The smell of warm, gooey chocolate chip cookie bars fresh out of the oven is honestly one of the best things I know. It’s like a cozy hug you can eat. I first stumbled upon this homemade chocolate chip cookie bars recipe when I wanted a dessert that was easier to slice and share than classic cookies, but just as rich and satisfying. After testing it a dozen times (and yes, sampling way too many bars), I can say this recipe hits that perfect sweet spot every time.
What I love most about these homemade chocolate chip cookie bars is how they bring together that nostalgic cookie flavor with the convenience of a bar—no more fiddling with individual cookies or worrying about uneven baking. Whether you’re craving a simple sweet dessert for family night or need a quick bake for a last-minute gathering, these bars have you covered. Plus, the recipe is straightforward, which means you don’t have to be a baking pro to wow your friends and family.
As someone who’s baked all kinds of chocolate chip treats, this homemade chocolate chip cookie bars recipe has become a staple in my kitchen. It’s my go-to comfort dessert, and I’m sure you’ll find it just as irresistible once you give it a try.
Why You’ll Love This Recipe
- Quick & Easy: Ready in under 40 minutes, perfect for busy evenings or sudden sweet tooth cravings.
- Simple Ingredients: No fancy shopping required—just pantry staples you likely already have.
- Perfect for Any Occasion: Ideal for potlucks, casual get-togethers, or a cozy night in.
- Crowd-Pleaser: Kids and adults rave about the chewy edges and soft center.
- Unbelievably Delicious: The mix of buttery dough and melty chocolate chips creates that classic comfort food vibe.
What sets this homemade chocolate chip cookie bars recipe apart is its texture. Unlike regular cookies, these bars have a perfect balance between chewy and cakey, thanks to a few baking tricks I picked up over time. I blend the butter and sugars just right and use a mix of brown and white sugar to get that deep caramel flavor without overpowering the chocolate chips. Also, I always make sure to chill the dough before baking to prevent spreading—trust me, it makes a huge difference!
Honestly, this isn’t just another cookie bar recipe; it’s the one I turn to when I want to impress without stress. The bars come out perfectly every time, and they’re so satisfying you’ll want to keep a batch in the fridge for whenever the craving hits.
What Ingredients You Will Need
This recipe calls for simple, wholesome ingredients that combine to create that irresistible homemade chocolate chip cookie bars flavor and texture. Most of these are pantry staples, making this a no-fuss dessert you can whip up anytime.
- Unsalted butter, 1 cup (226 grams), softened (adds richness and helps with texture)
- Granulated sugar, ¾ cup (150 grams) (for sweetness and crisp edges)
- Light brown sugar, ¾ cup (165 grams), packed (gives that caramel depth)
- Large eggs, 2, room temperature (binds everything together)
- Pure vanilla extract, 2 teaspoons (for warm, sweet aroma)
- All-purpose flour, 2 ½ cups (310 grams) (the base of our batter)
- Baking soda, 1 teaspoon (helps the bars rise just right)
- Salt, ½ teaspoon (balances sweetness)
- Semi-sweet chocolate chips, 2 cups (340 grams) (the star of the show—feel free to mix in chunks or mini chips)
Ingredient tips: I prefer using a good quality unsalted butter like Land O’Lakes for consistent results. For the chocolate chips, Ghirardelli’s semi-sweet chips melt beautifully without losing shape. If you want a twist, swap half the chocolate chips for chopped walnuts or pecans for a little crunch.
For those with dietary needs, you can substitute all-purpose flour with a gluten-free blend like Bob’s Red Mill 1-to-1. Use dairy-free butter and vegan chocolate chips to make these bars vegan-friendly. Just keep in mind the texture might shift slightly.
Equipment Needed
- 9×13 inch (23×33 cm) baking pan — I recommend a metal pan for even heat distribution, but glass works fine too.
- Mixing bowls — a medium and a large one for wet and dry ingredients.
- Electric mixer or sturdy wooden spoon — I use my handheld mixer to cream butter and sugars effortlessly, but a wooden spoon works if you don’t have one.
- Measuring cups and spoons — for accuracy (baking is a science, you know!).
- Spatula — to scrape down the sides of the bowl and spread the batter evenly.
- Parchment paper or non-stick spray — makes cleanup a breeze and helps the bars come out easily.
Personally, I find parchment paper indispensable here because it lifts the bars out cleanly, no crumbling. If you’re on a budget, a simple non-stick spray will do just fine, just grease the pan well. If you bake often, investing in a good quality baking pan will pay off with more consistent results and easier cleanup.
Preparation Method
- Preheat your oven to 350°F (175°C). Line your 9×13 inch pan with parchment paper or grease it well. This ensures the bars won’t stick and makes slicing easier.
- Cream the butter and sugars: In a large bowl, beat 1 cup (226 grams) softened unsalted butter with ¾ cup (150 grams) granulated sugar and ¾ cup (165 grams) packed light brown sugar until the mixture is light and fluffy. This usually takes about 3-4 minutes with an electric mixer. The creaming step is key for that tender crumb.
- Add eggs and vanilla: Beat in 2 large eggs (room temperature) one at a time, then stir in 2 teaspoons pure vanilla extract. The batter might look slightly curdled here, but that’s normal.
- Combine dry ingredients: In a separate bowl, whisk together 2 ½ cups (310 grams) all-purpose flour, 1 teaspoon baking soda, and ½ teaspoon salt. This ensures even distribution and prevents clumps.
- Mix dry and wet ingredients: Gradually add the flour mixture to the wet ingredients, mixing just until combined. Overmixing can make the bars tough, so stop as soon as you don’t see flour.
- Fold in chocolate chips: Gently stir in 2 cups (340 grams) semi-sweet chocolate chips with a spatula, making sure they’re evenly spread throughout the batter.
- Transfer to pan: Spread the batter evenly in the prepared pan. Use the back of a spatula or your hands (lightly greased) to smooth the surface for even baking.
- Bake: Place the pan in the oven and bake for 25-30 minutes. The edges should be golden brown, and the center set but still slightly soft. A toothpick inserted in the center should come out with a few moist crumbs but no raw batter.
- Cool completely: Let the bars cool in the pan on a wire rack for at least 30 minutes before slicing. This step helps them firm up and slice cleanly.
- Slice and enjoy: Use a sharp knife to cut into squares or rectangles. For extra clean cuts, wipe the knife between slices.
Pro tip: If you’re short on time, you can slice the bars a bit warm, but expect them to be softer and a little messier. Also, chilling leftover bars in the fridge helps maintain their chewy texture.
Cooking Tips & Techniques
- Don’t skip softening the butter: Room temperature butter creams better with sugars, creating that light, airy batter essential for tender bars.
- Measure flour correctly: Spoon and level the flour instead of scooping directly from the bag to avoid dense, dry bars.
- Mix just enough: Overmixing after adding flour develops gluten, which can make bars tough instead of soft and chewy.
- Use the right pan size: A 9×13 inch pan gives these bars the perfect thickness. A smaller pan will make them too thick, and a larger one too thin.
- Watch the baking time: Every oven is different, so start checking at 25 minutes and adjust accordingly. The bars continue to cook slightly after you take them out.
- Cooling is crucial: Cutting warm bars can cause crumbling. Patience here pays off with neater slices.
- Personal lesson: I once baked these bars without mixing the baking soda thoroughly—ended up with uneven rise and dense spots. Don’t rush the dry ingredient prep!
Variations & Adaptations
- Nutty chocolate chip bars: Add 1 cup chopped walnuts or pecans for a satisfying crunch that pairs beautifully with the chocolate.
- White chocolate and macadamia: Swap the semi-sweet chips for white chocolate chunks and toss in ½ cup macadamia nuts for a tropical twist.
- Gluten-free version: Use a 1-to-1 gluten-free baking flour blend. Just keep an eye on baking time as it might vary slightly.
- Healthier swap: Substitute half the butter with unsweetened applesauce and use dark chocolate chips to cut down on fat and sugar.
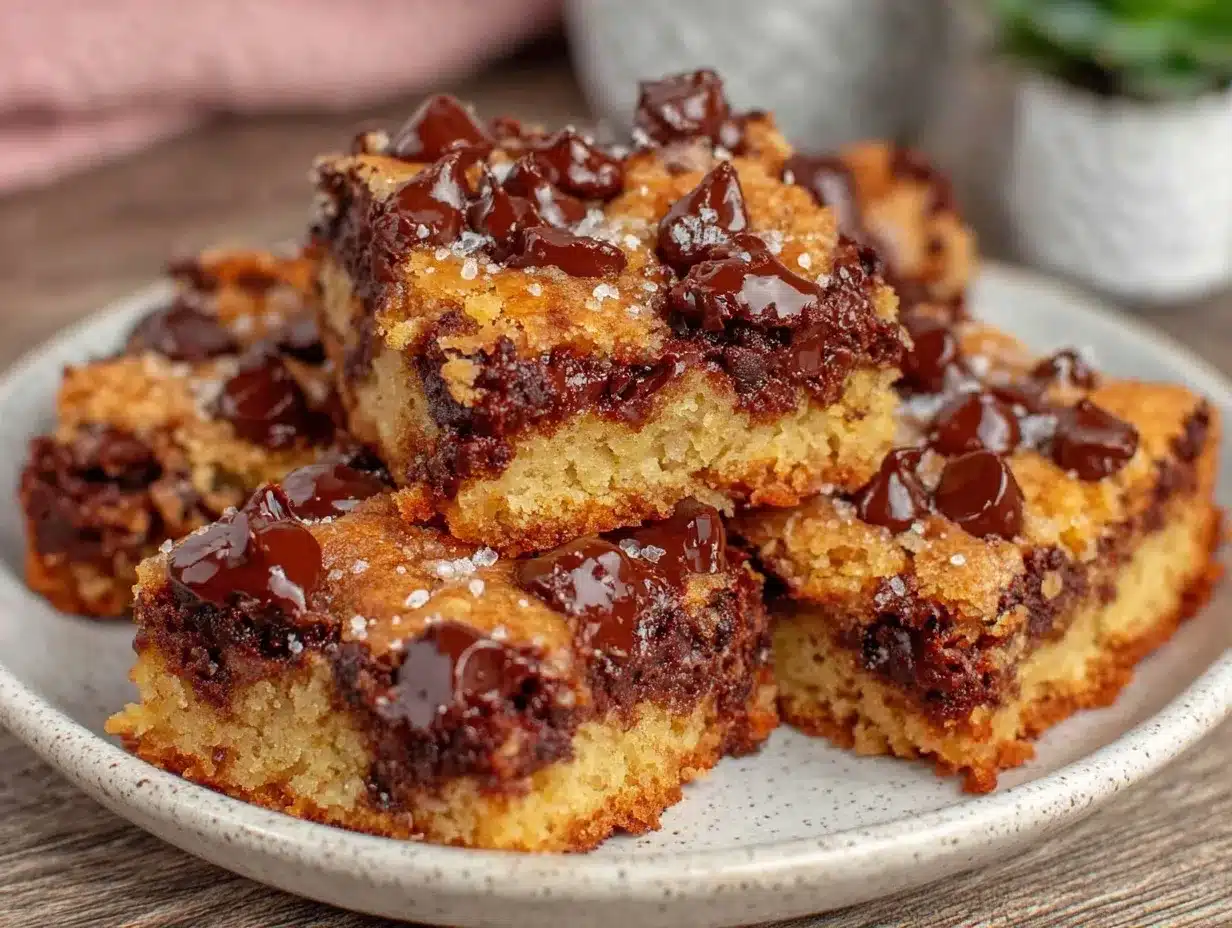
- Personal favorite: I sometimes sprinkle flaky sea salt on top before baking—it adds a wonderful pop of flavor that balances the sweetness perfectly.
You can also try baking these bars in muffin tins for individual portions or double the recipe to bake in a larger pan for bigger crowds. Adjust baking times accordingly, checking frequently.
Serving & Storage Suggestions
These homemade chocolate chip cookie bars are best served at room temperature, allowing the chocolate chips to be melty but not too soft. Pair them with a cold glass of milk or a scoop of vanilla ice cream for an indulgent treat. They also make a fantastic addition to dessert platters or picnic baskets.
Store leftover bars in an airtight container at room temperature for up to 3 days. For longer storage, keep them in the refrigerator for up to a week—just bring back to room temp before serving to enjoy that soft, chewy texture.
You can freeze these bars wrapped tightly in plastic wrap and then foil for up to 3 months. Thaw overnight in the fridge or at room temperature, then warm for a few seconds in the microwave if you want that fresh-baked feel.
Fun fact: The flavors in these bars deepen after a day or two, making them even more delicious when left to rest. Sometimes, I bake them the day before a party and let the flavors meld overnight. It’s a game changer!
Nutritional Information & Benefits
Each bar (assuming 12 servings) contains approximately 250-300 calories, depending on the size. They provide a good boost of energy from carbohydrates and fat, with moderate protein from the eggs and butter.
Key ingredients like butter and eggs offer essential fats and vitamins, while the chocolate chips bring antioxidants—especially if you choose dark chocolate. Using brown sugar adds a bit of molasses, which contains trace minerals.
This recipe is naturally gluten-containing but can be adapted for gluten-free diets as mentioned earlier. It’s not low-carb or sugar-free, so enjoy these bars as a special treat rather than a daily snack.
From my perspective, these bars strike a sweet balance between indulgence and simplicity, perfect when you want that comforting homemade dessert without complicated substitutions.
Conclusion
So, why not give these homemade chocolate chip cookie bars a try? They’re straightforward, comforting, and just plain delicious—the kind of dessert that makes you smile with the first bite. Feel free to tweak the chocolate chips, nuts, or even sprinkle a little sea salt on top to make them your own.
I keep this recipe in my back pocket for when I need a quick dessert fix that feels special but is totally doable. I hope it becomes a favorite in your kitchen too! If you try it out, I’d love to hear how you customize it or what memories it brings up for you.
Don’t forget to share your creations and drop a comment below—I’m always excited to see how you make this sweet dessert your own. Happy baking!
FAQs
Can I use frozen chocolate chips for this recipe?
Yes, frozen chocolate chips work just fine. They might melt a little slower, which can help the bars hold their shape better during baking.
How do I keep my cookie bars from being too dry?
Make sure not to overbake and keep an eye on your oven. Also, use softened butter and don’t overmix the dough to maintain moisture.
Can I add other mix-ins besides chocolate chips?
Absolutely! Nuts, dried fruit, or even peanut butter chips make delicious additions. Just fold them in gently to avoid overworking the batter.
What’s the best way to cut the bars cleanly?
Let the bars cool completely, then use a sharp knife, wiping it clean between cuts to avoid crumbling.
Can I make these bars ahead of time?
Yes! They actually taste better after resting overnight. Store them in an airtight container at room temperature or refrigerate for longer freshness.
Pin This Recipe!
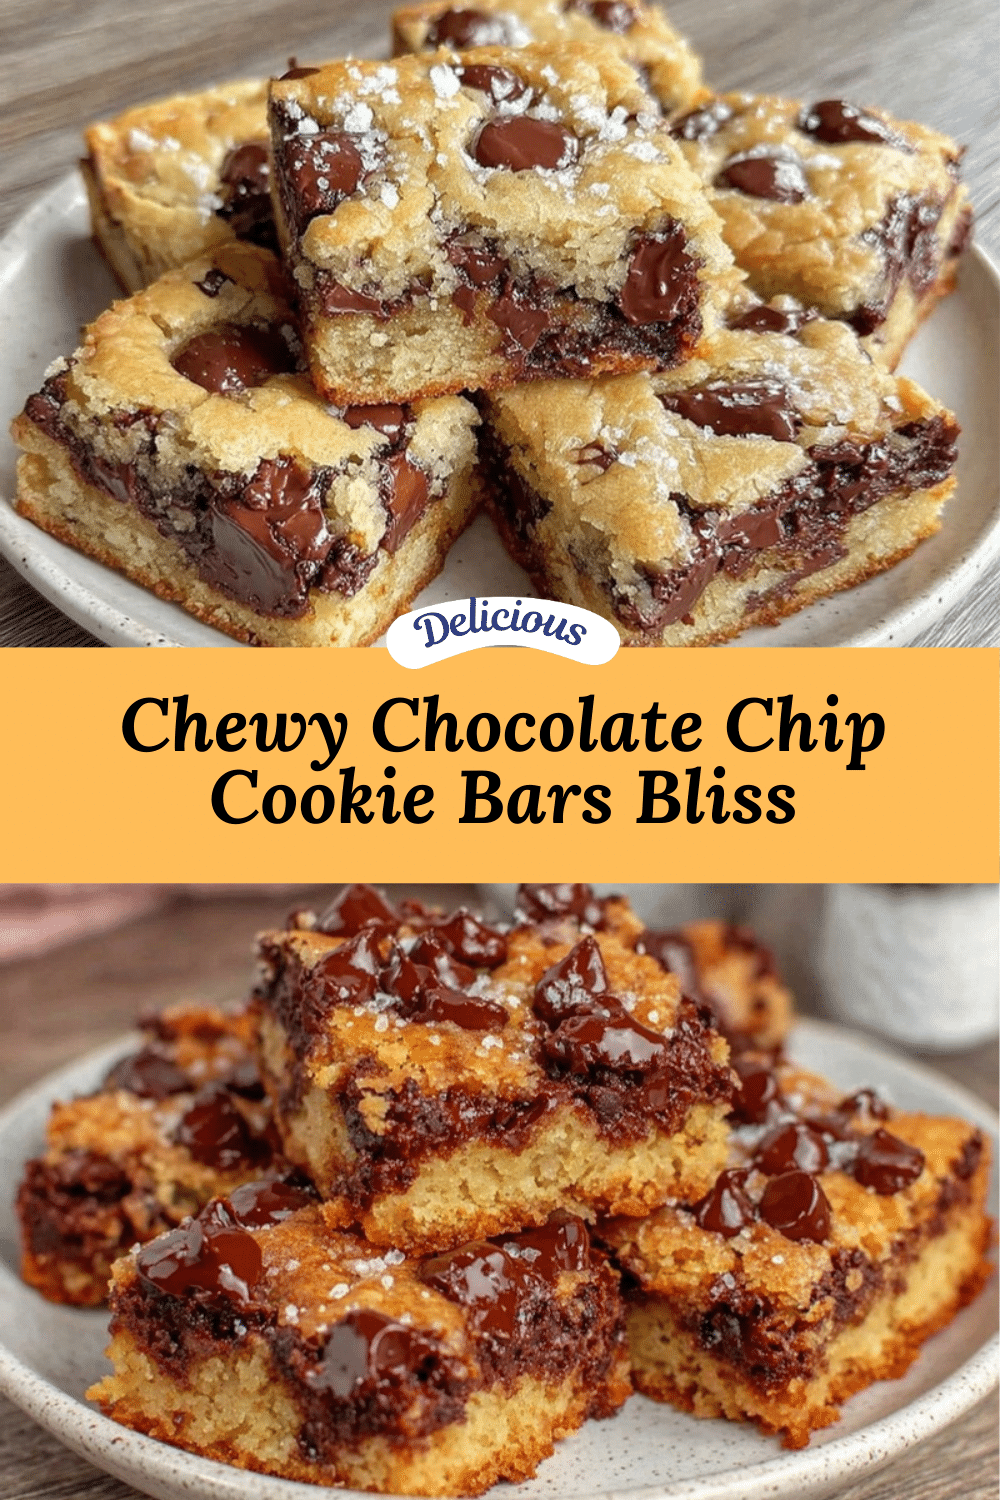
Homemade Chocolate Chip Cookie Bars
These homemade chocolate chip cookie bars offer a perfect balance of chewy and cakey texture with rich buttery dough and melty chocolate chips, making them an easy and crowd-pleasing dessert.
- Prep Time: 15 minutes
- Cook Time: 30 minutes
- Total Time: 45 minutes
- Yield: 12 servings 1x
- Category: Dessert
- Cuisine: American
Ingredients
- 1 cup (226 grams) unsalted butter, softened
- 3/4 cup (150 grams) granulated sugar
- 3/4 cup (165 grams) light brown sugar, packed
- 2 large eggs, room temperature
- 2 teaspoons pure vanilla extract
- 2 1/2 cups (310 grams) all-purpose flour
- 1 teaspoon baking soda
- 1/2 teaspoon salt
- 2 cups (340 grams) semi-sweet chocolate chips
Instructions
- Preheat your oven to 350°F (175°C). Line a 9×13 inch baking pan with parchment paper or grease it well.
- In a large bowl, beat 1 cup softened unsalted butter with 3/4 cup granulated sugar and 3/4 cup packed light brown sugar until light and fluffy, about 3-4 minutes.
- Beat in 2 large eggs one at a time, then stir in 2 teaspoons pure vanilla extract.
- In a separate bowl, whisk together 2 1/2 cups all-purpose flour, 1 teaspoon baking soda, and 1/2 teaspoon salt.
- Gradually add the flour mixture to the wet ingredients, mixing just until combined.
- Fold in 2 cups semi-sweet chocolate chips evenly throughout the batter.
- Spread the batter evenly in the prepared pan and smooth the surface.
- Bake for 25-30 minutes until edges are golden brown and center is set but slightly soft. A toothpick inserted should come out with a few moist crumbs.
- Cool completely in the pan on a wire rack for at least 30 minutes before slicing.
- Slice into squares or rectangles using a sharp knife, wiping the knife between slices for clean cuts.
Notes
Use room temperature butter for better creaming. Spoon and level flour to avoid dense bars. Do not overmix after adding flour to keep bars tender. Chilling dough before baking helps prevent spreading. Let bars cool completely before slicing for clean cuts. Bars can be stored at room temperature for 3 days or refrigerated for up to a week. Freeze wrapped bars for up to 3 months.
Nutrition
- Serving Size: 1 bar (1/12th of rec
- Calories: 275
- Sugar: 22
- Sodium: 150
- Fat: 14
- Saturated Fat: 8
- Carbohydrates: 35
- Fiber: 1
- Protein: 3
Keywords: chocolate chip cookie bars, easy dessert, homemade cookie bars, chewy cookie bars, chocolate chip bars, quick dessert


