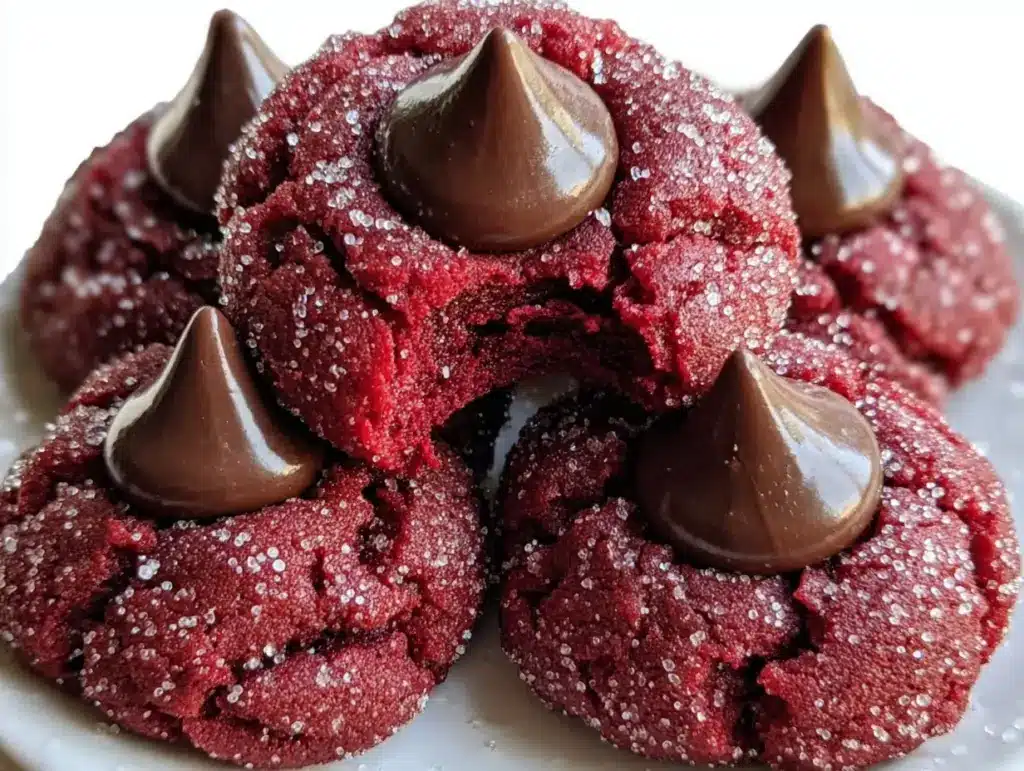
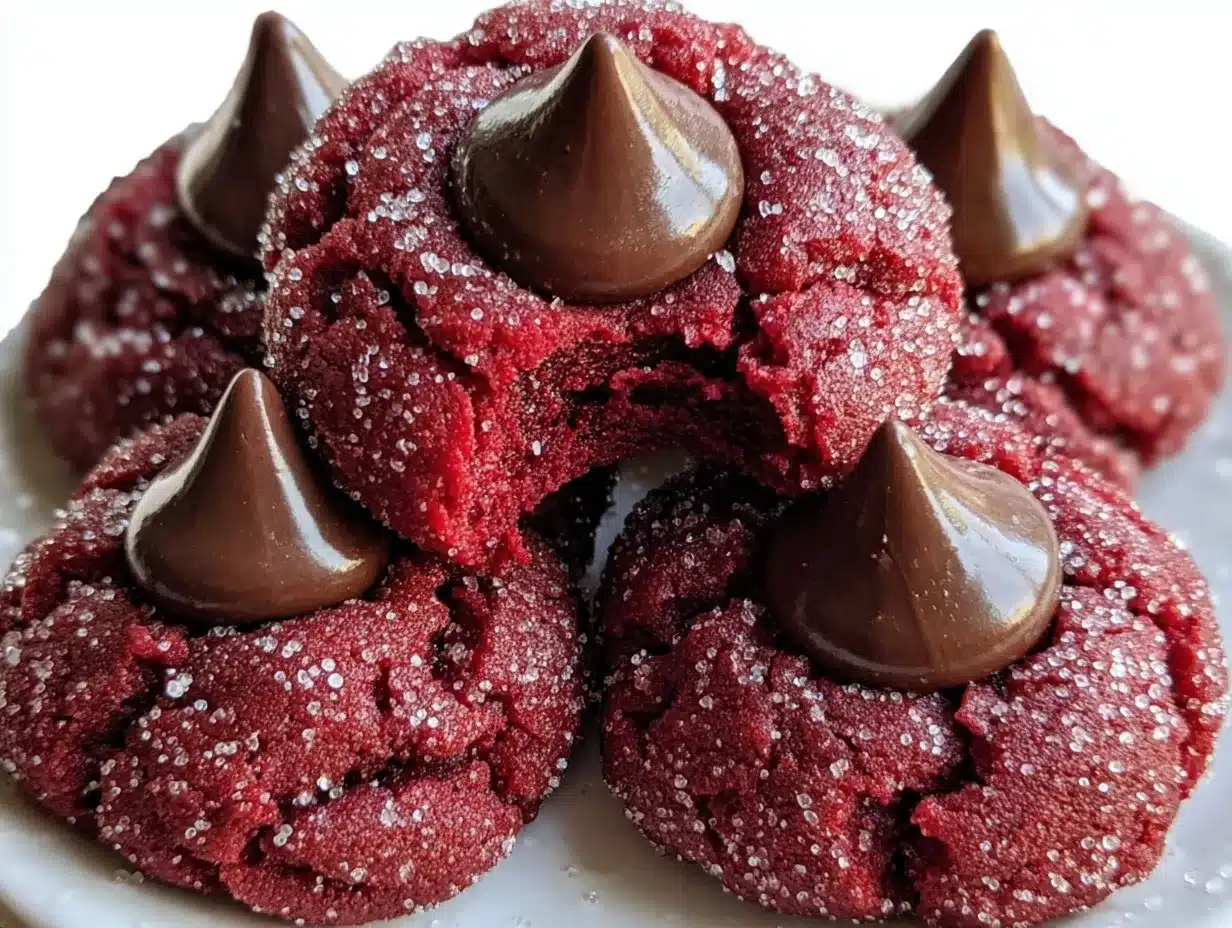
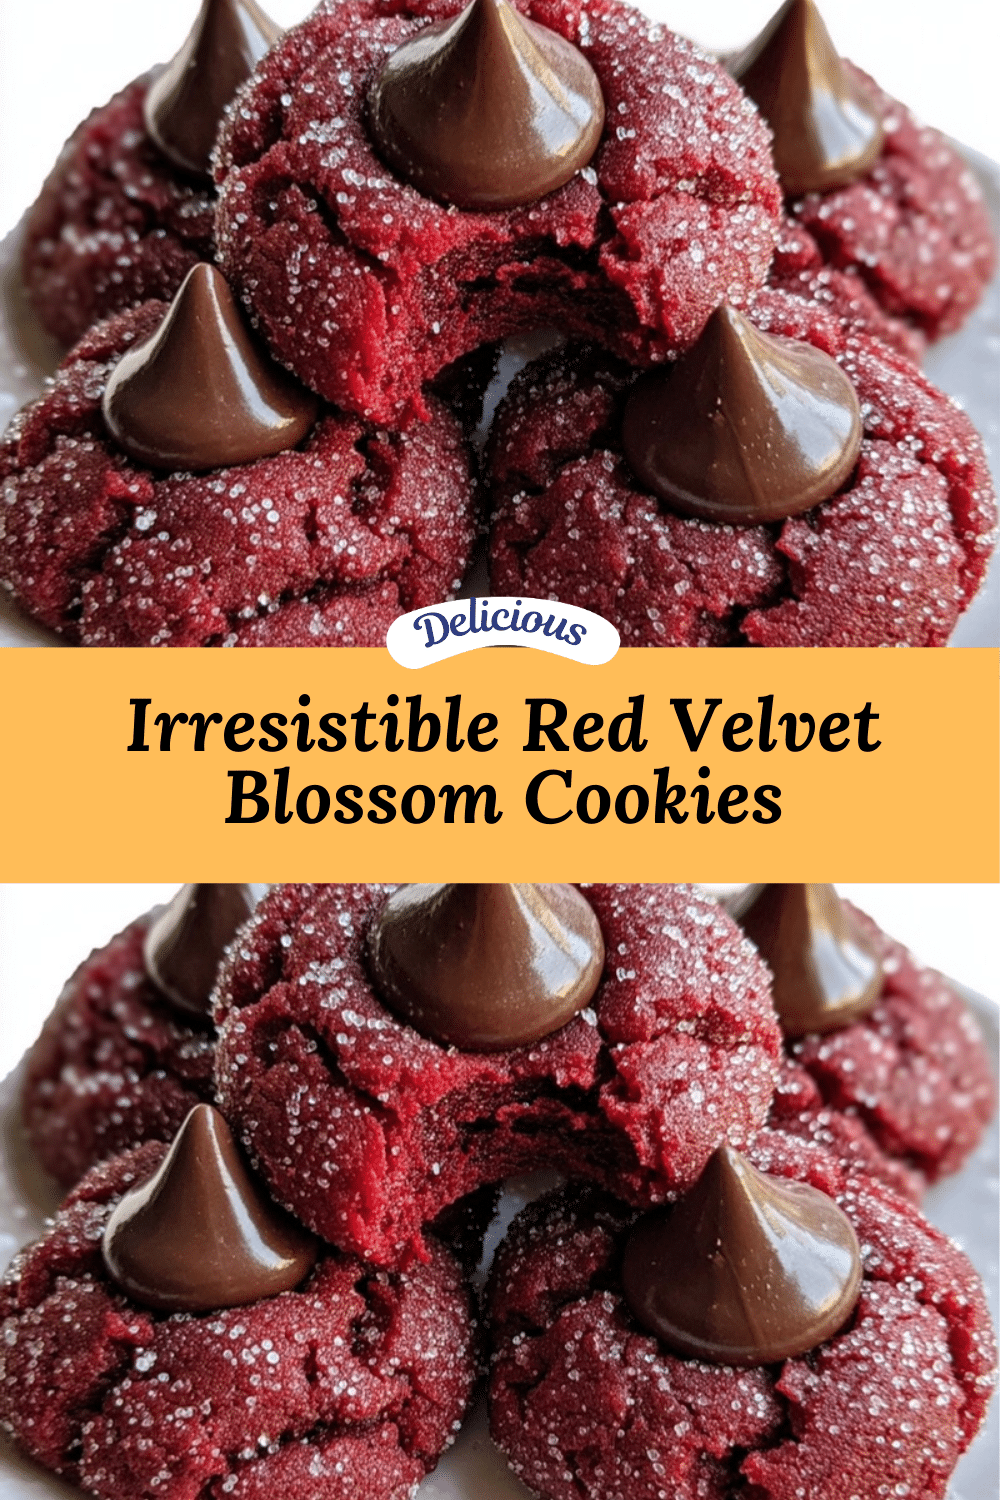
The moment you bite into a Perfect Red Velvet Blossoms Cookie, you know something special is happening. The rich, velvety red dough gives way to a warm, melty chocolate center that feels like a little love letter baked right into the cookie. Honestly, I first baked these red velvet blossoms cookies last Valentine’s Day when I wanted a sweet treat to share with my family that felt festive but wasn’t too fussy. They quickly became a household favorite — and I’ve made them countless times since.
What makes these cookies so irresistible isn’t just their vibrant color or that gooey chocolate kiss at the heart; it’s also how easy they come together. If you’re looking for a Valentine’s Day treat that’s both charming and simple, this recipe is your go-to. Whether you’re baking for kids, friends, or your sweetheart, these Perfect Red Velvet Blossoms Cookies offer that perfect mix of sweetness, softness, and nostalgia.
Over the years, I’ve tweaked the recipe a bit to get the texture just right — not too cakey, not too dense — and trust me, the results speak for themselves. You’ll find yourself reaching for these cookies long after February 14th. So, if you’re ready to make a treat that’s as fun to bake as it is to eat, let’s get started on these Perfect Red Velvet Blossoms Cookies!
Why You’ll Love This Recipe
After baking these Perfect Red Velvet Blossoms Cookies more times than I can count, I can honestly say they’re a winner for so many reasons. Here’s why you’ll adore making them too:
- Quick & Easy: The dough comes together in about 15 minutes, and the whole baking process takes less than 30. Great for last-minute Valentine’s Day plans or a spontaneous baking session.
- Simple Ingredients: No weird extras or hard-to-find stuff. Your pantry probably already has what you need—like cocoa powder, red food coloring, and classic chocolate kisses.
- Perfect for Valentine’s Day: The bright red color and chocolate center scream romance. These cookies are perfect for gifting, classroom parties, or a cozy night in.
- Crowd-Pleaser: Kids, adults, cookie lovers, skeptics—they all rave about these. The soft, chewy texture with a chocolate surprise is a universal hit.
- Unbelievably Delicious: The subtle cocoa flavor balances the sweetness perfectly, and that melting chocolate kiss just takes it over the edge.
What sets this recipe apart is the way the dough holds together yet stays tender, making these cookies look like little blossoms with chocolate centers peeking out. Plus, the step of chilling the dough really helps with that perfect shape and texture. This isn’t just another red velvet cookie recipe—it’s the one I reach for when I want a treat that feels special but never complicated.
Honestly, there’s something about these cookies that makes you want to close your eyes and savor every bite. If you’re after comfort food with a romantic twist, these are it.
What Ingredients You Will Need
This recipe uses straightforward ingredients that come together to create that iconic red velvet flavor and texture, with a melty chocolate center that’s pure joy. Most of these are pantry staples, and I’ll include some tips to get the best results.
- All-purpose flour – 2 ½ cups (315g), the base for the cookie dough.
- Cocoa powder – ¼ cup (25g), unsweetened, for that subtle chocolate flavor that defines red velvet.
- Baking soda – 1 teaspoon, helps the cookies rise and stay tender.
- Salt – ½ teaspoon, balances sweetness and enhances flavor.
- Unsalted butter – 1 cup (227g), softened to room temperature (I like using Land O Lakes for a rich texture).
- Granulated sugar – 1 cup (200g), for sweetness and a nice crumb.
- Brown sugar – ½ cup (110g), packed, adds moisture and depth.
- Large eggs – 2, room temperature, for structure and richness.
- Vanilla extract – 2 teaspoons, pure vanilla gives that warm, inviting aroma.
- Red food coloring – 2 tablespoons, gel or liquid (I recommend gel for vibrant color without extra liquid).
- White vinegar – 1 teaspoon, reacts with baking soda to help the texture and color.
- Milk – ½ cup (120ml), whole or 2%, adds moisture (dairy-free milk works too).
- Hershey’s Kisses – about 24, unwrapped, the star of the blossoms.
Pro tip: For the best texture, use fresh baking soda and unsweetened cocoa powder. If you want to make these gluten-free, swapping all-purpose flour for a gluten-free 1-to-1 baking flour blend works well but may slightly change the texture. And if you prefer dairy-free, go for coconut oil instead of butter and almond milk instead of regular milk.
Equipment Needed
To make these Perfect Red Velvet Blossoms Cookies, you don’t need anything fancy, but a few kitchen tools will make life easier:
- Mixing bowls: At least two; one for dry ingredients and one for wet. I prefer glass or stainless steel for easy cleanup.
- Electric hand mixer or stand mixer: For creaming butter and sugars to the right texture. You can do it by hand, but it takes longer.
- Measuring cups and spoons: Accurate measurements make a huge difference in baking.
- Rubber spatula: Great for scraping down the sides of bowls and folding ingredients gently.
- Baking sheets: Two standard half-sheet pans work perfectly.
- Parchment paper or silicone baking mats: Prevents sticking and helps cookies bake evenly.
- Cookie scoop or tablespoon: For evenly sized dough balls, which bake uniformly.
- Cooling rack: Essential for letting cookies cool without becoming soggy.
If you don’t have a cookie scoop, a spoon works fine. I’ve also used disposable piping bags to dollop dough neatly when in a pinch. For budget-friendly options, parchment paper is great and reusable silicone mats save money over time. Just remember to clean your mixer and spatulas promptly to avoid sticky messes!
Preparation Method
- Preheat your oven to 350°F (175°C). Line two baking sheets with parchment paper or silicone mats to keep things neat.
- Mix dry ingredients: In a medium bowl, whisk together 2 ½ cups (315g) all-purpose flour, ¼ cup (25g) unsweetened cocoa powder, 1 teaspoon baking soda, and ½ teaspoon salt. Set aside.
- Cream butter and sugars: In a large bowl, use your mixer to beat 1 cup (227g) softened unsalted butter with 1 cup (200g) granulated sugar and ½ cup (110g) packed brown sugar until light and fluffy—about 3-4 minutes. This step is key for soft, tender cookies.
- Add eggs and flavor: Beat in 2 large eggs, one at a time, then add 2 teaspoons vanilla extract and 2 tablespoons red food coloring. Mix until the color is uniform—a deep, gorgeous red.
- Combine wet and dry: Gradually add your dry mixture to the wet ingredients, alternating with ½ cup (120ml) milk. Start and end with the dry mix. Pour in 1 teaspoon white vinegar and give one last gentle mix until just combined. Don’t overmix or you’ll lose that tender crumb.
- Chill the dough: Cover your bowl with plastic wrap and refrigerate for at least 30 minutes. This step helps the cookies hold their shape and keeps the blossoms looking perfect.
- Scoop the dough: Using a cookie scoop or tablespoon, drop dough balls about 2 inches apart on your prepared baking sheets. They won’t spread much, so you can fit quite a few per pan.
- Bake: Place cookies in the oven and bake for 10-12 minutes until edges are set but centers still look soft. Right out of the oven, press an unwrapped Hershey’s Kiss into the center of each cookie. This step gives you that classic blossom look and melty chocolate center.
- Cool: Let cookies cool on the sheet for 5 minutes before transferring to a cooling rack. This prevents the kisses from sliding off and helps cookies firm up just right.
Pro tip: If your kitchen is warm, your dough might be sticky — a quick chill after scooping dough balls on the sheet can help. Also, don’t skip the vinegar; it reacts with baking soda to give that subtle red velvet tang and tender crumb.
Cooking Tips & Techniques
Making Perfect Red Velvet Blossoms Cookies isn’t rocket science, but a few techniques can make your batch truly shine. Here’s what I’ve learned through trial and error:
- Don’t skip chilling the dough: It really makes a difference in texture and appearance. Chilled dough spreads less, so you get those lovely blossom shapes.
- Cream butter and sugar well: This step introduces air into the dough, which keeps the cookies soft and tender. I usually beat for 3-4 minutes until it’s pale and fluffy.
- Use gel food coloring: It packs more pigment without adding extra liquid, so your dough won’t get too runny.
- Press kisses in right after baking: The cookies need to be hot enough for the chocolate to soften but not too cool or the kiss won’t stick well.
- Watch baking time closely: Overbaking dries out these cookies fast. Pull them out when edges are just set and centers still look soft for that perfect chewy center.
- Multitasking: While the dough chills, clean up your workspace or prep other Valentine’s Day treats to save time.
One lesson I learned the hard way: if you press the kisses in too early, they melt and lose shape. If you wait too long, they don’t stick. Timing is everything here!
Variations & Adaptations
If you want to mix things up or cater to different dietary needs, these Perfect Red Velvet Blossoms Cookies are super adaptable:
- Gluten-Free Version: Swap all-purpose flour for a gluten-free all-purpose blend. I recommend Bob’s Red Mill 1-to-1 for reliable results. Texture might be slightly denser but still delicious.
- Vegan Adaptation: Use vegan butter and a flax egg (1 tbsp ground flaxseed + 3 tbsp water) instead of eggs. Choose dairy-free milk and vegan chocolate kisses. Baking time may vary, so keep an eye on them.
- Flavor Twists: Add a teaspoon of instant espresso powder to the dry ingredients for a mocha red velvet blossom. Alternatively, swap Hershey’s Kisses for caramel-filled chocolates or peppermint ones for a holiday spin.
- Seasonal Swaps: In spring, try mixing mini white chocolate chips into the dough and use pastel-colored candy kisses instead of red.
- Nutty Upgrade: Fold in ½ cup finely chopped pecans or walnuts for crunchy texture contrast.
Once, I tried using a sprinkle of sea salt on top of the kisses before they cooled, and it gave a fantastic sweet-salty combo that kept everyone guessing!
Serving & Storage Suggestions
These Perfect Red Velvet Blossoms Cookies are best enjoyed fresh and slightly warm, so the chocolate center is still gooey. Serve them on a pretty platter with a dusting of powdered sugar or alongside a cup of hot cocoa or coffee for a cozy vibe.
For storage, keep cookies in an airtight container at room temperature for up to 3 days. If you want to keep them longer, stash them in the fridge for up to a week. Just know the chocolate centers will firm up more when chilled.
Freezing works great too! Freeze baked cookies in a single layer on a baking sheet, then transfer to a freezer-safe bag or container. Thaw at room temperature or warm briefly in the oven at 300°F (150°C) for 5 minutes to bring back that softness.
Fun fact: letting these cookies rest overnight actually deepens their flavor and softens the texture as the moisture redistributes. So, if you can wait, that’s a nice little bonus.
Nutritional Information & Benefits
Each Perfect Red Velvet Blossoms Cookie (based on 24 cookies total) roughly contains:
| Calories | ~140 kcal |
|---|---|
| Fat | 7g (mostly from butter) |
| Carbohydrates | 19g (includes sugars and flour) |
| Protein | 2g |
| Fiber | 1g |
While these cookies are definitely a treat, they also have some nutritional perks. Cocoa powder contains antioxidants, and using unsalted butter lets you control the saltiness. If you swap in whole grain or gluten-free flours, you can bump the fiber a bit too.
These cookies are naturally gluten-containing unless you make the swap mentioned earlier. They do contain dairy and eggs, so keep that in mind if cooking for allergy-sensitive guests.
From a wellness perspective, I love these cookies because they offer a feeling of indulgence without being overly complicated or heavy. Baking them at home means you know exactly what’s inside, which is a comfort in itself!
Conclusion
If you want a Valentine’s Day cookie that’s both stunning and scrumptious, these Perfect Red Velvet Blossoms Cookies are a no-brainer. They bring together a soft, tender red velvet base with that irresistible melty chocolate kiss, making each bite feel like a little celebration.
What I love most is how easy they are to make, even if you’re not a seasoned baker. Plus, there’s lots of room to customize and make them your own—whether that’s swapping in different chocolates, adjusting for allergies, or adding a personal twist. Honestly, these cookies have become a sweet tradition in my kitchen, and I’m sure they’ll be a favorite in yours too.
Give this recipe a try, then let me know how it turns out! Share your tweaks, photos, or favorite ways to serve these charming cookies. Happy baking and happy Valentine’s Day!
FAQs
Can I make these cookies without red food coloring?
You can skip the red food coloring, but the cookies won’t have that classic red velvet color. The flavor will still be delicious, just less festive.
What type of chocolate works best for the kisses?
Classic Hershey’s milk chocolate kisses are traditional and melt perfectly. You can use dark or white chocolate versions depending on your taste.
Can I prepare the dough ahead of time?
Absolutely! The dough can be chilled overnight or frozen for up to a week before baking. Just thaw in the fridge before scooping and baking.
My cookies spread too much. What did I do wrong?
Most likely, the dough wasn’t chilled enough, or the butter was too soft. Chilling helps the cookies hold their shape. Also, avoid overmixing the dough.
How do I store leftover cookies to keep them fresh?
Store them in an airtight container at room temperature for up to 3 days or freeze for longer storage. Reheat gently to bring back softness.
Pin This Recipe!
Perfect Red Velvet Blossoms Cookies
Soft, tender red velvet cookies with a melty chocolate kiss center, perfect for Valentine’s Day or any special occasion. Easy to make with simple ingredients and a delightful texture.
- Prep Time: 15 minutes
- Cook Time: 12 minutes
- Total Time: 42 minutes
- Yield: 24 cookies 1x
- Category: Dessert
- Cuisine: American
Ingredients
- 2 ½ cups (315g) all-purpose flour
- ¼ cup (25g) unsweetened cocoa powder
- 1 teaspoon baking soda
- ½ teaspoon salt
- 1 cup (227g) unsalted butter, softened to room temperature
- 1 cup (200g) granulated sugar
- ½ cup (110g) packed brown sugar
- 2 large eggs, room temperature
- 2 teaspoons vanilla extract
- 2 tablespoons red food coloring (gel or liquid, gel recommended)
- 1 teaspoon white vinegar
- ½ cup (120ml) milk (whole or 2%, dairy-free milk works too)
- About 24 Hershey’s Kisses, unwrapped
Instructions
- Preheat your oven to 350°F (175°C). Line two baking sheets with parchment paper or silicone mats.
- In a medium bowl, whisk together the flour, cocoa powder, baking soda, and salt. Set aside.
- In a large bowl, beat the softened butter with granulated sugar and brown sugar using a mixer until light and fluffy, about 3-4 minutes.
- Beat in the eggs one at a time, then add vanilla extract and red food coloring. Mix until uniform in color.
- Gradually add the dry ingredients to the wet ingredients, alternating with milk, starting and ending with the dry mixture. Add white vinegar and mix gently until just combined. Do not overmix.
- Cover the dough with plastic wrap and refrigerate for at least 30 minutes.
- Using a cookie scoop or tablespoon, drop dough balls about 2 inches apart on the prepared baking sheets.
- Bake for 10-12 minutes until edges are set but centers still look soft. Immediately press an unwrapped Hershey’s Kiss into the center of each cookie.
- Let cookies cool on the baking sheet for 5 minutes before transferring to a cooling rack to cool completely.
Notes
Chilling the dough is essential for shape and texture. Use gel food coloring for vibrant color without extra liquid. Press kisses into cookies immediately after baking while still hot. Avoid overbaking to keep centers soft and chewy. Dough can be chilled overnight or frozen before baking.
Nutrition
- Serving Size: 1 cookie
- Calories: 140
- Fat: 7
- Carbohydrates: 19
- Fiber: 1
- Protein: 2
Keywords: red velvet cookies, Valentine's Day cookies, chocolate kiss cookies, easy cookie recipe, soft cookies, festive cookies


