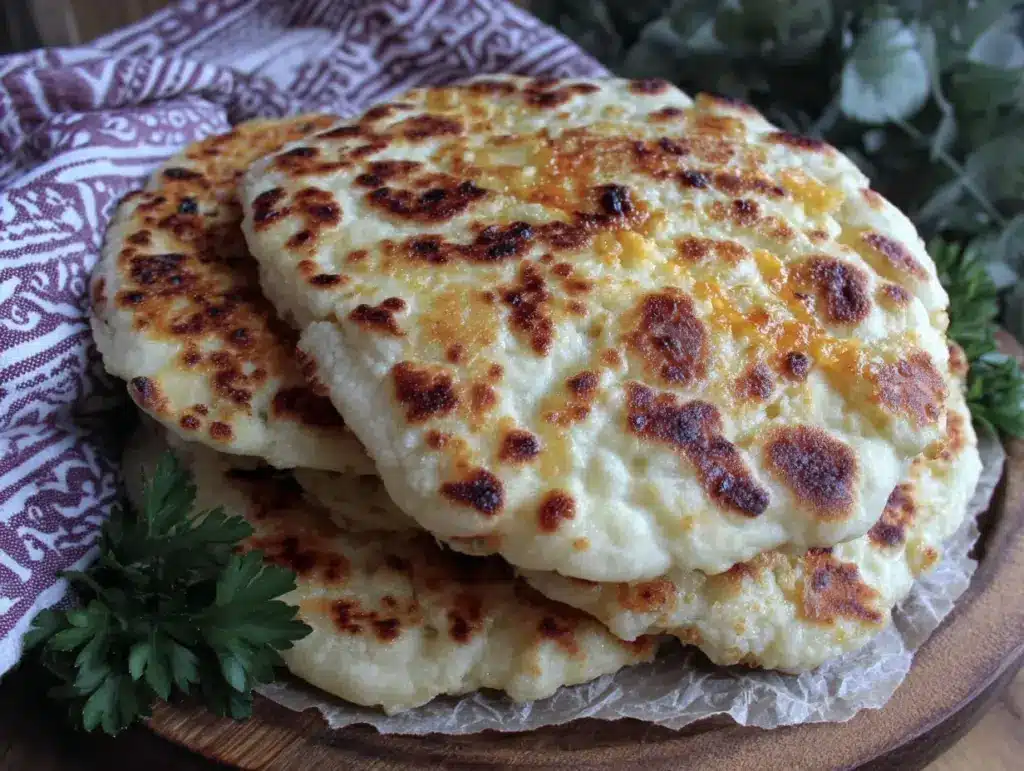
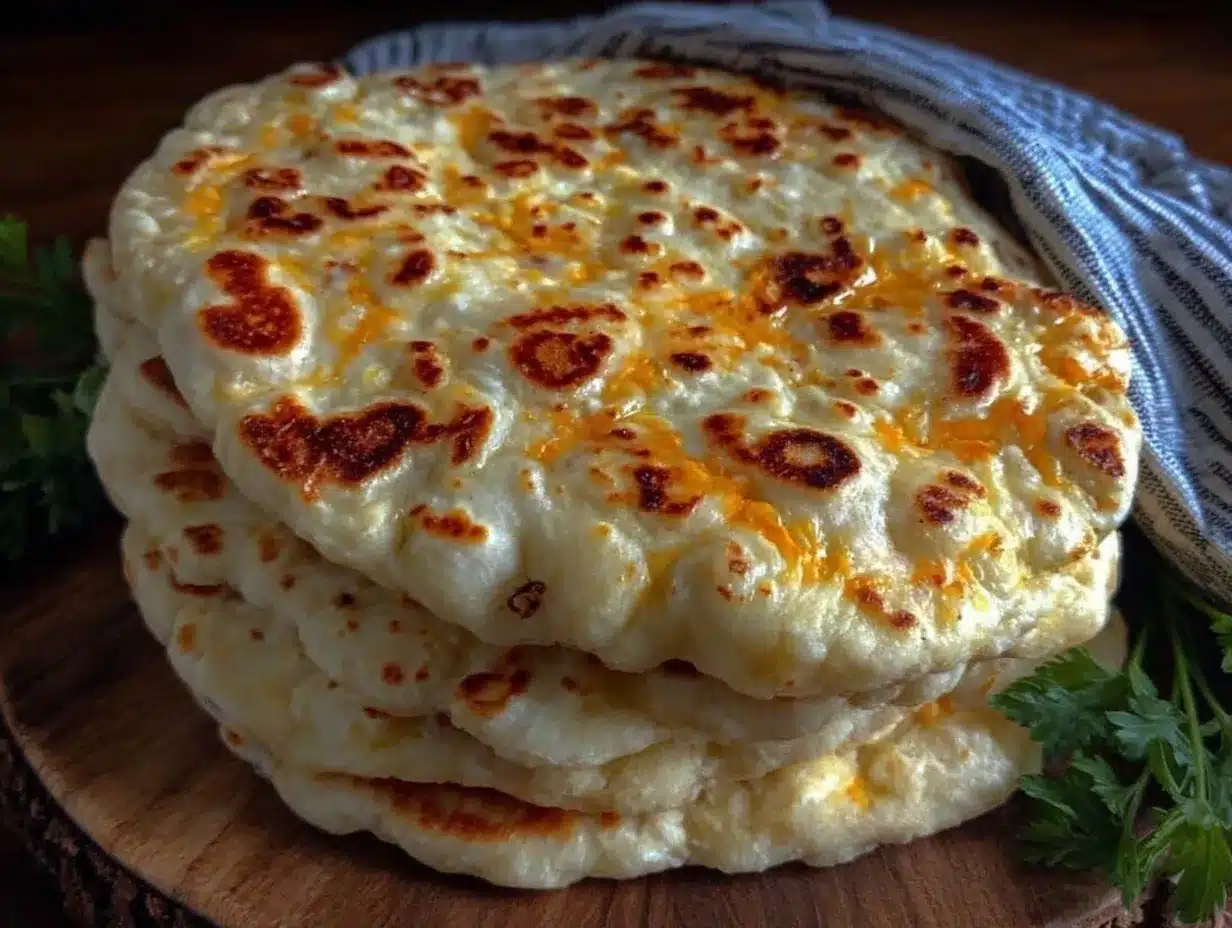
The first time I made this easy flavor-packed Greek pita recipe, I was honestly just craving something fresh and simple after a long day. The smell of the warm, pillowy pita fresh from the oven reminded me of those little neighborhood bakeries in Athens where the air is thick with the scent of olive oil and herbs. I never thought homemade pita bread could be this easy—and flavorful! Over the years, I’ve tweaked this recipe to balance the perfect soft texture with that delightful pocket that makes stuffing it a joy.
Greek pita bread has this magical way of turning any meal into a mini celebration. Whether you’re filling it with grilled lamb, fresh veggies, or even just a smear of tzatziki, it’s comfort food that feels special yet approachable. I’ve shared this recipe with friends and family, and it’s become a staple when we want fast, satisfying meals without the fuss of store-bought options that often taste bland or overly processed.
As someone who’s tested this recipe countless times (trust me, the kitchen can get messy!), I’ve learned a few tricks to make sure your pita comes out soft, fluffy, and perfectly pocketed every single time. Plus, this recipe is versatile enough for beginners and seasoned cooks alike—no fancy ingredients or complicated steps, just good old-fashioned flavor. If you love the idea of fresh homemade bread but don’t want to spend hours fussing, this easy flavor-packed Greek pita recipe is going to become your new best friend in the kitchen.
Why You’ll Love This Recipe
After baking this Greek pita bread repeatedly, I’m convinced it hits all the right notes for any home cook. Here’s why you’ll find yourself coming back to this recipe again and again:
- Quick & Easy: This pita recipe comes together in under 90 minutes, including rising time. Perfect for weeknight dinners or last-minute entertaining.
- Simple Ingredients: No exotic stuff here—just pantry staples like flour, yeast, olive oil, and a touch of seasoning.
- Perfect for Any Occasion: Whether it’s a casual lunch, a family dinner, or a Mediterranean-themed gathering, these pitas bring everyone to the table.
- Crowd-Pleaser: Kids love the soft texture, and adults appreciate the authentic flavor and versatility.
- Unbelievably Delicious: The subtle hint of herbs and olive oil in the dough gives the pita a flavor that’s anything but ordinary.
What makes this recipe stand out is the method I use to get that classic pocket without the dough turning chewy or tough. Blending olive oil right into the dough and giving it a good rest creates a tender crumb that’s light yet sturdy enough for hearty fillings. I’ve also experimented with different flours and hydration levels to find the sweet spot that works in my kitchen’s climate. Honestly, this isn’t just another pita recipe—it’s the one I trust when I want authentic Greek flavors and a reliable result every time.
And let’s be real—there’s something pretty satisfying about pulling this warm pita right from your own oven. It’s a humble recipe that turns into a nostalgic, crowd-pleasing favorite with minimal effort.
What Ingredients You Will Need
This recipe calls for simple, wholesome ingredients that come together to create that perfect pita bread texture and flavor. Most of these you probably have in your pantry right now, which makes this recipe super accessible and easy to whip up anytime.
- All-purpose flour – 3 cups (360 g), for the perfect balance of chew and softness. You can substitute with bread flour for a slightly chewier texture.
- Instant yeast – 2 ¼ teaspoons (one packet), the key to that beautiful puff and pocket.
- Warm water – 1 ¼ cups (300 ml), around 110°F (43°C) to activate the yeast perfectly.
- Olive oil – 2 tablespoons, plus extra for brushing. I recommend a fruity, good-quality olive oil for best flavor.
- Salt – 1 teaspoon, to enhance the dough’s flavor.
- Sugar – 1 teaspoon, to help jumpstart the yeast.
- Dried oregano – 1 teaspoon, for that unmistakable Greek herb note.
- Garlic powder – ½ teaspoon, adds a subtle, savory depth (optional but highly recommended).
- Sesame seeds or nigella seeds – 1 tablespoon, for sprinkling on top (optional but adds a lovely crunch and visual appeal).
For the best results, I usually pick a reliable brand of instant yeast like Red Star or Fleischmann’s. If you want a gluten-free option, swapping in a 1:1 gluten-free baking flour blend works pretty well—just expect a slightly different texture.
In summertime, I sometimes add fresh herbs like chopped rosemary or thyme for a seasonal twist. And if you prefer a richer dough, a tablespoon of Greek yogurt or a splash of milk can be mixed in without changing the process too much.
Equipment Needed
- Mixing bowl: A large bowl for combining and kneading your dough. A stand mixer with a dough hook is a nice-to-have but not necessary.
- Measuring cups and spoons: For precise ingredient measurements—accuracy is key for yeast dough!
- Kitchen scale: Optional but helps with consistent results, especially if you bake often.
- Rolling pin: To roll the dough into even circles for perfect pitas.
- Baking sheet or pizza stone: A pizza stone gives you an authentic crisp bottom and helps with puffing, but a heavy baking sheet works just fine.
- Clean kitchen towel or plastic wrap: For covering the dough while it rises, keeping it moist and cozy.
- Pastry brush: To brush olive oil on the pitas before baking, ensuring a golden, flavorful crust.
If you don’t have a pizza stone, placing a baking sheet upside down in the oven and heating it can mimic the effect. I’ve also used cast iron skillets for cooking pitas on the stovetop—just watch the heat carefully to avoid burning.
Keeping your tools clean and dry, especially the mixing bowl and rolling pin, helps prevent sticky dough mishaps. Investing in a good-quality rolling pin makes shaping the pitas a smoother experience, but honestly, your hands can do most of the work if you’re in a pinch.
Preparation Method
- Activate the yeast: In your mixing bowl, combine the warm water (1 ¼ cups / 300 ml), sugar (1 teaspoon), and instant yeast (2 ¼ teaspoons). Stir gently and let it sit for 5–10 minutes until frothy and bubbly. If it doesn’t foam, your yeast might be expired or the water too hot or cold.
- Mix the dry ingredients: In a separate bowl, whisk together the flour (3 cups / 360 g), salt (1 teaspoon), dried oregano (1 teaspoon), and garlic powder (½ teaspoon, if using). This ensures the herbs and seasoning are evenly distributed.
- Combine wet and dry: Pour the yeast mixture and olive oil (2 tablespoons) into the flour mixture. Stir with a wooden spoon or your hand until a shaggy dough forms.
- Knead the dough: Turn the dough onto a lightly floured surface and knead for about 8–10 minutes. You want a smooth, elastic dough that’s slightly tacky but not sticky. If it sticks too much, dust with a little more flour, but don’t overdo it—you want the pita to stay soft.
- First rise: Place the dough in a lightly oiled bowl, cover with a clean kitchen towel or plastic wrap, and let it rise in a warm spot for 1 to 1 ½ hours, or until doubled in size.
- Divide and shape: Punch down the dough gently and divide it into 8 equal pieces (about 3 oz / 85 g each). Roll each piece into a smooth ball. Let them rest for 10 minutes to relax the gluten—this makes rolling easier.
- Roll out the pitas: On a lightly floured surface, roll each ball into a circle about 6 inches (15 cm) in diameter and about ¼ inch (6 mm) thick. Try to keep them even in thickness to help with puffing.
- Preheat the oven: Heat your oven to 475°F (245°C). Place a pizza stone or baking sheet inside to get scorching hot—this is crucial for that pita puff!
- Bake the pitas: Working quickly, transfer a few pitas at a time onto the hot stone or baking sheet. Bake for 3–4 minutes until they puff up and develop light golden spots. Flip and bake another 1–2 minutes if needed. They should feel soft but firm enough to hold fillings.
- Cool and store: Place baked pitas in a clean towel to keep warm and soft. Repeat with remaining dough. Once cool, store in an airtight container or plastic bag.
Pro tip: If your pitas don’t puff the first time, don’t sweat it! Sometimes oven temperature or thickness can affect this. You can still slice and stuff them—they’ll taste just as good.
Cooking Tips & Techniques
Making homemade pita can seem intimidating, but I’ve learned a few things that help keep the process smooth and the results consistent.
- Watch your water temperature: Too hot kills the yeast; too cold slows the rise. Aim for warm but not scalding—about 110°F (43°C).
- Don’t skip the rest period after shaping: Letting the dough balls rest for 10 minutes relaxes the gluten, making rolling easier and preventing shrinkage during baking.
- Roll evenly: Uneven thickness can lead to flat, dense spots. Keep your rolling consistent and gentle.
- Preheat your baking surface: A hot pizza stone or baking sheet is the secret to getting that puff and light texture. Don’t rush this step.
- Work quickly when transferring dough: Warm dough bakes better, so move fast from rolling to oven.
One time, I forgot to preheat my stone properly, and the pitas came out flat and dense. Lesson learned! Also, I’ve found that brushing the dough lightly with olive oil before baking gives a slightly crisp crust and a hint of that signature Mediterranean flavor. If you want extra flavor, sprinkle sesame or nigella seeds right after the oil brush.
When multitasking, I like to prepare the dough early in the day so the rising happens while I’m prepping other dishes—like a creamy vegetable soup, which pairs beautifully with this pita bread for a cozy meal.
Variations & Adaptations
This Greek pita recipe is a fantastic base that you can tweak depending on your mood, dietary needs, or what’s in your pantry.
- Whole Wheat Pita: Swap half or all of the all-purpose flour with whole wheat for a nuttier, heartier bread. Add an extra tablespoon of olive oil to keep the dough moist.
- Herbed Pita: Mix fresh herbs like rosemary, thyme, or dill into the dough for an aromatic twist—perfect when serving with grilled meats or dips.
- Gluten-Free Version: Use a gluten-free flour blend designed for baking bread. You might need to add a binder like xanthan gum if your blend doesn’t include it.
- Stovetop Pita: If you don’t have an oven or pizza stone, cook the pitas on a hot cast-iron skillet over medium-high heat. Cook each side for 1–2 minutes until puffed and charred spots appear.
- Stuffed Pita: For a fun twist, roll a thin layer of feta and spinach into the dough before baking for a pocket surprise.
One of my favorite variations is adding a teaspoon of smoked paprika and cumin to the dough for a smoky flavor that pairs amazingly with grilled chicken. I also often combine this pita bread with dishes like the creamy vegetable soup for a wholesome, comforting meal.
Serving & Storage Suggestions
Serving your homemade Greek pita warm is honestly the best way to enjoy that soft, pillowy texture. Right after baking, keep them wrapped in a clean kitchen towel to retain moisture. These pitas are perfect for stuffing with Mediterranean classics like gyros, falafel, or even simple grilled veggies with hummus.
They also pair wonderfully with soups—think about serving them alongside a bowl of loaded potato soup or a creamy tomato soup for a cozy weekend lunch.
For storage, place cooled pitas in an airtight container or a zip-top bag at room temperature for up to two days. For longer storage, freeze them flat between parchment paper sheets—this prevents sticking. When ready to use, thaw at room temperature or warm them in a skillet or oven wrapped in foil.
Reheating wrapped in foil at 350°F (175°C) for 5–7 minutes brings back that fresh-baked softness. Over time, the flavors mellow and the bread firms up slightly, making them great for toasting or grilling the next day.
Nutritional Information & Benefits
This easy flavor-packed Greek pita recipe offers a wholesome base with moderate calories and satisfying carbs that fuel your day. Each pita contains approximately 150 calories, 30 grams of carbohydrates, 3 grams of protein, and 2 grams of fat, depending on the flour used.
Olive oil contributes heart-healthy monounsaturated fats, while the herbs add antioxidants and subtle anti-inflammatory benefits. For those watching gluten, whole wheat or gluten-free flours provide fiber and alternative nutrition profiles.
Since this recipe contains wheat and yeast, it’s not suitable for those with celiac disease or yeast intolerance. However, it suits vegetarian diets and can be adapted for vegan diets by ensuring no dairy is used in any fillings or toppings.
From my experience as someone who values easy, nutritious meals, this pita bread strikes a nice balance between taste and health, making it a smart addition to your weekly meal rotation.
Conclusion
If you’re craving fresh, flavorful bread that’s quick to make and versatile for countless meals, this easy flavor-packed Greek pita recipe is a no-brainer. It’s the kind of recipe that turns everyday ingredients into something truly special with minimal fuss.
Feel free to experiment with herbs, flours, and cooking methods to make it your own—trust me, the learning curve is gentle and the rewards are delicious. I personally love how this pita brings a bit of the Mediterranean sunshine into my kitchen, especially when paired with cozy dishes like creamy chicken pot pie or a vibrant vegetable soup.
I’d love to hear how you customize this recipe or what fillings you enjoy the most—drop a comment below and share your pita adventures. Happy baking and even happier eating!
FAQs
How can I tell if my pita dough is ready to bake?
Your dough is properly risen when it has doubled in size and feels soft and springy to the touch. After shaping, the dough should relax for about 10 minutes before rolling out to avoid shrinkage during baking.
Why didn’t my pita puff up in the oven?
Common reasons include uneven rolling thickness, oven or baking surface not hot enough, or dough being too cold. Make sure your oven is preheated to 475°F (245°C) and your baking stone or sheet is scorching hot before baking.
Can I make this pita dough ahead of time?
Yes! You can prepare the dough and refrigerate it overnight after the first rise. Bring it to room temperature before shaping and baking for best results.
What can I use the pita bread for besides sandwiches?
Besides stuffing with your favorite fillings, pita can be cut into triangles and baked into chips for dipping, used as a base for mini pizzas, or served alongside soups and salads.
Is it necessary to use a pizza stone for baking pita?
Not at all. While a pizza stone helps create the ideal hot surface for puffing, a heavy baking sheet or cast iron skillet also works well. Just preheat them thoroughly before baking.
Pin This Recipe!
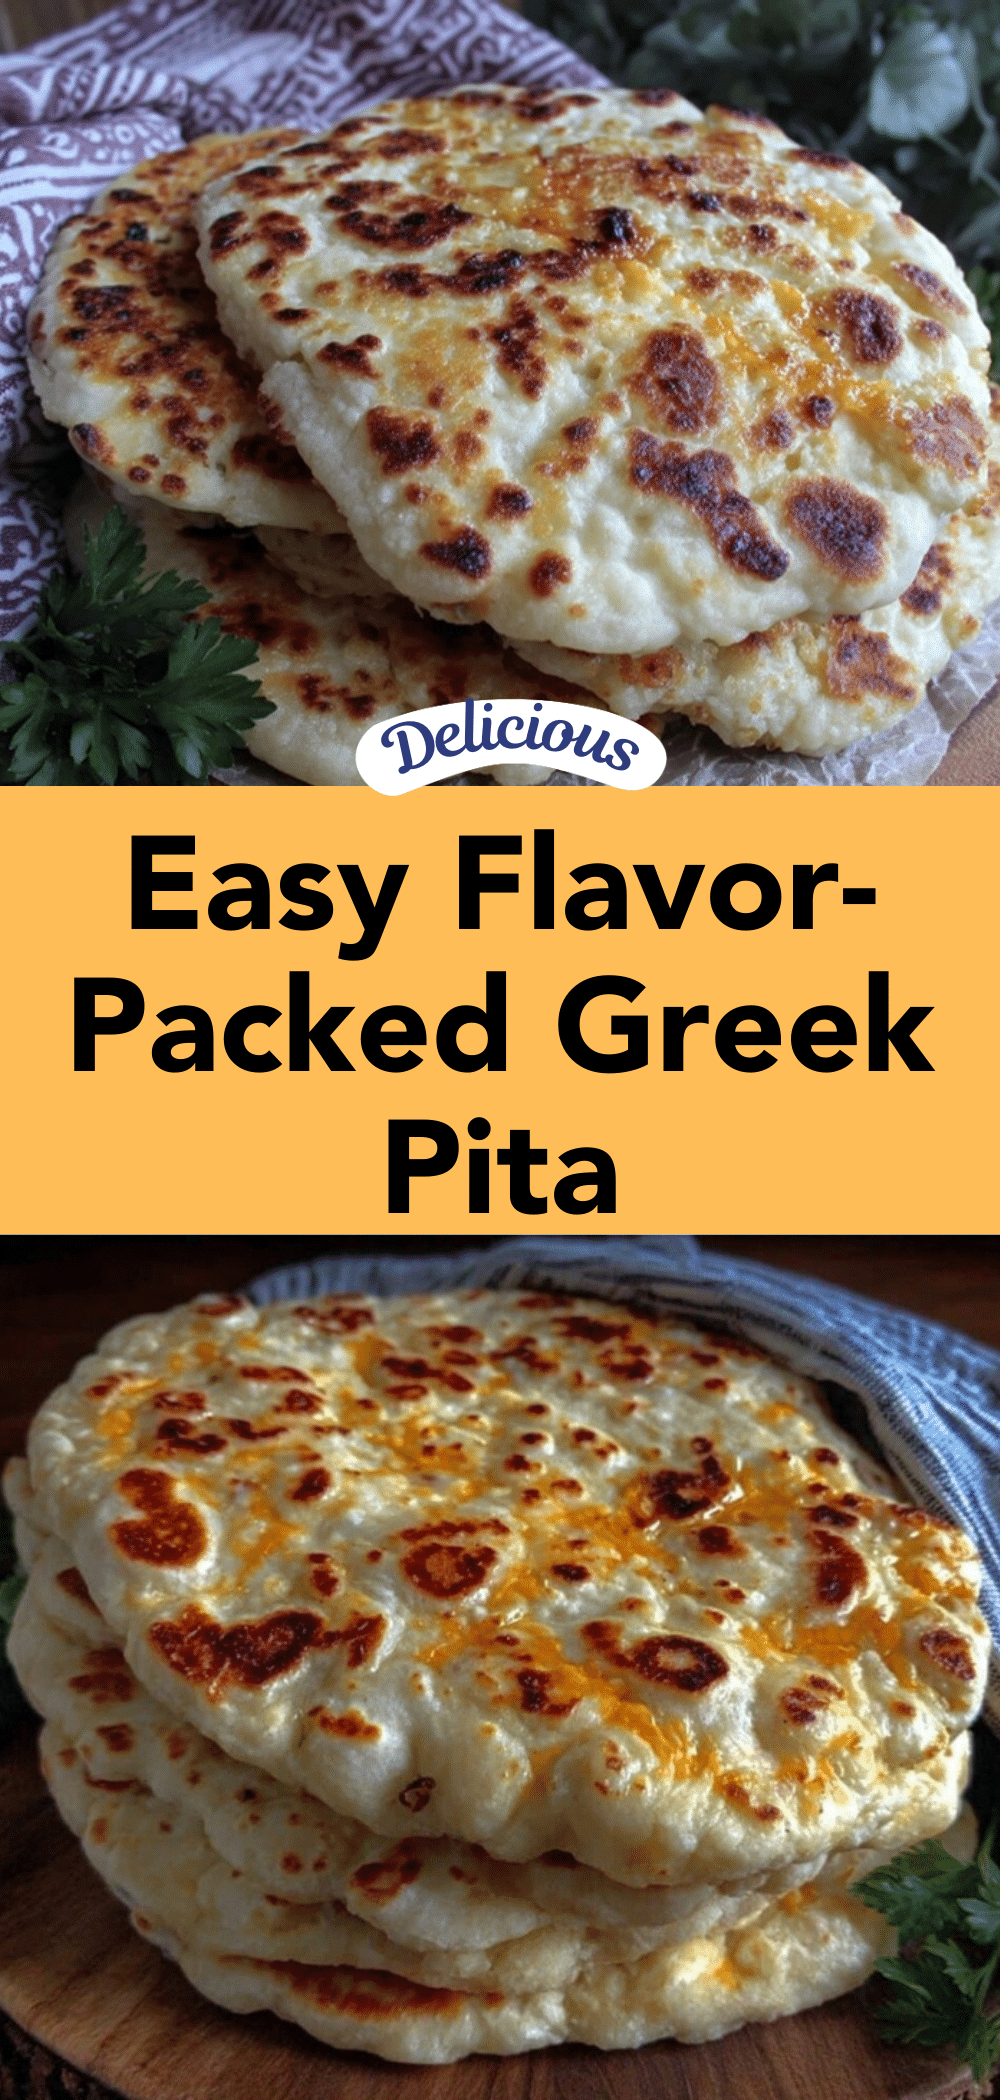
Easy Flavor-Packed Greek Pita Recipe

This easy Greek pita bread recipe yields soft, fluffy pitas with perfect pockets, made from simple pantry ingredients and ready in under 90 minutes. Perfect for stuffing with your favorite fillings or serving alongside Mediterranean dishes.
- Prep Time: 15 minutes
- Cook Time: 15 minutes
- Total Time: 90 minutes
- Yield: 8 servings 1x
- Category: Bread
- Cuisine: Greek, Mediterranean
Ingredients
- 3 cups (360 g) all-purpose flour
- 2 ¼ teaspoons instant yeast (one packet)
- 1 ¼ cups (300 ml) warm water (around 110°F / 43°C)
- 2 tablespoons olive oil, plus extra for brushing
- 1 teaspoon salt
- 1 teaspoon sugar
- 1 teaspoon dried oregano
- ½ teaspoon garlic powder (optional)
- 1 tablespoon sesame seeds or nigella seeds (optional)
Instructions
- Activate the yeast: In a mixing bowl, combine warm water, sugar, and instant yeast. Stir gently and let sit for 5–10 minutes until frothy.
- Mix the dry ingredients: In a separate bowl, whisk together flour, salt, dried oregano, and garlic powder if using.
- Combine wet and dry: Pour the yeast mixture and olive oil into the flour mixture. Stir until a shaggy dough forms.
- Knead the dough: Turn dough onto a lightly floured surface and knead for 8–10 minutes until smooth and elastic but slightly tacky.
- First rise: Place dough in a lightly oiled bowl, cover, and let rise in a warm spot for 1 to 1 ½ hours until doubled in size.
- Divide and shape: Punch down dough and divide into 8 equal pieces (~3 oz / 85 g each). Roll each into a smooth ball and rest for 10 minutes.
- Roll out the pitas: On a floured surface, roll each ball into a 6-inch (15 cm) diameter circle about ¼ inch (6 mm) thick.
- Preheat oven: Heat oven to 475°F (245°C) with a pizza stone or baking sheet inside until very hot.
- Bake the pitas: Transfer pitas onto the hot stone or sheet and bake 3–4 minutes until puffed and lightly golden. Flip and bake 1–2 more minutes if needed.
- Cool and store: Place baked pitas in a clean towel to keep warm and soft. Store cooled pitas in an airtight container or plastic bag.
Notes
Use warm water around 110°F to activate yeast properly. Let dough balls rest 10 minutes before rolling to relax gluten. Preheat baking surface thoroughly for best puffing. Brush with olive oil before baking for a crisp crust. If pitas don’t puff, they still taste great sliced and stuffed. For stovetop cooking, use a hot cast iron skillet and cook 1–2 minutes per side.
Nutrition
- Serving Size: 1 pita bread (about
- Calories: 150
- Sugar: 1
- Sodium: 200
- Fat: 2
- Saturated Fat: 0.3
- Carbohydrates: 30
- Fiber: 1
- Protein: 3
Keywords: Greek pita, homemade pita bread, easy pita recipe, Mediterranean bread, soft pita, pita pocket, quick bread


