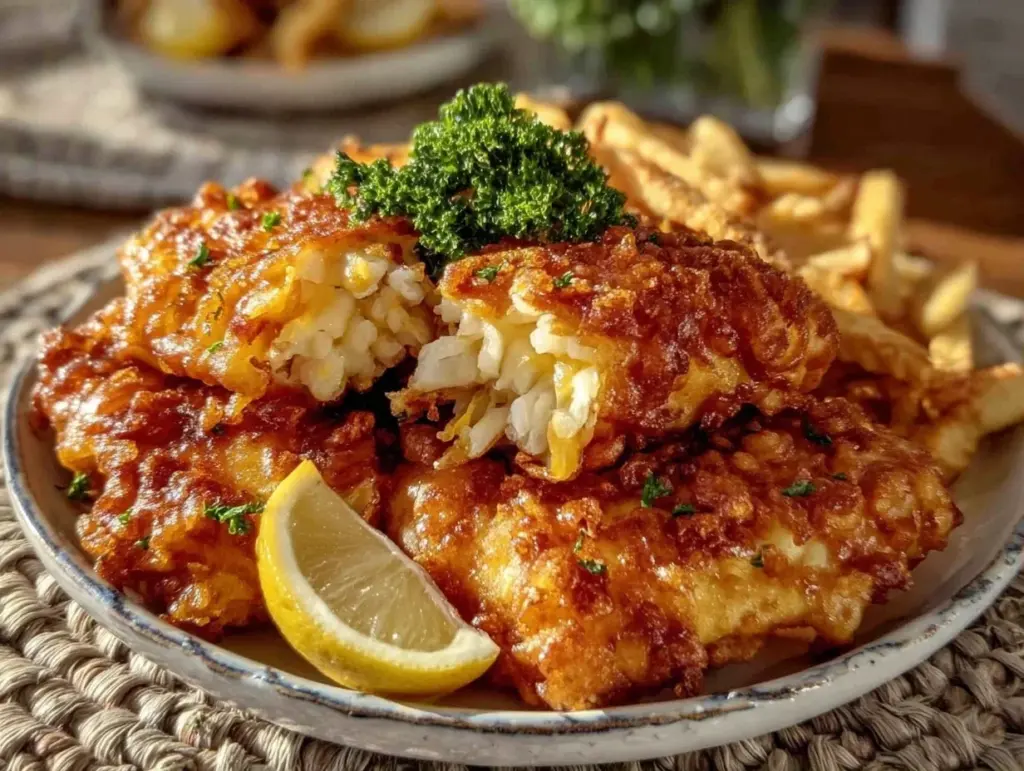
There is a specific sound that happens when fish hits hot oil. It’s a sharp, satisfying hiss that instantly transforms a quiet kitchen into something lively and nostalgic. I remember standing on the porch of my uncle’s cabin in Minnesota, the air crisp with the promise of autumn, watching him dust those delicate walleye fillets. He wasn’t using fancy spices or complicated marinades. Just flour, salt, and a whole lot of patience.
That evening, the smell of frying fish drifted through the screen door, mixing with the scent of pine needles and damp earth. It wasn’t just dinner; it was a feeling of safety and simple pleasure. Since then, I’ve made this classic walleye fish fry dozens of times, both in rustic cabins and in my modern city kitchen. The technique remains exactly the same because, honestly, perfection doesn’t need an upgrade.
Walleye is known as the “perch of angels” for its sweet, mild flavor and flaky texture. It’s not a strong fish like salmon or mackerel. It’s gentle, which means it plays well with a light, crispy coating. This recipe is designed for busy weeknights when you want restaurant-quality food without the wait. You get that golden-brown crust and tender white meat in under thirty minutes. It’s the kind of meal that feels indulgent but is actually quite straightforward.
Why You’ll Love This Recipe
After testing this walleye fish fry over a dozen times, I can tell you that the secret isn’t in the fish itself, but in the dredge. Many people think frying is hard or messy. Let’s face it, it can be. But when you get the balance of flour to liquid right, it becomes almost effortless. This isn’t just another fish recipe; it’s the one that finally convinced my picky eaters to try seafood.
- Quick & Easy: From prep to plate, this takes about 20 minutes. It’s perfect for those nights when you’re starving but don’t have hours to cook.
- Simple Ingredients: You likely have everything you need in your pantry right now. No specialty stores or exotic spices required.
- Perfect for Weeknights: It’s fast enough for Tuesday but impressive enough for a Friday date night.
- Crowd-Pleaser: The mild flavor of walleye appeals to kids and adults alike. It’s a safe bet for family dinners.
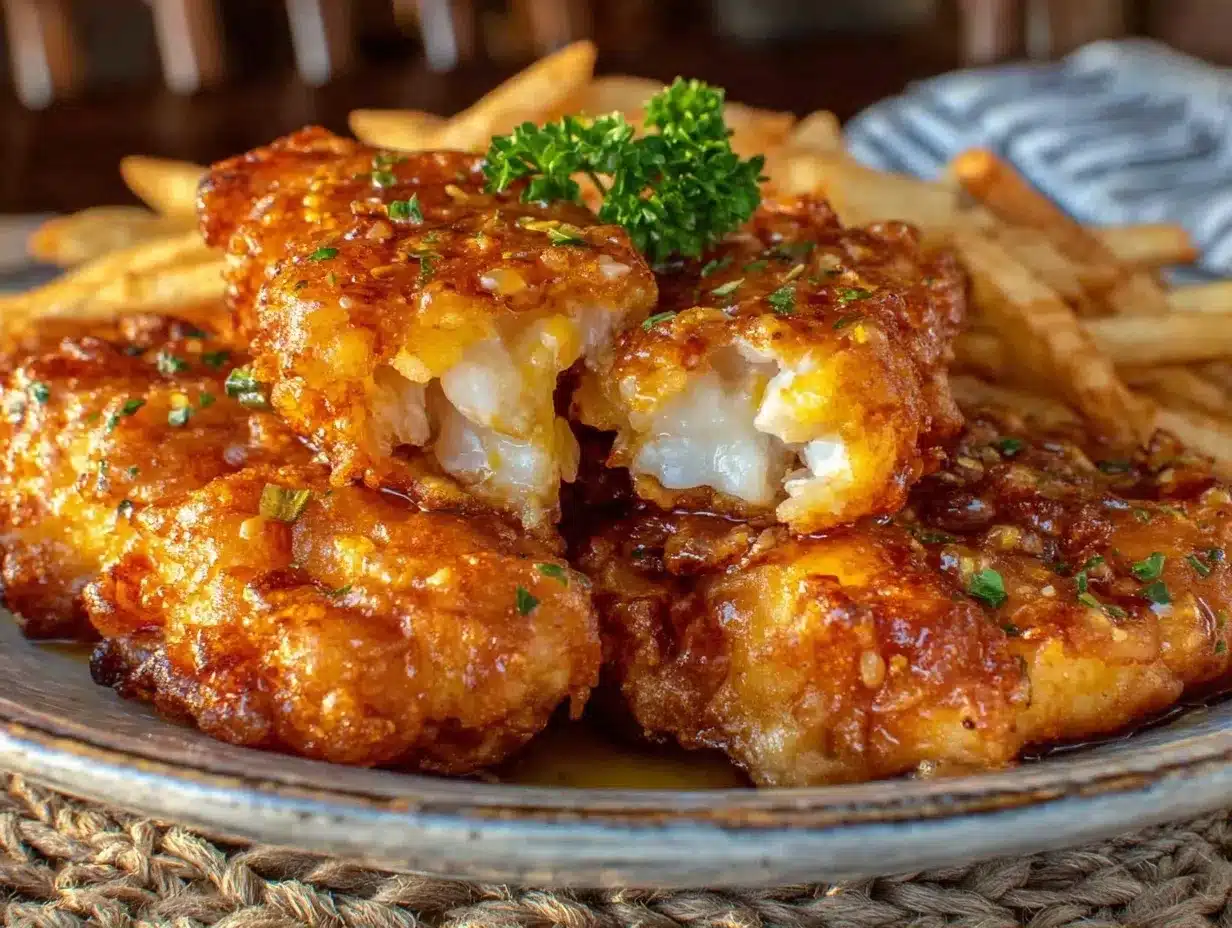
- Unbelievably Delicious: The crunch is real. It shatters slightly when you bite into it, revealing the moist, sweet meat inside.
What makes this version different is the emphasis on the oil temperature. Most home cooks fail because their oil is too cold, leading to soggy fish. By using a thermometer (or the bread cube test), you ensure that crispiness stays intact. This recipe is the kind that makes you close your eyes after the first bite. It’s comfort food at its finest, bringing the taste of the lake right to your table.
What Ingredients You Will Need
This recipe relies on high-quality, fresh ingredients to deliver bold flavor and satisfying texture without the fuss. Walleye is a lean fish, so it needs a little help from the coating to stay moist and tasty. The key is keeping the components simple so the natural sweetness of the fish shines through.
- Walleye Fillets (1.5 lbs): Fresh or thawed frozen fillets work best. Look for firm, translucent meat. If you can’t find walleye, perch or cod are good substitutes.
- All-Purpose Flour (1 cup): This forms the base of the crust. Some people use cornstarch for extra crispiness, but flour gives it that classic, home-style feel.
- Eggs (2 large): These act as the glue for the breading. Beating them well ensures an even coat.
- Milk or Buttermilk (1/2 cup): Adding a splash to the egg wash tenderizes the fish. Buttermilk adds a nice tang that cuts through the richness of the fry.
- Old Bay Seasoning (1 tsp): A pinch of this classic seafood spice adds depth. It’s not mandatory, but it elevates the flavor profile significantly.
- Vegetable Oil (for frying): You need an oil with a high smoke point. Vegetable, canola, or peanut oil are ideal. Avoid olive oil as it burns too easily at frying temperatures.
- Salt and Black Pepper: To taste. Don’t be shy with the salt; it enhances the natural flavors of the fish.
I recommend using a heavy-bottomed skillet, like cast iron, if you have one. It holds heat better than thin stainless steel. Also, make sure your fish is patted completely dry before dipping. Any moisture will cause the oil to splatter and prevent the flour from sticking properly.
Equipment Needed
You don’t need a fancy kitchen to make this. A standard setup works perfectly. You’ll need a large skillet or cast-iron pan. I prefer cast iron because it distributes heat evenly, which prevents hot spots that can burn the fish. A medium-sized bowl is needed for the egg wash, and a shallow plate for the flour dredge.
A candy or deep-fry thermometer is highly recommended. Guessing the oil temperature is the most common mistake people make. If the oil is too cool, the fish absorbs it and becomes greasy. If it’s too hot, the outside burns before the inside cooks. A thermometer takes the guesswork out. Alternatively, drop a small cube of bread into the oil. If it sizzles and turns golden in 60 seconds, your oil is ready.
You’ll also need tongs or a slotted spatula. Tongs give you better control when flipping delicate fillets. Avoid using a fork, as poking the fish can cause it to break apart. Keep a wire rack or paper towels nearby to drain the fried fish. This step is crucial for keeping the crust crisp rather than soggy.
Preparation Method
Getting started is the easiest part. First, prepare your workspace. This is a assembly-line process, so having everything within arm’s reach will save you from burning the oil while you’re still chopping or mixing. Set up three stations: flour mixture, egg wash, and a clean plate for the finished fish.
Step 1: Prep the Fish (5 minutes)
Pat the walleye fillets dry with paper towels. This is non-negotiable. Wet fish equals slippery flour and soggy crust. Cut larger fillets in half if they are too big for your pan. Season the fish lightly with salt and pepper on both sides. This helps flavor penetrate the meat.
Step 2: Set Up the Dredge (2 minutes)
Pour the flour onto a shallow plate or pie dish. Mix in the Old Bay seasoning, salt, and pepper. Whisk it together so the spices are evenly distributed. You want every bite to have a hint of seasoning, not just the first one.
Step 3: Make the Egg Wash (1 minute)
In a medium bowl, whisk the eggs with the milk or buttermilk until smooth. The mixture should be thin enough to coat the fish easily but thick enough to hold the flour. If it’s too thick, add a teaspoon more milk.
Step 4: Heat the Oil (5-7 minutes)
Pour about 1/2 inch of vegetable oil into your skillet. Heat over medium-high heat. Watch the thermometer closely. You want it to reach 350°F to 375°F (175°C to 190°C). If you don’t have a thermometer, use the bread test. Once the oil is shimmering and hot, you’re ready.
Step 5: Dredge the Fish (3 minutes)
Take a piece of fish and dip it into the egg wash, ensuring it’s fully coated. Let any excess drip off. Then, press it firmly into the flour mixture. Flip and coat the other side. Press down gently to ensure the flour sticks. Shake off any excess flour. You want a thin, even layer, not a thick clump.
Step 6: Fry the Fish (4-6 minutes)
Carefully place the fillets into the hot oil. Do not overcrowd the pan. Fry in batches if necessary. Cook for 3-4 minutes per side, depending on thickness. The fish is done when it is golden brown and flakes easily with a fork. The internal temperature should reach 145°F (63°C).
Step 7: Drain and Serve (2 minutes)
Remove the fish from the oil and place it on a wire rack or paper towels. Let it rest for a minute before serving. This allows the juices to redistribute. Serve immediately with lemon wedges.
Common Mistakes to Avoid
One common error is moving the fish too soon. If you try to flip it before a crust has formed, it will stick to the pan. Wait until the edges look opaque and golden. Another mistake is using too much oil. You don’t need to deep fry it; shallow frying with 1/2 inch of oil is plenty and much less messy.
Cooking Tips & Techniques
Getting the perfect fry comes down to a few professional techniques that are easy to adopt. The most important factor is oil temperature consistency. When you add cold fish to hot oil, the temperature drops. If your oil isn’t hot enough to begin with, it will stay too cool, and the fish will absorb grease. Always let the oil recover its heat between batches.
I learned this the hard way during a family reunion. I threw too much fish into the pan at once, and the result was greasy, pale fillets. Now, I always fry in small batches. It takes a few extra minutes, but the quality difference is night and day. Another tip is to keep the finished fish warm in a low oven (200°F) on a wire rack while you finish the other batches. This keeps the bottom crisp, whereas stacking them on a plate traps steam and makes them soggy.
For extra crispiness, some chefs suggest adding a tablespoon of cornstarch to the flour. I find that for walleye, plain flour is sufficient because the fish is so delicate. However, if you prefer a heavier crunch, that small addition can help. Also, never cover the fried fish with foil. Steam is the enemy of crispiness. Let it breathe.
Variations & Adaptations
While the classic version is hard to beat, there are plenty of ways to tweak this recipe. For a gluten-free option, you can substitute the all-purpose flour with a 1:1 gluten-free flour blend or almond flour. Almond flour adds a nutty flavor that pairs beautifully with the mild fish. Just be careful not to burn it, as almond flour browns faster than wheat flour.
If you want to spice things up, try adding cayenne pepper or garlic powder to the flour mixture. This creates a “spicy fish fry” that pairs well with tartar sauce. For a healthier twist, you can bake the fish instead of frying it. Spray the breaded fillets with cooking oil and bake at 400°F (200°C) for 12-15 minutes. It’s not as crunchy, but it’s much lighter.
I’ve also tried using panko breadcrumbs for an extra textured crust. Dip the fish in the egg wash, then roll it in panko. This gives a Japanese-inspired crunch that is fantastic. For seasonal variations, serve this with corn on the cob in the summer or alongside roasted root vegetables in the winter. The versatility of this base recipe makes it a staple in my kitchen.
Serving & Storage Suggestions
This classic walleye fish fry is best served immediately while the crust is still crackling. A squeeze of fresh lemon juice is essential to cut through the richness of the fried coating. I also love a dollop of creamy tartar sauce or a spicy remoulade. For sides, consider loaded potato soup or a simple green salad with vinaigrette. The crisp texture of the fish contrasts well with creamy or fresh sides.
Leftovers can be stored in an airtight container in the refrigerator for up to two days. While reheated fish never quite matches the freshness of just-fried fish, you can restore some crispiness by placing it in a toaster oven or air fryer at 350°F for 5 minutes. Avoid the microwave, as it will make the coating rubbery. You can also freeze the breaded, uncooked fillets for later use. Just fry them directly from frozen, adding a minute or two to the cooking time.
Nutritional Information & Benefits
Walleye is a lean white fish, making it an excellent choice for a healthy weeknight dinner. It is low in fat and calories but high in protein. A typical serving provides a good amount of essential nutrients like selenium and B vitamins. Unlike heavier fried foods, this recipe uses a light dredge, keeping the calorie count reasonable.
It is naturally gluten-free if you use cornstarch instead of flour, though standard flour contains gluten. It is also dairy-free if you skip the milk in the wash or use water instead. For those watching their sodium intake, simply reduce the amount of salt in the flour mixture. This recipe fits well into balanced meal plans, offering a satisfying crunch without the heavy guilt of deep-fried batter.
Conclusion
Making a classic walleye fish fry at home is easier than you think. It brings back memories of lakeside dinners and simple pleasures. The key is patience with the oil temperature and not overcrowding the pan. Once you master this technique, you’ll find yourself making it all year round. It’s a versatile recipe that can be adapted to your taste and dietary needs.
I encourage you to try this recipe and see how the simple combination of flour, egg, and heat transforms delicate fish into a meal. Feel free to experiment with spices and sides to make it your own. If you make this, leave a comment below and let me know how it turned out. I’d love to hear your variations. Enjoy every bite of this crispy, golden goodness.
Frequently Asked Questions
Can I use frozen walleye fillets?
Yes, you can. Just make sure to thaw them completely in the refrigerator overnight. Pat them very dry before cooking to ensure the coating sticks.
What is the best oil to use for frying fish?
Vegetable, canola, or peanut oil are the best choices because they have high smoke points and neutral flavors. Avoid butter or extra virgin olive oil.
How do I know when the fish is fully cooked?
The fish is done when it turns opaque and flakes easily with a fork. The internal temperature should reach 145°F (63°C).
Can I bake the fish instead of frying it?
Yes, bake at 400°F for 12-15 minutes. It will be healthier but less crispy than the fried version.
What sides go well with fish fry?
Classic sides include french fries, coleslaw, corn on the cob, and boiled potatoes. A light salad also works well.
Pin This Recipe!
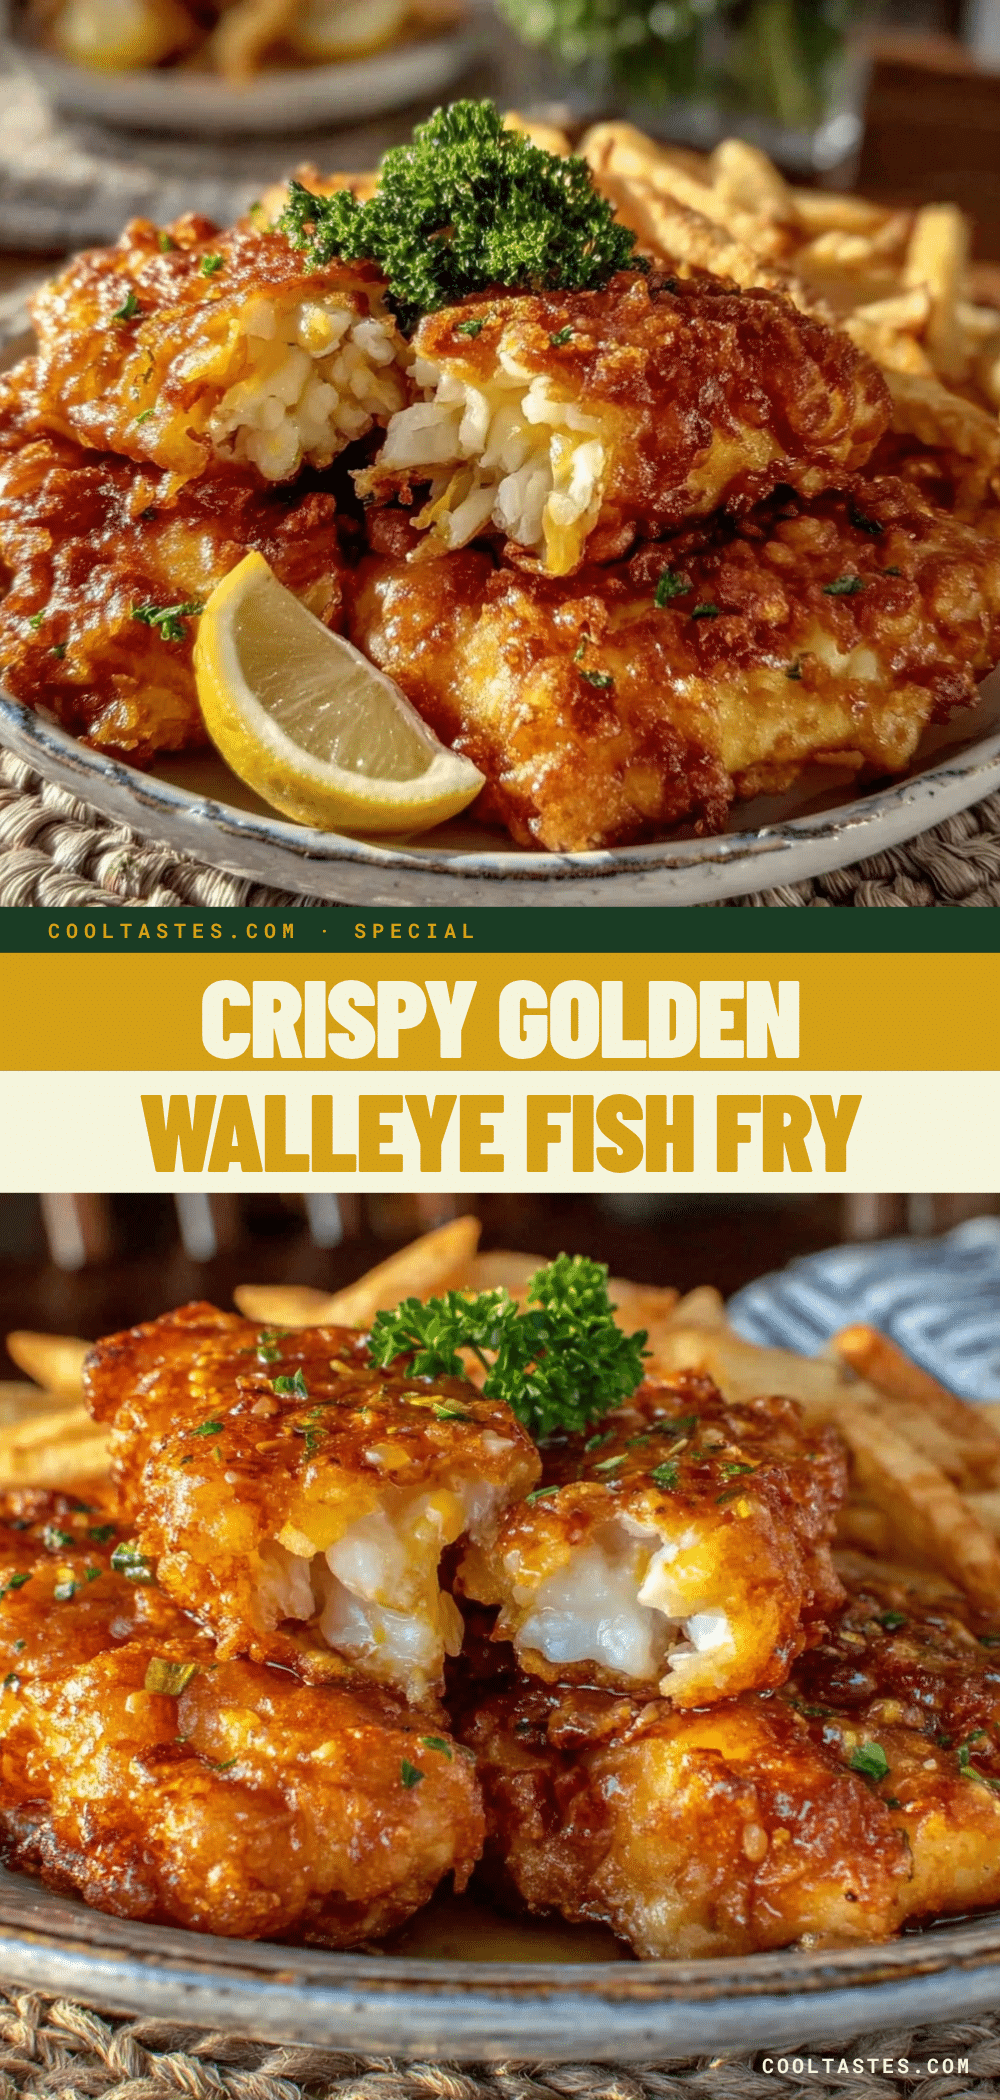
Classic Walleye Fish Fry: 10-Min Easy Recipe

A quick and easy recipe for crispy, golden-brown fried walleye fillets using a simple flour and egg wash dredge. This dish delivers restaurant-quality texture and mild, sweet flavor in under 30 minutes.
- Prep Time: 10 minutes
- Cook Time: 15 minutes
- Total Time: 25 minutes
- Yield: 4 servings 1x
- Category: Main Course
- Cuisine: American
Ingredients
- 1.5 lbs Walleye Fillets (fresh or thawed frozen)
- 1 cup All-Purpose Flour
- 2 large Eggs
- 1/2 cup Milk or Buttermilk
- 1 tsp Old Bay Seasoning
- Vegetable Oil (for frying)
- Salt and Black Pepper (to taste)
Instructions
- Pat the walleye fillets completely dry with paper towels and season lightly with salt and pepper on both sides.
- Pour the flour onto a shallow plate and mix in Old Bay seasoning, salt, and pepper.
- In a medium bowl, whisk the eggs with the milk or buttermilk until smooth.
- Heat about 1/2 inch of vegetable oil in a large skillet over medium-high heat until it reaches 350°F to 375°F (175°C to 190°C).
- Dip a fillet into the egg wash, let excess drip off, then press firmly into the flour mixture to coat both sides. Shake off excess flour.
- Carefully place fillets into the hot oil, ensuring not to overcrowd the pan. Fry for 3-4 minutes per side until golden brown and flaky.
- Remove fish from oil and place on a wire rack or paper towels to drain. Serve immediately with lemon wedges.
Notes
Ensure fish is patted dry before dredging to prevent soggy crust. Do not overcrowd the pan; fry in batches to maintain oil temperature. For extra crispiness, some chefs add cornstarch to the flour. Avoid covering the fish with foil as steam makes the coating soggy.
Nutrition
- Serving Size: 1 fillet
- Calories: 350
- Sugar: 1
- Sodium: 400
- Fat: 18
- Saturated Fat: 3
- Carbohydrates: 20
- Fiber: 1
- Protein: 25
Keywords: walleye, fish fry, fried fish, easy dinner, weeknight meals, seafood recipe, crispy fish, cast iron fish