
The crunch of perfectly toasted pita chips, lightly kissed with olive oil and sea salt, is honestly one of my favorite snack discoveries. Years ago, I found myself craving something salty and crunchy to pair with my favorite hummus, but all the store-bought pita chips tasted stale or overly oily. That’s when I rolled up my sleeves and created this crispy homemade pita chips recipe. Since then, it’s become my go-to snack hack for parties, weekday cravings, and even for adding texture to salads and soups.
Making pita chips at home is surprisingly simple, and you control every bit of flavor and crunch. I love that you don’t need fancy ingredients or special skills — just pita bread, a bit of oil, and your favorite seasoning. This recipe has been tested over many snack sessions, tweaking the baking time and oil ratios to get that perfect crisp without drying out the chips. Plus, it’s a fantastic way to reduce food waste by using pita bread that’s about to get stale.
Whether you’re feeding kids who love crunchy snacks or prepping for a cozy night in with a bowl of loaded potato soup, these pita chips bring that satisfying crunch that’s just right. Honestly, there’s nothing quite like the smell of these baking—warm, toasty, and inviting—that fills the kitchen and makes you want to snack right out of the oven.
Why You’ll Love This Crispy Homemade Pita Chips Recipe
After making pita chips from scratch more times than I can count, I can say this recipe stands out for several reasons. Here’s why it might just become your snack-time staple:
- Quick & Easy: You can whip these up in about 15 minutes, perfect for when you need a crunchy snack stat.
- Simple Ingredients: No surprises here—just pita bread, olive oil, and seasoning. You probably have everything in your pantry already.
- Perfect for Any Occasion: Whether it’s a movie night, an impromptu party, or a snack to accompany your creamy tomato soup, these chips fit right in.
- Crowd-Pleaser: Kids and adults alike love the crispy texture and savory flavor. They disappear fast, trust me.
- Unbelievably Delicious: The magic is in the texture—the perfect crunch without being greasy or burnt. Plus, the seasoning can be customized to your taste.
What makes this recipe different? It’s all about the baking technique and the oil distribution. Instead of drenching the pita in oil, I lightly brush each piece, which locks in crispness without sogginess. Also, slicing the pita into even triangles ensures every chip bakes evenly. I once tried tossing the pita in oil, but that led to uneven cooking and a greasy mess—lesson learned!
This recipe isn’t just snacks; it’s comfort food that’s easy, fast, and satisfying. When you bite into these chips, it’s that perfect balance of crunchy and savory that makes you want to close your eyes and savor the moment. Truly, these pita chips bring a little joy to everyday snacking.
What Ingredients You Will Need
This recipe uses simple, wholesome ingredients to deliver bold flavor and satisfying texture without the fuss. Here’s what you’ll need to make your own crispy homemade pita chips:
- Pita Bread: 4 to 5 pita pockets (white or whole wheat), preferably a day or two old or slightly dry for better crispness. Fresh pita can also work but may need extra baking time.
- Olive Oil: 2 to 3 tablespoons, extra virgin for the best flavor. I recommend California Olive Ranch for its smooth taste.
- Sea Salt: About 1 teaspoon, coarse or flaky sea salt adds that satisfying crunch and flavor pop.
- Garlic Powder: ½ teaspoon for a subtle hint of savory depth (optional but highly recommended).
- Ground Black Pepper: A pinch for mild heat and complexity.
- Optional Seasonings: You can mix in ½ teaspoon smoked paprika, cumin, or dried oregano to give your pita chips a unique twist.
For a gluten-free option, you can try using gluten-free pita bread, but keep in mind that the texture might vary slightly. Also, if you prefer dairy-free or vegan snacks, this recipe naturally fits that bill since it uses no dairy at all.
Equipment Needed
- Baking Sheet: A rimmed baking sheet works best to hold the pita chips without any slipping off. Aluminum or non-stick pans both do the job.
- Parchment Paper or Silicone Baking Mat: These prevent sticking and make cleanup much easier. I usually keep a roll of parchment paper handy for all my baking needs.
- Sharp Knife or Pizza Cutter: For slicing the pita into even triangles. A pizza cutter speeds things up and gives clean cuts without squishing the bread.
- Pastry Brush: To lightly brush olive oil onto pita pieces. If you don’t have one, you can drizzle and gently toss the pieces in a bowl, but brushing really helps control the oil amount.
- Mixing Bowl: A medium bowl to toss pita chips with seasonings if you opt to mix before baking.
If you’re on a budget, you can skip the silicone mat and use just parchment paper. Also, I’ve used kitchen scissors to cut pita in a pinch, but it’s not as precise. Keeping your tools sharp and clean really helps with consistent results.
Preparation Method

- Preheat your oven: Set it to 375°F (190°C). This moderate heat crisps the pita without burning.
- Prepare the pita bread: Cut each pita pocket into 8 triangular wedges using a sharp knife or pizza cutter. If your pita is thick, gently separate the two layers to make thinner chips—this helps them bake crispier.
- Brush with olive oil: Lightly brush each pita triangle with olive oil on both sides. Don’t overdo it—too much oil leads to soggy chips. Alternatively, toss pita pieces in a bowl with olive oil until just coated.
- Season: Sprinkle sea salt, garlic powder, black pepper, and any optional spices evenly over the pita. Turn the chips over and repeat to season both sides. The smell of garlic powder mixing with olive oil is pretty irresistible at this point.
- Bake: Arrange the pita chips in a single layer on a parchment-lined baking sheet. Bake for 10-12 minutes, flipping halfway through at around 6 minutes, until golden and crispy. Keep an eye on them—they can go from perfect to burnt quickly.
Pro tip: If you notice some chips are browning faster, remove them early and let the rest finish baking. The chips will crisp up further as they cool. Let them rest on the baking sheet for a few minutes before serving.
Cooking Tips & Techniques
To get that perfect crunch, a few tricks learned from trial and error help:
- Use slightly stale pita: Fresh pita can be too soft and chewy. A day-old pita dries out nicely for crunch.
- Brush, don’t drown in oil: Too much oil makes chips greasy and heavy. Light brushing keeps them crisp.
- Uniform size: Cutting pita into equal triangles ensures even baking. Uneven pieces mean some burn while others stay chewy.
- Flip halfway through baking: This helps both sides brown evenly and prevents sogginess.
- Watch your oven closely: Baking times can vary. Start checking at 10 minutes to avoid burning.
I once left my pita chips in the oven a minute too long, and the whole batch turned bitter. Lesson learned: set a timer and don’t wander off! Also, experimenting with seasonings outside garlic and salt can turn these chips into a fun snack project.
Variations & Adaptations
This crispy homemade pita chips recipe is super adaptable, and I’ve tried many versions depending on mood and pantry contents:
- Spicy Pita Chips: Add ½ teaspoon cayenne pepper or chili powder to the seasoning mix for a fiery kick.
- Herbed Pita Chips: Sprinkle dried rosemary, thyme, or za’atar for a Middle Eastern flair.
- Cheesy Pita Chips: Toss with nutritional yeast or finely grated Parmesan just after baking for a cheesy twist.
- Baked vs. Air Fryer: If you have an air fryer, bake the chips at 350°F (175°C) for about 5-7 minutes, shaking halfway, for a quicker crisp.
- Gluten-Free Option: Use gluten-free pita bread if needed, but expect a slightly different texture.
One of my favorite variations is sprinkling za’atar and serving the chips alongside creamy baba ganoush for a cozy snack night. It’s amazing how a simple seasoning swap can make these chips feel brand new.
Serving & Storage Suggestions
Serve pita chips warm or at room temperature for best crunch. They pair beautifully with dips like hummus, tzatziki, or even a sprinkle of feta and olives for a Mediterranean snack platter.
For a fun twist, I often add these chips as a topping on simple soups, like the creamy vegetable soup, adding delightful texture. They also make a great crunchy salad topping instead of croutons.
To store, keep pita chips in an airtight container at room temperature. They stay crisp for up to 3 days, but honestly, they rarely last that long at my house! If you want to save them longer, freeze in a sealed bag and re-crisp in a toaster oven for a few minutes before serving.
Reheating is easy—just a quick toast or bake to bring back that fresh-out-of-the-oven crunch. Over time, the chips may lose some crispness but will still taste great with dips.
Nutritional Information & Benefits
Here’s a rough estimate per serving (about 1 cup of chips): 130 calories, 5g fat (mostly from olive oil), 18g carbohydrates, 2g protein, and 1g fiber.
Using olive oil adds heart-healthy monounsaturated fats, and pita bread provides energy-boosting carbs. This recipe is naturally dairy-free and vegetarian. For those watching gluten, there are gluten-free pita alternatives available.
From a wellness perspective, making pita chips at home means you avoid the preservatives and excess sodium often found in store-bought brands. Plus, you can control oil and seasoning amounts to fit your dietary needs.
Conclusion
This crispy homemade pita chips recipe is a simple, satisfying snack that you’ll find yourself making again and again. It’s easy to customize, quick to prepare, and perfect for those moments when you want a crunchy treat without heading to the store.
I love how flexible this recipe is—you can keep it classic or play around with flavors depending on your mood. It’s become a little ritual for me before settling in with a bowl of creamy chicken pot pie or a cozy batch of soup.
Give it a try, and don’t be shy about leaving a comment with your favorite seasoning combos or tweaks. Sharing your take makes this little recipe journey even more fun. Happy snacking!
FAQs About Crispy Homemade Pita Chips
Can I use fresh pita bread for pita chips?
Yes, you can, but fresh pita may be softer and take longer to crisp. Slightly stale or day-old pita works best for that perfect crunch.
How do I store leftover pita chips?
Store in an airtight container at room temperature for up to 3 days. For longer storage, freeze them and re-crisp before serving.
Can I bake pita chips without oil?
You can, but the oil helps with crispness and flavor. Baking without oil may result in drier, less flavorful chips.
What dips go well with pita chips?
Hummus, tzatziki, baba ganoush, or even creamy cheese dips pair beautifully with these chips.
Can I make pita chips in an air fryer?
Absolutely! Air fry at 350°F (175°C) for 5-7 minutes, shaking halfway through, for quick and crispy chips.
Pin This Recipe!
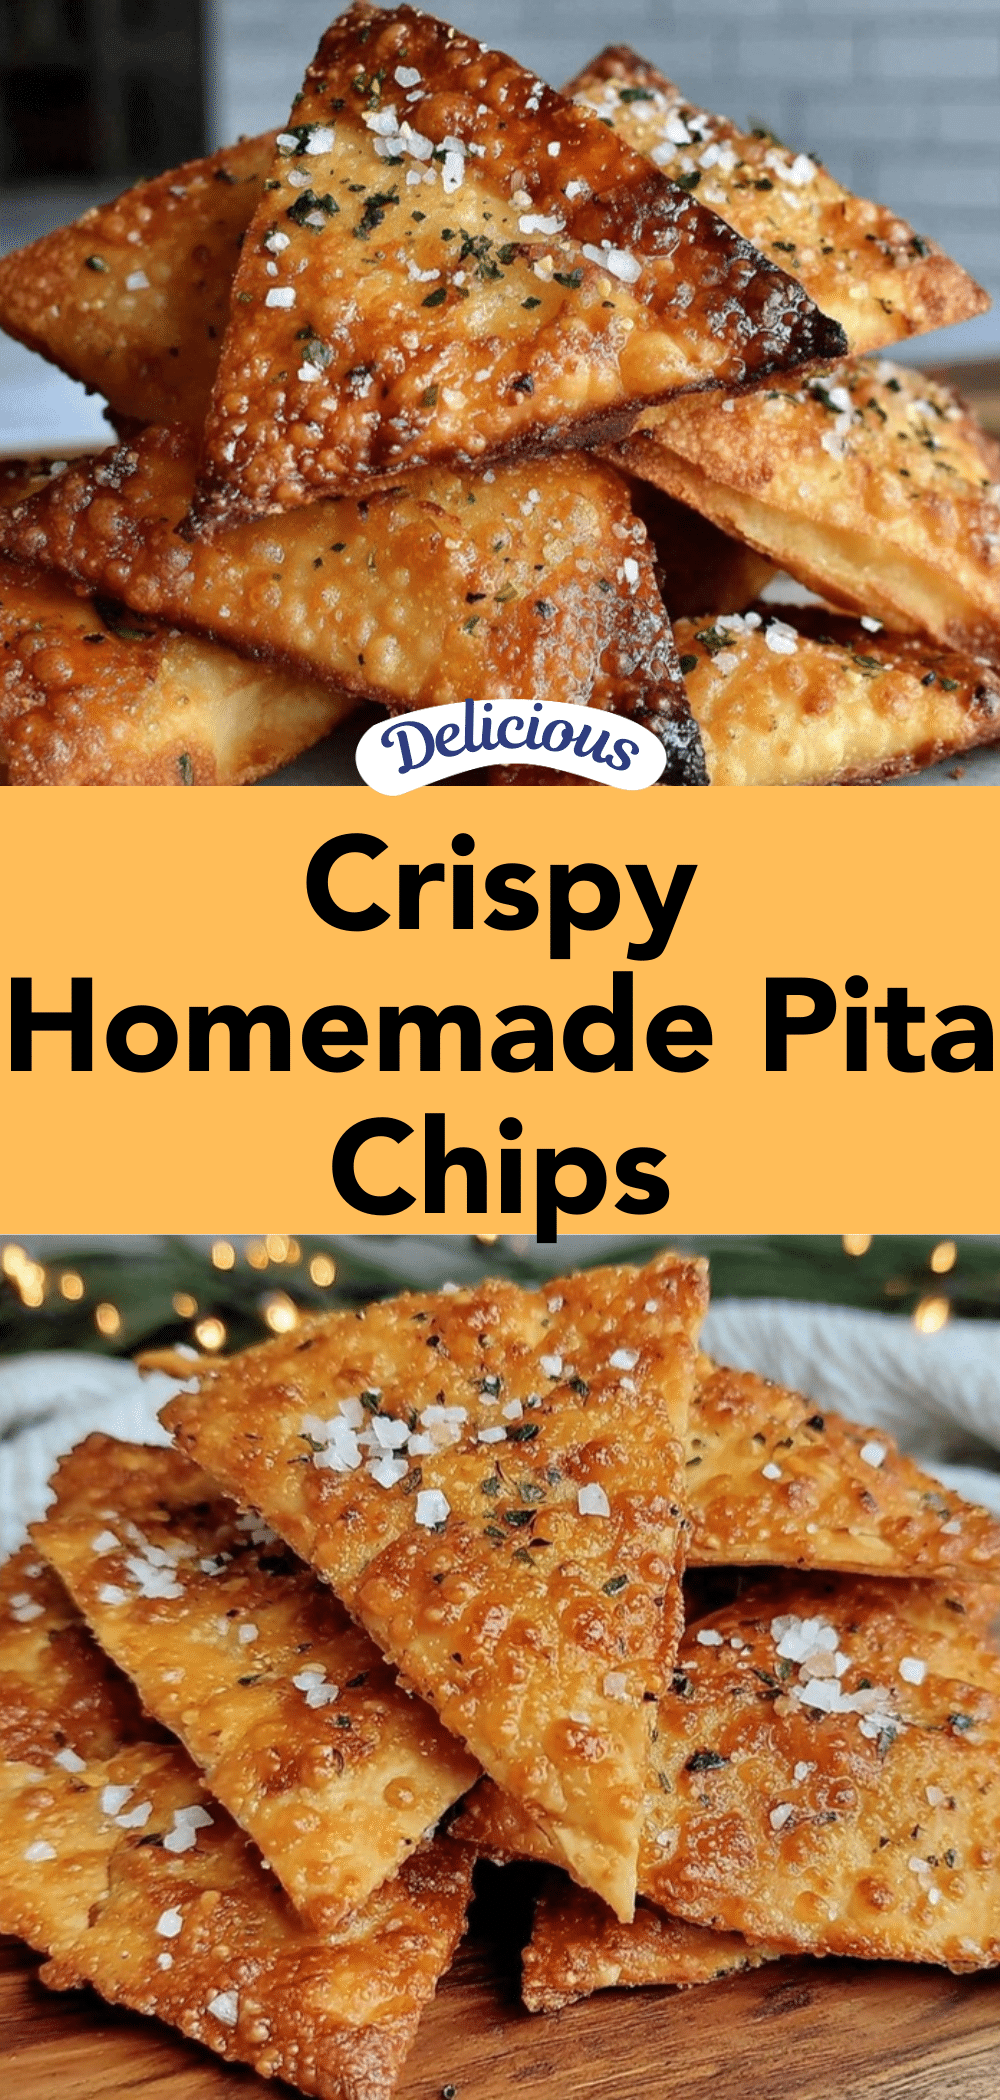
Crispy Homemade Pita Chips

Crunchy, lightly toasted pita chips brushed with olive oil and sea salt, perfect for snacking or pairing with dips like hummus.
- Prep Time: 5 minutes
- Cook Time: 12 minutes
- Total Time: 17 minutes
- Yield: 4 servings 1x
- Category: Snack
- Cuisine: Mediterranean
Ingredients
- 4 to 5 pita pockets (white or whole wheat), preferably day-old or slightly dry
- 2 to 3 tablespoons extra virgin olive oil
- 1 teaspoon coarse or flaky sea salt
- ½ teaspoon garlic powder (optional)
- Pinch of ground black pepper
- Optional seasonings: ½ teaspoon smoked paprika, cumin, or dried oregano
Instructions
- Preheat oven to 375°F (190°C).
- Cut each pita pocket into 8 triangular wedges using a sharp knife or pizza cutter. If thick, separate layers for thinner chips.
- Lightly brush each pita triangle with olive oil on both sides or toss in a bowl with olive oil until just coated.
- Sprinkle sea salt, garlic powder, black pepper, and any optional spices evenly over pita chips, flipping to season both sides.
- Arrange pita chips in a single layer on a parchment-lined baking sheet. Bake for 10-12 minutes, flipping halfway through at about 6 minutes, until golden and crispy.
- Remove chips that brown faster early and let the rest finish baking. Let chips rest on the baking sheet for a few minutes before serving.
Notes
Use slightly stale pita for best crunch. Brush oil lightly to avoid soggy chips. Flip chips halfway through baking for even crispness. Watch closely to prevent burning. Can be made in an air fryer at 350°F for 5-7 minutes, shaking halfway.
Nutrition
- Serving Size: About 1 cup of pita
- Calories: 130
- Sugar: 0.5
- Sodium: 200
- Fat: 5
- Saturated Fat: 0.7
- Carbohydrates: 18
- Fiber: 1
- Protein: 2
Keywords: pita chips, homemade pita chips, crispy snack, easy snack recipe, pita bread snack, healthy snack, baked pita chips


