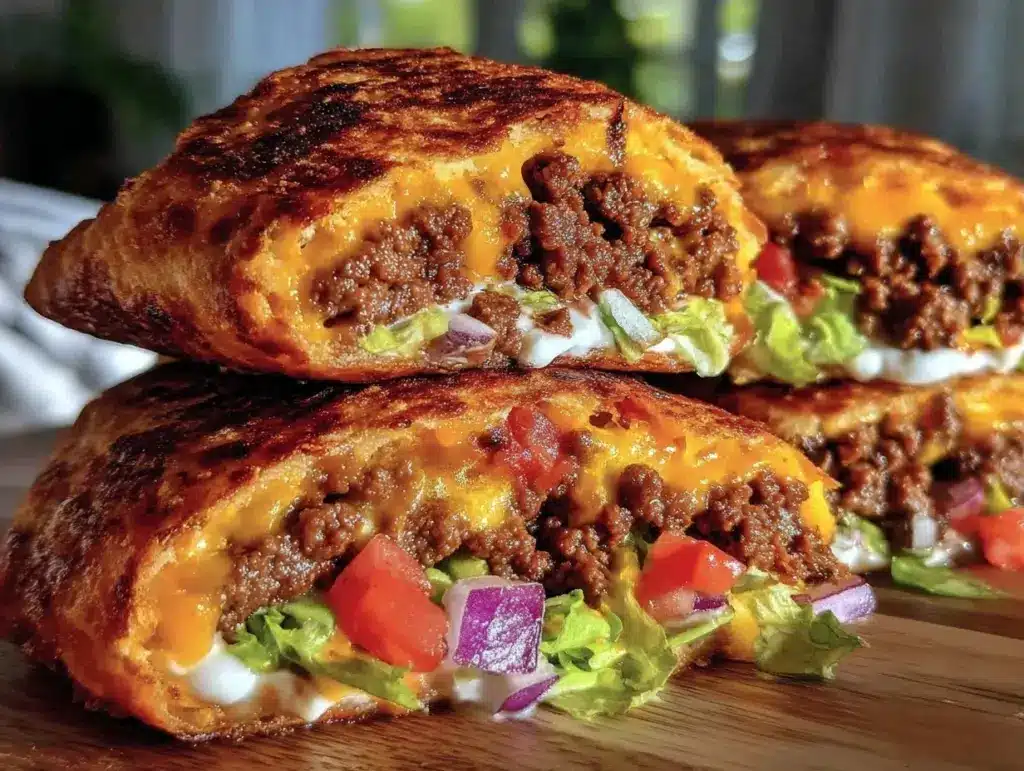
The first time I made these crispy keto crunchwraps, I was craving something crunchy and comforting but didn’t want to stray from my low-carb goals. Honestly, I’d been missing that satisfying crunch you get from your favorite fast food wraps, but without the carb overload. After a couple of test runs (and a few crispy failures), I finally nailed a crunchy, cheesy, and juicy wrap that fits perfectly into a keto lifestyle.
What I love most about this recipe is how it brings together that crave-worthy crunch with wholesome, low-carb ingredients. It’s like a little cheat day treat—without the guilt or sugar crash. These keto crunchwraps have quickly become my go-to lunch, especially on busy days when I want something fast, filling, and utterly delicious.
If you’re someone who’s tried keto but felt limited by the lack of crispy, crunchy meals, this is going to be a game changer. Plus, with the filling options, you can customize it to your taste buds or whatever you have in your fridge. I’ve even brought these to potlucks, and they disappear fast—people don’t even realize they’re keto! After making them several times, tweaking the cheese amounts, and trying different wraps, I’m confident this recipe will become a staple for you, too.
Why You’ll Love This Crispy Keto Crunchwraps Recipe
This crispy keto crunchwrap recipe isn’t just another low-carb meal; it’s one I’ve perfected through trial, error, and a ton of taste testing. Here’s why it stands out:
- Quick & Easy: You can whip these up in about 20 minutes, making them perfect for busy lunches or last-minute meal prep.
- Simple Ingredients: No need for fancy keto products—just staples like cheese, low-carb tortillas, and your favorite protein.
- Perfect for Lunch or Light Dinner: Whether you’re packing lunch for work or want a light, crunchy dinner, these crunchwraps hit the spot.
- Crowd-Pleaser: I’ve served them at casual get-togethers, and everyone loves the combo of crispy exterior and flavorful fillings.
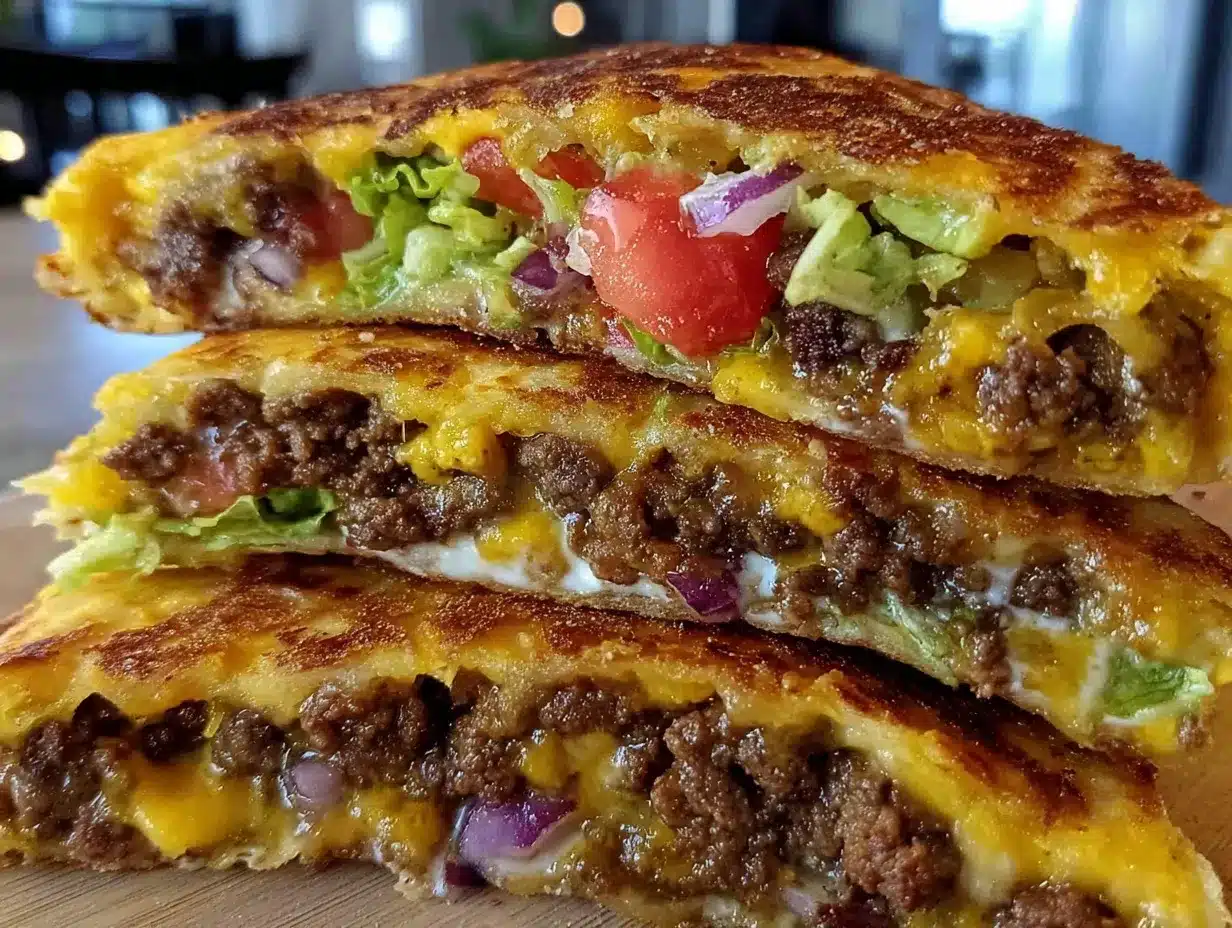
- Unbelievably Delicious: The balance of melty cheese, savory meat, and crunchy “tortilla” makes every bite a joy.
What makes this recipe different from others is the method I use to get the perfect crunch without deep frying or using high-carb wraps. Instead, I rely on a clever mix of cheese and low-carb tortillas that crisp up beautifully in a skillet. Also, the filling is customizable—from seasoned ground beef to shredded chicken and even veggie options. Plus, I love pairing it with sauces like chipotle mayo or guacamole for that extra flavor pop.
Honestly, this is the kind of dish that makes you close your eyes and savor each bite. It’s keto comfort food that doesn’t feel like a compromise. I bet after trying this, you’ll find yourself craving these crispy keto crunchwraps just as much as I do.
What Ingredients You Will Need
This recipe uses straightforward, low-carb ingredients that come together to create a crunchy, satisfying wrap. Most of these are pantry staples, and substitutions are easy if you need them.
- Low-Carb Tortillas: I recommend using brands like Mission Carb Balance or La Tortilla Factory Low Carb for the best texture and flexibility.
- Shredded Cheese: Sharp cheddar and mozzarella blend perfectly for melt and crunch (about 1 cup or 100g).
- Ground Beef or Shredded Chicken: About 8 ounces (225g), seasoned with taco spices like chili powder, cumin, and paprika.
- Onion: Finely chopped, about ¼ cup (40g), adds a sweet bite.
- Garlic: 1-2 cloves, minced, for depth of flavor.
- Romaine Lettuce or Leafy Greens: Thinly sliced, for fresh crunch inside the wrap.
- Tomatoes: Diced, optional but adds freshness.
- Sour Cream or Greek Yogurt: For creaminess and tang (about 2 tablespoons).
- Avocado or Guacamole: Adds richness and healthy fats.
- Olive Oil or Butter: For cooking the wrap and adding crispiness.
- Spices: Chili powder, cumin, smoked paprika, salt, and pepper to taste.
If you want to swap the ground beef for turkey or use shredded rotisserie chicken, that works great too. For dairy-free options, try vegan cheese and coconut yogurt instead of the sour cream. I’ve also used fresh spinach in place of lettuce when that’s what I had on hand.
Keep in mind, the key to those crispy edges is not overstuffing the crunchwraps—too much filling makes it tricky to fold and crisp evenly.
Equipment Needed
- Non-stick Skillet or Cast Iron Pan: Essential for getting that golden, crispy crust on the crunchwraps without sticking.
- Mixing Bowls: For combining your meat filling and prepping veggies.
- Spatula or Tongs: To flip the crunchwraps gently without tearing.
- Measuring Cups and Spoons: To keep your seasoning balanced.
If you don’t have a cast iron skillet, a heavy-bottomed non-stick pan works fine—just adjust the heat to prevent burning. I’ve found using a medium heat setting is the sweet spot for crisping without scorching. A silicone spatula is my favorite for flipping because it’s gentle on the pan and the wraps.
For budget-friendly options, you can even use a standard frying pan, but just watch closely as some pans heat unevenly. Keeping your oil or butter well distributed helps with even cooking.
Preparation Method
- Prepare the Filling (10 minutes): In a skillet over medium heat, add a splash of olive oil and sauté the chopped onion until translucent, about 3-4 minutes. Add the minced garlic and cook for another 30 seconds until fragrant. Toss in the ground beef (or chicken) and season with chili powder, cumin, smoked paprika, salt, and pepper. Cook until browned and cooked through, breaking up any clumps with your spatula. Drain any excess fat if needed, then set aside to cool slightly.
- Assemble the Crunchwraps (5 minutes): Lay a low-carb tortilla flat on a clean surface. Sprinkle a generous handful of shredded cheese in the center (about ¼ cup or 25g). Spoon a few tablespoons of the seasoned meat on top of the cheese. Add a small layer of diced tomatoes and shredded lettuce, then a dollop of sour cream or Greek yogurt, and a spoonful of avocado or guacamole. Don’t overfill—leave about 2 inches of space around the edges.
- Fold the Crunchwrap (3 minutes): Starting at one edge, fold the tortilla edges up and over the filling, overlapping as you go, to form a sealed round wrap. It might look a little rustic, but that’s part of the charm! Press gently to help it stick together.
- Cook the Crunchwrap (5-7 minutes per side): Heat a non-stick skillet or cast iron pan over medium heat and add a small amount of butter or olive oil. Place the folded crunchwrap seam-side down in the pan. Cook for 5 to 7 minutes until the bottom is golden brown and crispy. Carefully flip using a spatula or tongs and cook the other side for another 5-7 minutes until equally crispy and the cheese has melted inside. You should hear a satisfying sizzle and smell that toasty aroma.
- Serve Immediately: Remove from the pan and let it rest for a minute before slicing in half. This helps the cheese set a bit so nothing oozes out too fast.
If your crunchwrap starts to brown too fast, lower the heat and cover the pan briefly to help the cheese melt without burning the tortilla. Also, if the wrap feels too thick, try using slightly smaller tortillas or less filling next time for an easier fold.
Cooking Tips & Techniques
Getting that perfect crisp on keto crunchwraps takes a little finesse, but once you know the tricks, it’s a breeze.
- Use Medium Heat: High heat burns the outside before the cheese melts inside. Medium heat lets everything cook evenly.
- Don’t Overstuff: Stuffing too much filling makes folding tricky and can cause the wrap to burst during cooking. Less is more here.
- Cheese Layering: Sprinkling cheese both under and over the filling acts like edible glue holding the wrap together and adds extra crunch.
- Press Gently When Folding: Pressing the edges lightly helps seal the wrap but avoid squishing it flat.
- Flip Carefully: Use a wide spatula or tongs and be gentle to keep the wrap intact.
I used to rush the cooking and ended up with burnt outsides and unmelted cheese—big bummer. Now, I always keep an eye on the pan and adjust the heat as needed. Multitasking helps too: while one crunchwrap cooks, I prep the next one, so everything comes out hot and fresh. Also, if you want an extra crispy finish, give the wrap a quick press with a spatula during cooking to maximize contact with the pan.
Variations & Adaptations
These crispy keto crunchwraps are super versatile, so feel free to tweak them to your taste or dietary needs.
- Veggie Version: Replace the meat with sautéed mushrooms, zucchini, and bell peppers for a low-carb vegetarian option.
- Spicy Kick: Add diced jalapeños to the filling or mix hot sauce into your sour cream for some heat.
- Different Proteins: Use shredded rotisserie chicken, pulled pork, or even cooked shrimp for a tasty twist.
- Alternative Wraps: Try using coconut or almond flour tortillas if you want to vary your carb intake or change flavors.
One of my favorite twists is adding a smear of refried black soy beans inside for extra fiber and creaminess. I also sometimes swap the shredded lettuce for fresh cilantro and lime juice for a brighter flavor. If you have a preference for dairy-free, vegan cheese and avocado-based sour cream work well too.
Serving & Storage Suggestions
Serve these keto crunchwraps warm for the best crunch and melty goodness. They’re perfect on their own or paired with a side salad or a bowl of comforting soup like the loaded potato soup recipe or easy creamy tomato soup for a cozy meal.
To store, wrap cooled crunchwraps tightly in foil or plastic wrap and refrigerate for up to 3 days. For longer storage, freeze them individually with parchment paper between layers. Reheat in a skillet over medium-low heat to bring back that crispness, or use an air fryer at 350°F (175°C) for about 5 minutes. Avoid microwaving if you want to keep the crunch intact.
Flavors tend to meld beautifully when stored overnight, so leftovers are often even better the next day.
Nutritional Information & Benefits
Each crispy keto crunchwrap contains approximately 350-400 calories, with about 25-30g of fat, 20-25g of protein, and 4-6g of net carbs, depending on your filling choices. This makes it ideal for keeping energy levels steady without carb spikes.
Ground beef and cheese provide good sources of protein and healthy fats, helping you feel full longer. Adding avocado brings in heart-healthy monounsaturated fats and fiber. The low-carb tortillas keep the carb count down while still letting you enjoy that wrap experience.
This recipe is naturally gluten-free when using certified low-carb tortillas and can be adapted for dairy-free diets as mentioned earlier. For anyone monitoring allergens, check your cheese and tortilla brands carefully as ingredients can vary.
As someone who follows keto for sustained energy during busy days, I appreciate how this recipe balances nutrition and flavor without feeling restrictive.
Conclusion
So, there you have it—crispy keto crunchwraps that bring crunch, flavor, and low-carb goodness together in a way I honestly didn’t think was possible. Whether you’re new to keto or a seasoned low-carb eater, this recipe offers a satisfying lunch option that’s anything but boring.
Feel free to make it your own by swapping fillings, trying different cheeses, or adding your favorite sauces. I love how flexible it is while still delivering that crave-worthy crunch every time. It’s become a staple in my kitchen, and I hope it will be in yours, too.
If you try this recipe, I’d love to hear how you customized your crunchwraps or any tips you discovered along the way. Drop a comment below or share your version on social media—I’m always pumped to see new takes on this favorite!
Happy cooking and crunching!
FAQs About Crispy Keto Crunchwraps
Can I make these keto crunchwraps ahead of time?
Yes! You can assemble them and store them in the fridge for a few hours before cooking, or cook them and reheat in a skillet or air fryer to keep the crispiness.
What’s the best low-carb tortilla to use?
I personally like Mission Carb Balance or La Tortilla Factory Low Carb tortillas for their flexibility and taste, but almond or coconut flour wraps also work well.
Can I freeze these crunchwraps?
Absolutely. Wrap them individually in foil or plastic wrap and freeze. Reheat in an air fryer or skillet to restore crispness.
How do I keep the crunchwrap from falling apart when folding?
Don’t overfill and press the edges gently when folding. Using cheese as “glue” also helps seal the edges during cooking.
Are these crunchwraps suitable for vegetarians?
Yes, you can substitute the meat with sautéed veggies, mushrooms, or plant-based protein to make a delicious vegetarian version.
Pin This Recipe!
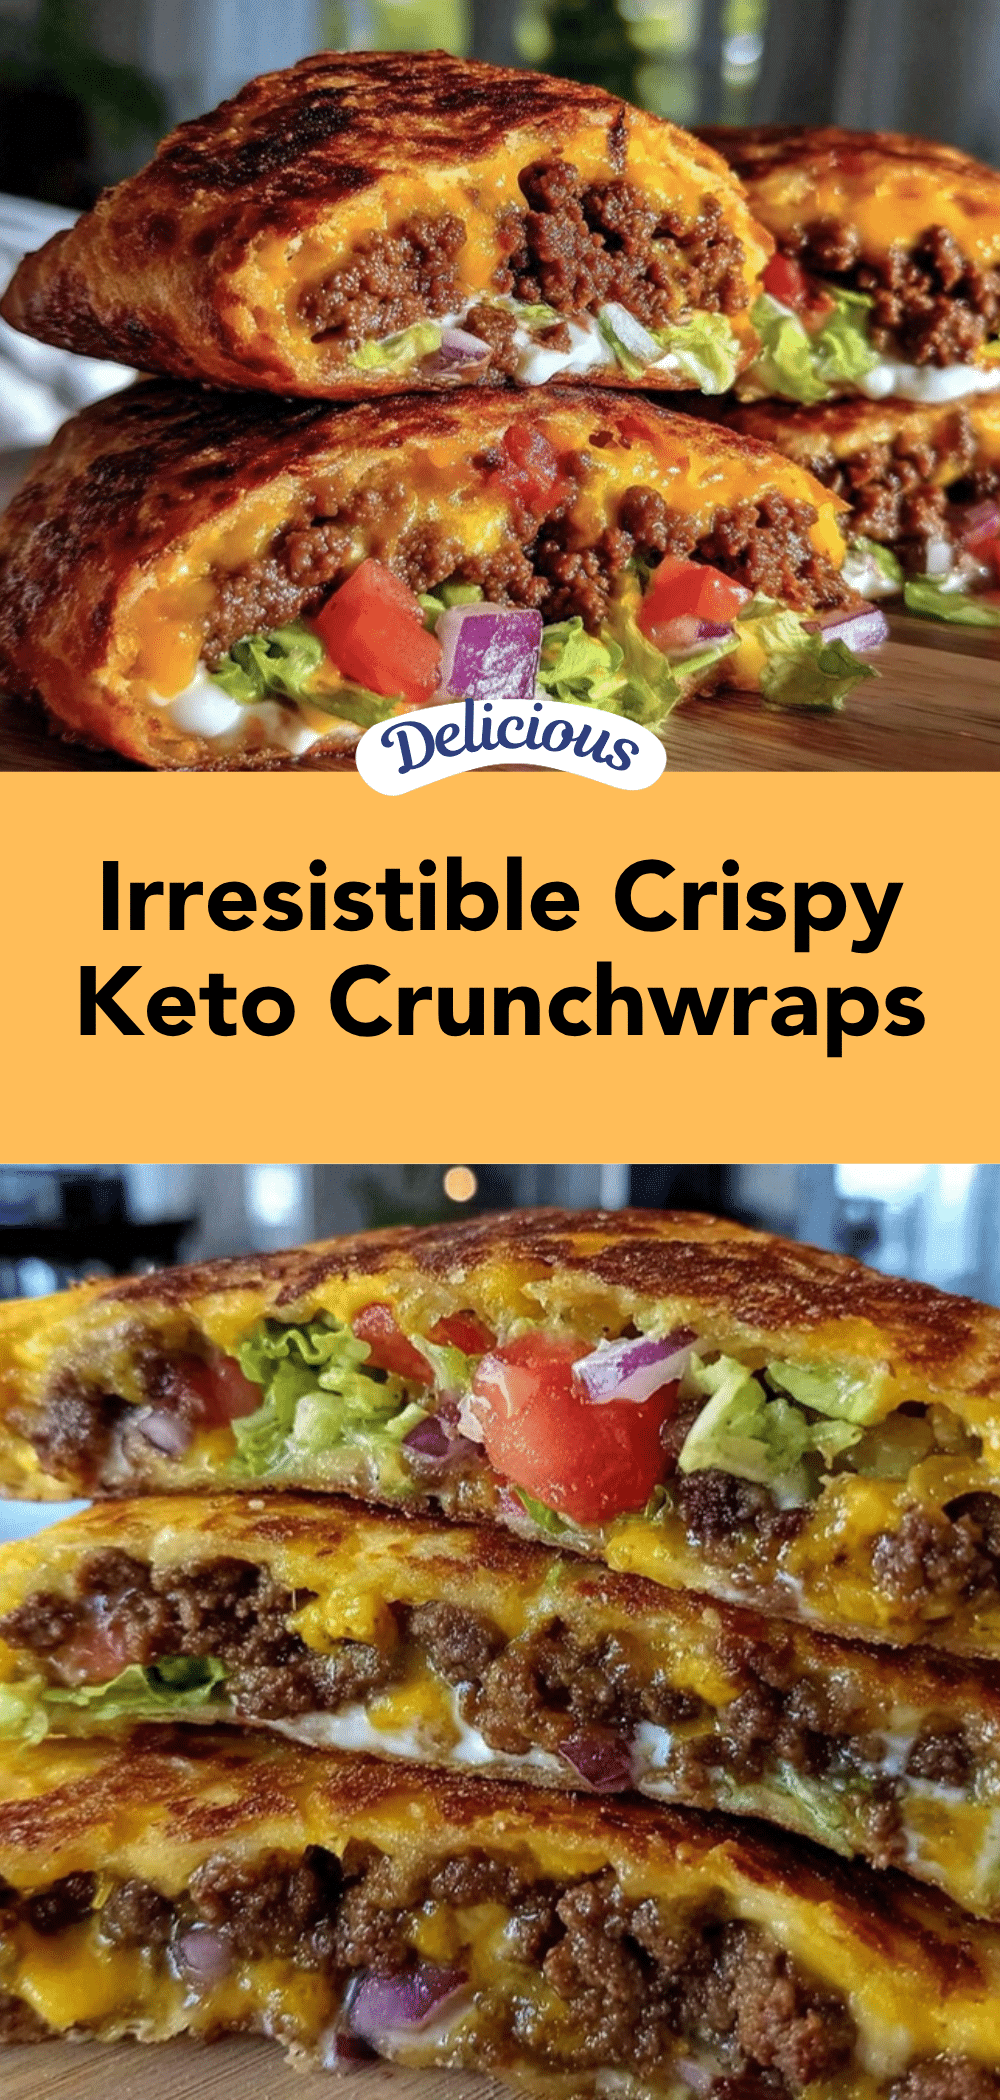
Crispy Keto Crunchwraps Recipe Easy Low Carb Lunch Idea

A crunchy, cheesy, and juicy keto-friendly wrap perfect for a quick, low-carb lunch or light dinner. This recipe delivers the satisfying crunch of fast food wraps without the carb overload.
- Prep Time: 15 minutes
- Cook Time: 12-14 minutes
- Total Time: 27-29 minutes
- Yield: 2 servings 1x
- Category: Main Course
- Cuisine: American
Ingredients
- Low-Carb Tortillas (e.g., Mission Carb Balance or La Tortilla Factory Low Carb)
- 1 cup (100g) shredded cheese (sharp cheddar and mozzarella blend)
- 8 ounces (225g) ground beef or shredded chicken, seasoned with chili powder, cumin, and smoked paprika
- ¼ cup (40g) finely chopped onion
- 1–2 cloves garlic, minced
- Romaine lettuce or leafy greens, thinly sliced
- Diced tomatoes (optional)
- 2 tablespoons sour cream or Greek yogurt
- Avocado or guacamole
- Olive oil or butter for cooking
- Spices: chili powder, cumin, smoked paprika, salt, and pepper to taste
Instructions
- Prepare the Filling (10 minutes): In a skillet over medium heat, add a splash of olive oil and sauté the chopped onion until translucent, about 3-4 minutes. Add the minced garlic and cook for another 30 seconds until fragrant. Toss in the ground beef (or chicken) and season with chili powder, cumin, smoked paprika, salt, and pepper. Cook until browned and cooked through, breaking up any clumps with your spatula. Drain any excess fat if needed, then set aside to cool slightly.
- Assemble the Crunchwraps (5 minutes): Lay a low-carb tortilla flat on a clean surface. Sprinkle a generous handful of shredded cheese in the center (about ¼ cup or 25g). Spoon a few tablespoons of the seasoned meat on top of the cheese. Add a small layer of diced tomatoes and shredded lettuce, then a dollop of sour cream or Greek yogurt, and a spoonful of avocado or guacamole. Don’t overfill—leave about 2 inches of space around the edges.
- Fold the Crunchwrap (3 minutes): Starting at one edge, fold the tortilla edges up and over the filling, overlapping as you go, to form a sealed round wrap. Press gently to help it stick together.
- Cook the Crunchwrap (5-7 minutes per side): Heat a non-stick skillet or cast iron pan over medium heat and add a small amount of butter or olive oil. Place the folded crunchwrap seam-side down in the pan. Cook for 5 to 7 minutes until the bottom is golden brown and crispy. Carefully flip using a spatula or tongs and cook the other side for another 5-7 minutes until equally crispy and the cheese has melted inside.
- Serve Immediately: Remove from the pan and let it rest for a minute before slicing in half.
Notes
Use medium heat to avoid burning the outside before the cheese melts inside. Don’t overstuff the wraps to make folding easier and prevent bursting. Cheese acts as edible glue to hold the wrap together. Press edges gently when folding and flip carefully to keep the wrap intact. For extra crispiness, press the wrap with a spatula during cooking. Store leftovers wrapped tightly in foil or plastic wrap in the fridge for up to 3 days or freeze individually with parchment paper between layers. Reheat in a skillet or air fryer to maintain crispness; avoid microwaving.
Nutrition
- Serving Size: 1 crunchwrap
- Calories: 375
- Sugar: 2
- Sodium: 550
- Fat: 27
- Saturated Fat: 12
- Carbohydrates: 6
- Fiber: 3
- Protein: 22
Keywords: keto, low carb, crunchwrap, keto lunch, keto dinner, crispy wrap, keto recipe, low carb wrap, keto comfort food


