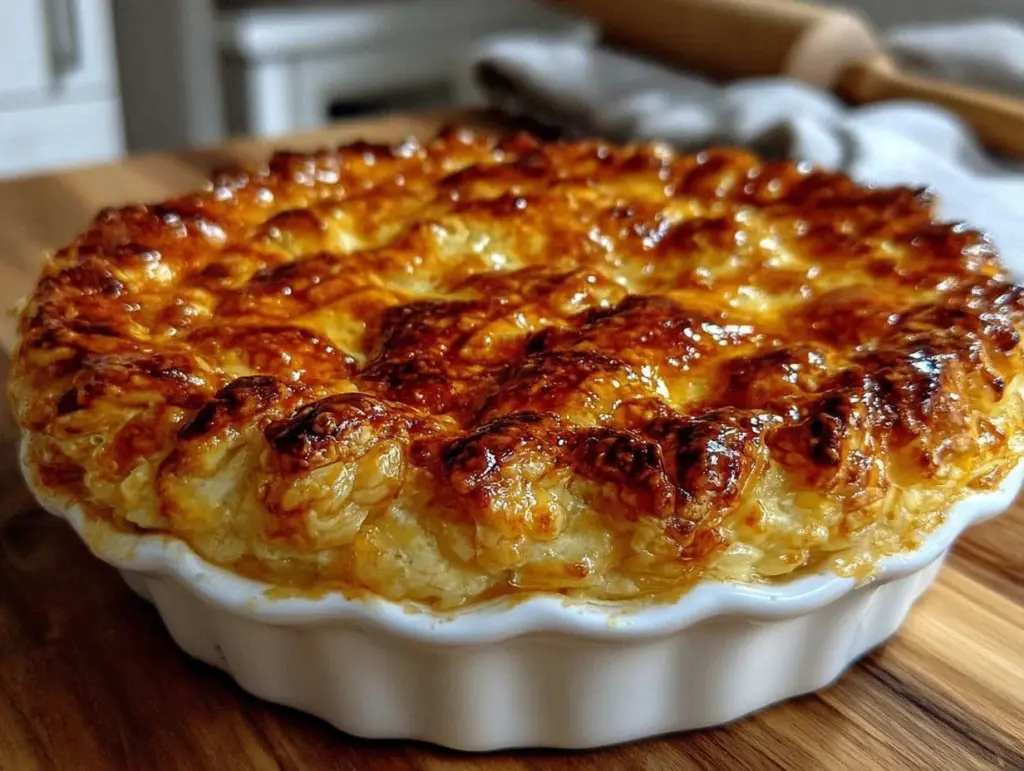
The smell of buttery, flaky pie crust baking in the oven is honestly one of those little kitchen moments that feels like a warm hug. I remember the first time I tackled making a homemade flaky pie crust on a busy weeknight—my kitchen was buzzing with the usual chaos, but that crust came together like a charm. It wasn’t just about the pie; it was about finding a simple way to bring that fresh-baked magic into real life, even when time was tight. That night, I realized homemade pie crust doesn’t have to be a weekend-only labor of love. It can be quick, easy, and totally worth the effort during weeknight baking.
I’ve tested this homemade flaky pie crust recipe more times than I can count, tweaking it to fit the hurried pace of weeknights without sacrificing that perfect, flaky texture. Whether you’re baking a savory pot pie or a sweet fruit tart, this crust holds up beautifully and tastes so much better than store-bought. If you’re anything like me, juggling family dinners and work, this recipe will become your go-to for making pie crust from scratch without the stress. Plus, it’s versatile enough to pair with all kinds of fillings—think about the creamy chicken pot pie I love making when I need comfort food that’s both hearty and homemade.
So, if you’ve ever been intimidated by pie crust or thought it was too time-consuming, this easy 5-step guide to homemade flaky pie crust is here to change your mind. Let’s get baking!
Why You’ll Love This Recipe
- Quick & Easy: This pie crust comes together in under 30 minutes, perfect for those weeknights when you want homemade but don’t have all evening.
- Simple Ingredients: You probably already have everything—flour, butter, salt, and water—no fancy shopping required.
- Perfect for Weeknight Baking: Whether you’re making a savory chicken pot pie or a fruit-filled dessert, this crust fits the bill for speedy, satisfying meals.
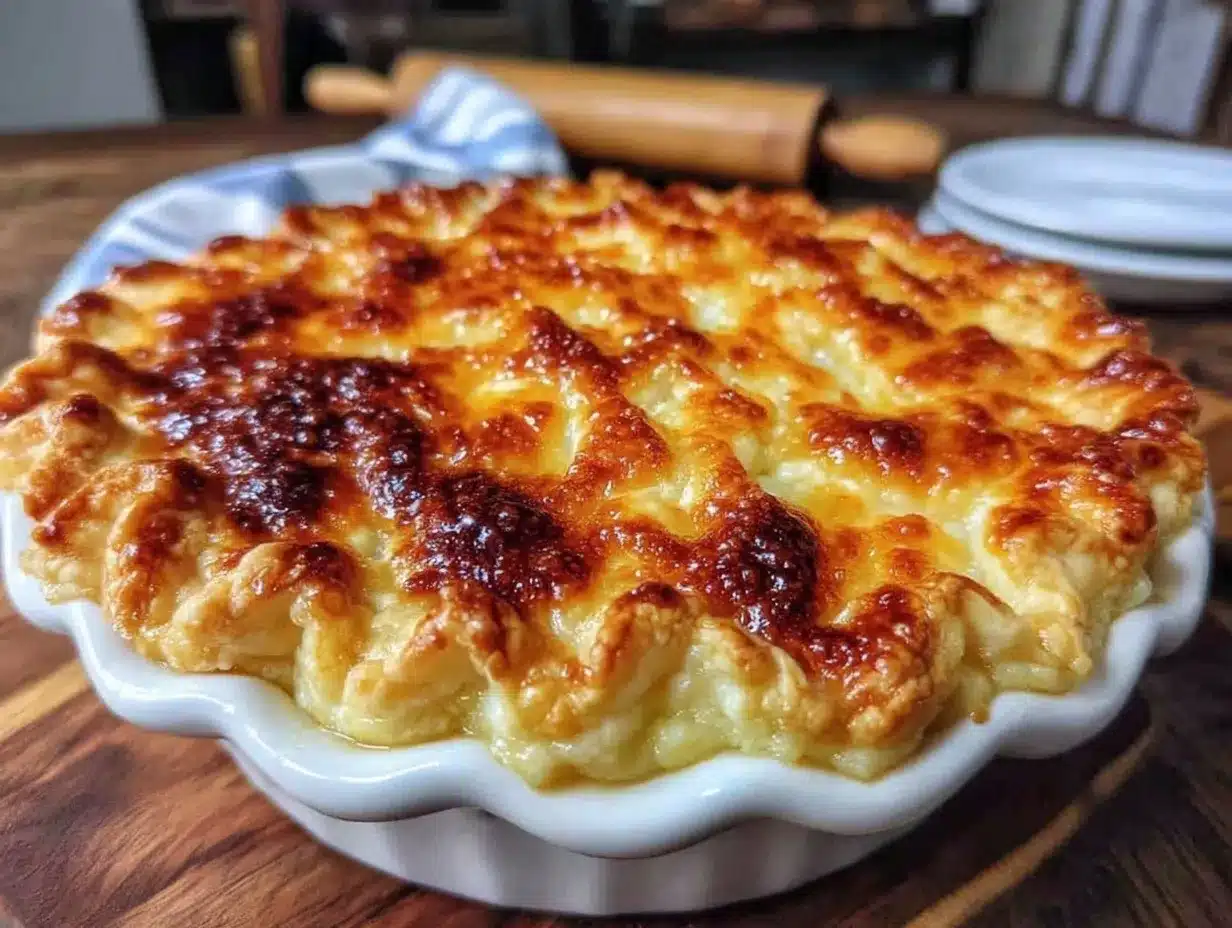
- Crowd-Pleaser: It’s flaky, buttery, and golden—always gets compliments from family and friends, even from those picky eaters who usually prefer store-bought.
- Reliable Texture: The secret technique of keeping the butter cold and minimal handling means you get that signature flaky texture every time.
This isn’t just any pie crust recipe; it’s the one I turn to when I want something homemade but don’t want all the fuss. I’ve fine-tuned it to balance ease with that classic pie crust flakiness that feels like a small kitchen victory. Honestly, making this crust has made me more confident in baking overall, and it pairs wonderfully with recipes like the creamy chicken pot pie I often whip up during chilly evenings. If you want a crust that comes together quickly and tastes like you spent hours, you’re in the right place.
What Ingredients You Will Need
This recipe uses simple, wholesome ingredients to deliver a bold, flaky crust without fuss. Most are pantry staples, and you can easily swap a few if needed.
- All-purpose flour (2 ½ cups / 310 g) – The base of your crust, provides structure and tenderness.
- Unsalted butter (1 cup / 225 g, cold and cubed) – Key for that flaky texture; I like using Land O’Lakes for consistent results.
- Salt (1 tsp) – Enhances flavor; kosher salt works great here.
- Ice cold water (6-8 tbsp / 90-120 ml) – Helps bind the dough without melting the butter; keep it really cold!
- Optional: white vinegar or lemon juice (1 tsp) – Adds tenderness by slightly inhibiting gluten development; I always add this little touch.
If you want to make this gluten-free, you can try a gluten-free flour blend, though the texture will be slightly different. For a dairy-free version, swap butter for a cold solid coconut oil or vegan butter, but keep in mind the flavor and flakiness will vary a bit.
Choose small-curd butter for better layering and flakiness—big chunks of butter can make the dough harder to work with. Also, keeping your ingredients cold throughout is the real trick here. You might find it helpful to chill your flour and mixing bowl before starting, especially if your kitchen is warm.
Equipment Needed
- Mixing bowl: A large bowl for combining ingredients; metal or glass works well and helps keep things cool.
- Pastry cutter or food processor: To cut the butter into the flour. I usually reach for my trusty pastry cutter, but a quick pulse in the food processor saves time on busy nights.
- Measuring cups and spoons: Accurate measurement is key for consistent crusts.
- Rolling pin: Essential for rolling out your dough evenly; if you don’t have one, a clean wine bottle can work in a pinch.
- Plastic wrap: For chilling the dough before rolling to help the gluten relax and flavors meld.
If you don’t have a pastry cutter, using two knives to “cut in” the butter works fine too—honestly, I’ve done it a bunch of times with good results. Maintaining your rolling pin by dusting it lightly with flour prevents sticking, which makes rolling out the dough easier. For budget-friendly options, you can find decent pastry cutters and rolling pins at most kitchen supply stores or online without breaking the bank.
Preparation Method
- Chill your ingredients: Before starting, place your butter, water, and mixing bowl in the fridge for at least 15 minutes. Using cold ingredients is crucial for flaky layers.
- Mix flour and salt: In the chilled bowl, whisk together 2 ½ cups (310 g) of all-purpose flour and 1 teaspoon of salt until evenly combined.
- Cut in the butter: Add 1 cup (225 g) of cold, cubed unsalted butter. Use a pastry cutter or your fingers to cut the butter into the flour until the mixture resembles coarse crumbs with pea-sized bits of butter. Don’t overwork it; some chunks of butter are good—they create the flakiness.
- Add cold water: Drizzle 6 tablespoons (90 ml) of ice cold water evenly over the flour mixture. Add 1 teaspoon of white vinegar or lemon juice if using. Gently toss with a fork until the dough begins to hold together. If it’s too dry, add up to 2 more tablespoons (30 ml) of water, one at a time.
- Form and chill the dough: Turn the dough out onto a lightly floured surface. Press it gently into a flat disk without kneading. Wrap tightly in plastic wrap and chill in the fridge for at least 30 minutes, or up to 2 days. Chilling helps the gluten relax and makes rolling easier.
- Roll out the dough: Lightly flour your work surface and rolling pin. Roll the dough from the center outward, turning it occasionally to keep it even. Roll to about 1/8 inch (3 mm) thickness or to fit your pie dish, usually 9 inches (23 cm) wide.
- Fit into pie dish: Transfer the dough carefully to your pie dish, gently pressing it into the corners. Trim excess dough, leaving about a 1-inch (2.5 cm) overhang. Fold the edge under and crimp as desired.
- Chill again before baking: For best results, place the crust back in the fridge for 15 minutes before baking. This prevents shrinking and keeps the butter cold.
If your dough cracks slightly while rolling, just patch it gently with a little water and dough scraps—no big deal. You want to handle the dough as little as possible to keep the butter from melting. If you’re pressed for time, you can freeze the dough disk for up to a month; just thaw in the fridge overnight before rolling. When baking for a pre-baked crust, prick the bottom with a fork and line with parchment and pie weights or dried beans to prevent bubbling.
Cooking Tips & Techniques
One personal tip that really changed my pie game is chilling the dough twice—before and after rolling. It makes a huge difference in preventing shrinkage and keeps layers flaky. Also, handling the dough minimally keeps it tender; too much kneading develops gluten and makes it tough.
Cutting cold butter into flour is crucial—some people freeze their butter and grate it. I’ve tried that, but cubing and cutting with a pastry cutter still works best for me. You’ll want to see little bits of butter throughout the dough; those melt during baking and create pockets of flakiness.
Common mistakes include adding too much water or warming the dough while handling. If your dough feels sticky or soft, pop it back in the fridge for 10-15 minutes. You can also work on a chilled surface to keep the dough cool.
When rolling, turn your dough 90 degrees every few rolls and dust lightly with flour to prevent sticking and maintain an even thickness. This also helps keep the dough round enough to fit nicely in your pie pan.
If you want a golden crust, brush the edges with beaten egg white or milk before baking. For venting top crusts, cut slits or use a decorative pie crust cutter to let steam escape without ruining the flakiness.
Variations & Adaptations
- Whole wheat crust: Substitute half the all-purpose flour with whole wheat flour for a nutty flavor and added fiber. The texture will be a bit heartier but still flaky.
- Gluten-free crust: Use a gluten-free flour blend designed for baking. Expect a slightly different texture, but it’s a solid option for those avoiding gluten.
- Herb-infused crust: Add 1-2 tablespoons of finely chopped fresh herbs like rosemary or thyme to the dry ingredients for a savory twist, perfect for quiches or chicken pot pies.
- Vegan crust: Replace butter with solid coconut oil or vegan butter. Keep ingredients cold and handle gently to maintain flakiness.
- Spiced sweet crust: Add 1 teaspoon cinnamon and 1 tablespoon sugar to the flour for a crust that’s ready for fruit pies or tarts.
For different cooking methods, this dough works well for blind baking in a tart pan or for rustic freeform galettes. I once made a quick berry galette with this crust, and it was a breeze to handle. All these tweaks let you tailor the crust to your mood or pantry without losing that flaky, homemade charm.
Serving & Storage Suggestions
This homemade flaky pie crust shines best served warm or at room temperature. If you’re making a savory pie, let it rest for 10 minutes after baking so the filling sets nicely. For sweet pies, a scoop of vanilla ice cream or a dollop of whipped cream makes a dreamy pairing.
Store leftover pie crust tightly wrapped in plastic wrap in the fridge for up to 3 days. If you made extra dough, freeze it in a disk wrapped well for up to a month—just thaw in the fridge before rolling. Leftover baked pie crust can be wrapped and kept for 2 days; reheat in a 350°F (175°C) oven for 5-7 minutes to bring back crispness.
Flavors develop subtly when chilled overnight, especially in fruit pies, so if you can, plan ahead and let your pie rest. This crust also pairs beautifully with cozy dishes like the loaded potato soup on a cold evening, making your meal feel thoughtful and homemade.
Nutritional Information & Benefits
Each serving of this homemade flaky pie crust contains approximately 200 calories, 10 grams of fat, 25 grams of carbohydrates, and 2 grams of protein (based on 8 servings). The fat comes mainly from real butter, which provides rich flavor and contributes to the crust’s tender, flaky texture.
Using real butter means you’re getting natural fats, which are essential for flavor and mouthfeel, unlike many processed alternatives. The simplicity of ingredients keeps this recipe free from preservatives and additives common in store-bought crusts.
This recipe can be adapted for gluten-free or vegan diets as mentioned, making it accessible to various dietary needs. For those watching carbs, pairing the crust with low-carb fillings or smaller portions helps balance the meal.
From a wellness perspective, I love that this recipe encourages scratch cooking with basic ingredients, connecting us back to real food and mindful eating.
Conclusion
Making a homemade flaky pie crust on a weeknight might sound intimidating, but this easy 5-step recipe proves it can be both simple and satisfying. It’s the kind of crust that brings that homemade feeling to your table without needing hours of prep. I love how this crust pairs with everything from savory pies to fruit tarts, turning everyday dinners into something special.
Feel free to tweak this recipe to suit your pantry and taste buds—whether you add herbs, spices, or swap flours, it’s all about making it your own. I hope this recipe encourages you to roll up your sleeves and give homemade pie crust a go, even on your busiest nights.
Let me know how your crust turns out or if you try any fun variations—I always enjoy hearing your baking stories! Happy baking and here’s to flaky, buttery success in your kitchen.
Frequently Asked Questions
Can I make this pie crust ahead of time?
Yes! The dough can be made and chilled for up to 2 days or frozen for up to a month. Just thaw in the fridge before rolling.
What if my dough is too crumbly and won’t come together?
Add a little more ice water, one tablespoon at a time, and gently mix until the dough holds together but isn’t sticky.
How do I prevent my pie crust from shrinking during baking?
Chilling the dough before and after rolling, avoiding overworking, and using pie weights when blind baking help prevent shrinkage.
Can I use salted butter instead of unsalted?
You can, but reduce or omit added salt in the recipe to avoid an overly salty crust.
Is it okay to use a food processor for this recipe?
Absolutely! A quick pulse to cut in the butter works well, just be careful not to over-process or the dough may become tough.
Pin This Recipe!
Homemade Flaky Pie Crust Recipe Easy 5-Step Weeknight Baking Guide

A quick and easy homemade flaky pie crust recipe perfect for weeknight baking, delivering buttery, flaky texture with simple pantry ingredients.
- Prep Time: 20 minutes
- Cook Time: 15 minutes (for pre-baking crust; actual baking time varies by pie filling)
- Total Time: 35 minutes
- Yield: 8 servings 1x
- Category: Baking
- Cuisine: American
Ingredients
- 2 ½ cups (310 g) all-purpose flour
- 1 cup (225 g) unsalted butter, cold and cubed
- 1 teaspoon salt
- 6–8 tablespoons (90–120 ml) ice cold water
- Optional: 1 teaspoon white vinegar or lemon juice
Instructions
- Chill your ingredients: Place butter, water, and mixing bowl in the fridge for at least 15 minutes.
- Mix flour and salt: Whisk together 2 ½ cups (310 g) all-purpose flour and 1 teaspoon salt in the chilled bowl.
- Cut in the butter: Add 1 cup (225 g) cold cubed unsalted butter and cut into flour until mixture resembles coarse crumbs with pea-sized bits.
- Add cold water: Drizzle 6 tablespoons (90 ml) ice cold water evenly over flour mixture. Add 1 teaspoon white vinegar or lemon juice if using. Toss gently with a fork until dough holds together. Add up to 2 more tablespoons (30 ml) water if too dry.
- Form and chill dough: Turn dough onto floured surface, press into flat disk without kneading. Wrap in plastic wrap and chill for at least 30 minutes or up to 2 days.
- Roll out dough: Lightly flour surface and rolling pin. Roll dough from center outward to about 1/8 inch (3 mm) thickness or to fit a 9-inch (23 cm) pie dish.
- Fit into pie dish: Transfer dough to pie dish, press into corners, trim excess leaving 1-inch (2.5 cm) overhang, fold edge under and crimp.
- Chill again before baking: Place crust in fridge for 15 minutes before baking to prevent shrinking.
Notes
Keep all ingredients cold to ensure flakiness. Chill dough twice: before mixing and after rolling. Handle dough minimally to avoid toughness. If dough cracks, patch with water and scraps. Dough can be frozen for up to a month. For golden crust, brush edges with beaten egg white or milk before baking.
Nutrition
- Serving Size: 1/8 of pie crust
- Calories: 200
- Fat: 10
- Carbohydrates: 25
- Protein: 2
Keywords: pie crust, flaky pie crust, homemade pie crust, easy pie crust, weeknight baking, buttery crust, pie dough


