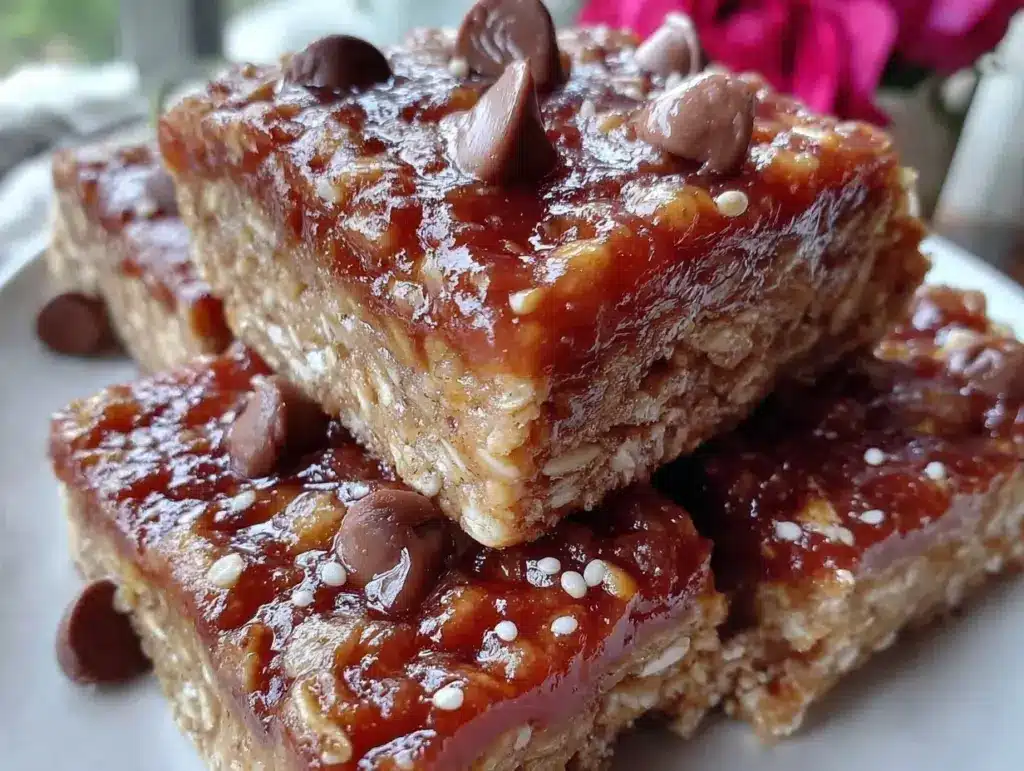
The smell of toasted oats, sweet honey, and a touch of vanilla dancing in your kitchen without turning on the oven? That’s exactly the magic behind these no bake granola bars. I remember the first time I whipped them up on a hectic weekday afternoon — no time to bake, just a craving for something wholesome and satisfying. Honestly, these bars saved me from the vending machine temptation more times than I can count. They’re not just a quick snack fix; they’re my go-to when I need energy on the fly without fuss.
What’s cool about this no bake granola bars recipe is how it brings together simple ingredients you probably have stashed away in your pantry, yet it feels like a treat. I’ve tested this recipe a dozen times, tweaking the nut mix or sweetener until it hit that perfect chewy-crunchy texture I love. It’s perfect for busy parents, afternoon pick-me-ups, or even a lunchbox surprise for the kids.
And let me tell you, once you try these bars, you might just find yourself making them regularly — which is great because they’re packed with wholesome oats and nuts, giving you the kind of slow-release energy you want. So, if you’ve been hunting for a no bake granola bars recipe that’s easy, quick, and actually tastes amazing, you’re in the right spot.
Why You’ll Love This Recipe
After countless batches, here’s why these no bake granola bars stand out from the rest:
- Quick & Easy: You can have these ready in under 5 minutes, plus chilling time. Perfect for when life moves fast and hunger strikes.
- Simple Ingredients: No need for fancy or hard-to-find items — just oats, nuts, honey, and a few pantry staples.
- Perfect for On-the-Go: Great for busy mornings, hikes, or even a quick snack between work and play.
- Crowd-Pleaser: Kids, adults, coworkers — everyone loves these bars. They’re subtle enough to please picky eaters but satisfying for snack lovers.
- Customizable: Whether you want to swap nuts, add dried fruit, or go nut-free, it adapts easily to your preference.
What really makes this no bake granola bars recipe different is the balance of flavors and textures — the perfect chewiness without being too sticky, a subtle hint of vanilla, and just enough natural sweetness. Plus, skipping the oven means less heat in the kitchen and zero worries about burning anything. I often make these alongside a pot of loaded potato soup for a cozy lunch that’s both comforting and fuss-free.
What Ingredients You Will Need
This recipe calls for straightforward, wholesome ingredients that come together to form a delicious and nutritious snack. Here’s what you’ll want to gather before you start:
- Old-fashioned rolled oats – 2 cups (about 180 g), the hearty base for chew and fiber
- Nut butter (peanut, almond, or cashew) – 1 cup (240 ml), binds the bars and adds richness
- Honey – 1/3 cup (113 g), natural sweetener and helps hold everything together
- Vanilla extract – 1 teaspoon, for a warm, friendly flavor
- Chopped nuts (almonds, walnuts, or pecans) – 1/2 cup (60 g), adds crunch and protein
- Mini chocolate chips (optional) – 1/4 cup (45 g), for a touch of indulgence
- Flaxseed meal or chia seeds – 2 tablespoons, for extra nutrition and texture
- Salt – a pinch, to balance sweetness
Pro tip: I like to use natural, unsweetened nut butter — it gives these bars a cleaner taste. For the oats, Bob’s Red Mill rolled oats are my go-to for texture. If you want to make these gluten-free, just double-check your oats’ packaging. And if you’re feeling adventurous, swapping the chopped nuts for seeds keeps it nut-free and just as tasty!
Equipment Needed
You won’t need much for this no bake granola bars recipe, which is part of the charm. Here’s what helps:
- Mixing bowl: A large one to comfortably combine ingredients without spilling.
- Spoon or spatula: For mixing everything evenly — a sturdy silicone spatula works great for scraping the sides.
- Measuring cups and spoons: Accuracy helps keep the bars just right.
- 8×8-inch baking pan or similar: For pressing the mixture into bars. I like to line mine with parchment paper for easy removal.
- Microwave-safe bowl (optional): To gently warm nut butter and honey if they’re stiff.
If you don’t have a baking pan, a shallow dish or even a loaf pan works fine. I’ve used a silicone baking mat instead of parchment paper when I was in a pinch, and that worked well too. No fancy tools required—just keep it simple!
Preparation Method
- Prepare your pan: Line an 8×8-inch (20×20 cm) baking pan with parchment paper, leaving some overhang for easy bar removal. This takes about 2 minutes.
- Warm the nut butter and honey: In a microwave-safe bowl, gently heat 1 cup (240 ml) of nut butter and 1/3 cup (113 g) honey for about 20-30 seconds. Stir until smooth and combined. If you don’t have a microwave, warm them slowly in a small saucepan over low heat. This step helps everything blend easier and gives the bars a nice chew.
- Mix dry ingredients: In your large mixing bowl, combine 2 cups (180 g) rolled oats, 1/2 cup (60 g) chopped nuts, 2 tablespoons flaxseed meal or chia seeds, a pinch of salt, and 1/4 cup (45 g) mini chocolate chips if using. Give it a good stir so everything’s evenly distributed.
- Combine wet and dry: Pour the warm nut butter and honey mixture into the dry ingredients along with 1 teaspoon vanilla extract. Stir with a spatula until the mixture is fully coated and sticky. At this point, it should hold together when you press some between your fingers—if it’s too crumbly, add a teaspoon of honey or nut butter.
- Press into pan: Transfer the mixture into your prepared pan. Using a spatula or your hands (lightly dampened to prevent sticking), press the mixture firmly and evenly into the pan. Don’t be shy about pressing hard—it helps the bars hold together after chilling.
- Chill: Place the pan in the refrigerator for at least 1 hour to set. This is the hardest part—waiting! But the bars firm up nicely and become easy to slice.
- Slice and store: Once chilled, lift the mixture out of the pan using the parchment edges. Cut into 10-12 bars or squares with a sharp knife. Store them in an airtight container in the fridge for up to a week, or freeze for longer storage.
If you find the bars too sticky after chilling, just pop them back in the fridge a little longer. And if you want to speed things up, a quick 15-minute stint in the freezer helps firm them right up.
Cooking Tips & Techniques
Making no bake granola bars might seem straightforward, but I’ve learned a few tricks that make all the difference:
- Warm your binders: Heating the nut butter and honey makes mixing easier and helps the bars stick together better. Cold or stiff nut butter can lead to crumbly bars.
- Press firmly: Don’t skimp on pressing the mixture into the pan. The tighter you pack it, the better the texture and the easier to slice without crumbling.
- Watch your sweetener: Honey is great, but if you want a less sticky bar, try a little less or a thicker syrup like maple syrup.
- Keep ingredients dry: Avoid adding fresh fruit or anything too wet unless you adjust the binders. Otherwise, the bars can get soggy.
- Don’t rush chilling: I’ve tried cutting bars too soon, and they fall apart. Patience pays off here.
One time, I accidentally used crunchy peanut butter instead of smooth — the bars had little pockets of nutty texture, which was surprisingly delightful. So, feel free to experiment with your favorite nut butters or even sunflower seed butter if you have allergies. Also, if you’re prepping snacks for a busy week, doubling the recipe and freezing individual bars makes mornings way less chaotic.
Variations & Adaptations
These no bake granola bars are super flexible. Here are some ways I’ve mixed things up over time:
- Nut-Free Version: Use sunflower seed butter and swap nuts for extra seeds like pumpkin or sunflower seeds. I tried this for a friend with allergies, and it was just as tasty.
- Chocolate Lover’s Twist: Add cocoa powder to the wet mixture or drizzle melted dark chocolate on top after chilling for a decadent upgrade.
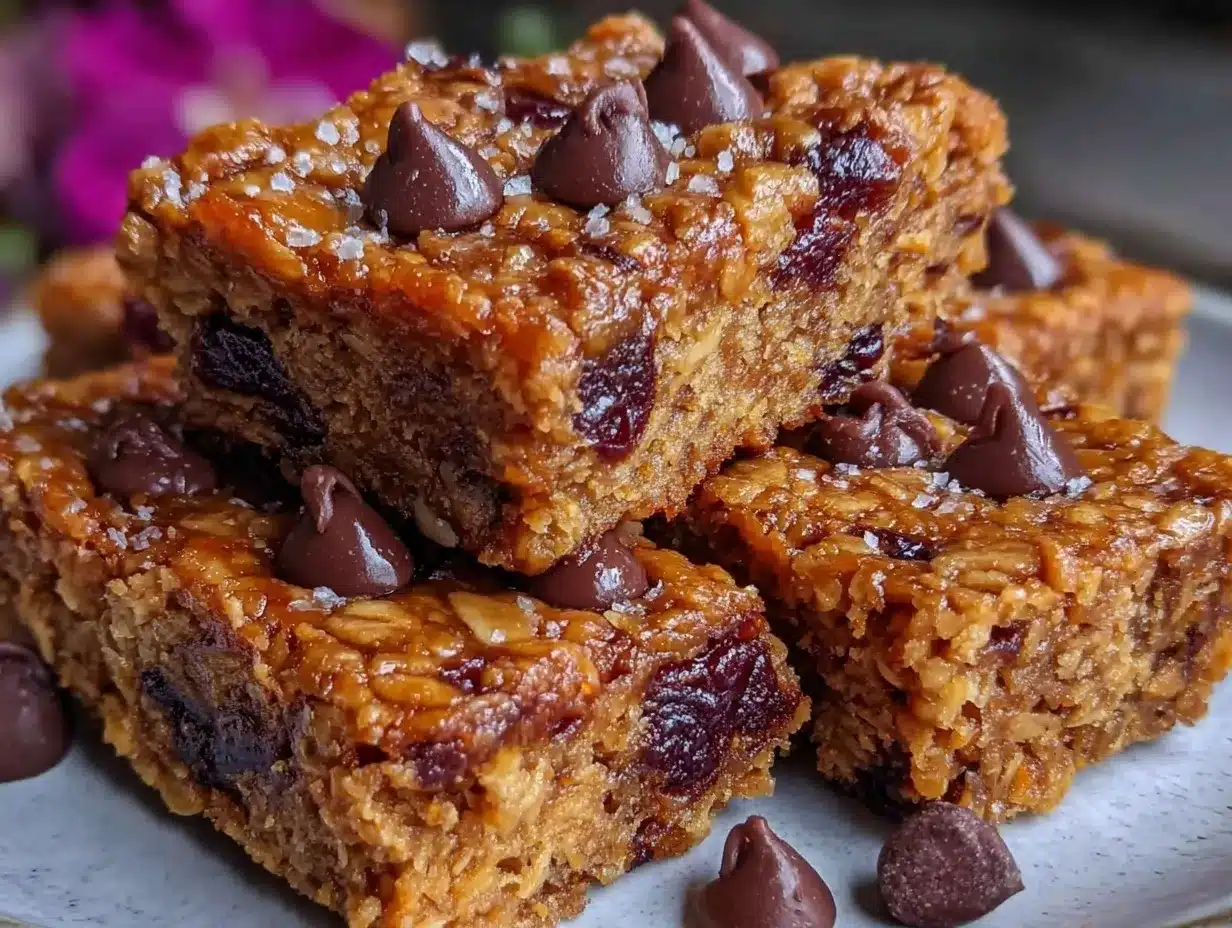
- Fruit & Nut Mix: Toss in dried cranberries, raisins, chopped apricots, or even freeze-dried berries for seasonal flavor. Just reduce the nuts slightly to keep the balance.
- Protein Boost: Stir in a scoop of your favorite protein powder or add hemp hearts for extra nutrition ideal for pre- or post-workout snacks.
- Spiced Up: Sprinkle cinnamon, nutmeg, or pumpkin pie spice into the dry mix for a cozy flavor punch that pairs well with fall vibes.
For a bit of a different texture, I’ve also tried pressing the mixture into muffin tins for bite-sized bars — fun for kids and perfect for portion control. If you want to warm things up, you can gently melt the bars for a few seconds in the microwave for a gooey treat, but eat them quickly before they firm back up!
Serving & Storage Suggestions
These no bake granola bars are best served chilled or at room temperature. I like to grab one straight from the fridge as a mid-morning pick-me-up or pack a couple in my bag for afternoon snacking. If serving at a gathering, cut them into smaller squares and arrange on a pretty platter — they look inviting and are easy for guests to grab.
If you’re pairing these bars with something, a warm cup of tea or a smoothie makes a nice balance. And speaking of cozy combos, they make a lovely companion to a bowl of creamy vegetable soup for a light lunch that’s filling and comforting.
Store bars in an airtight container in the refrigerator for up to a week. For longer storage, freeze them individually wrapped in parchment or plastic wrap; they thaw quickly and keep their texture well. When reheating, a few seconds in the microwave softens them up without melting the chocolate chips.
Over time, the flavors meld and deepen, especially if you include spices or dried fruit — so making a batch ahead can sometimes make your snack even tastier!
Nutritional Information & Benefits
Each no bake granola bar (assuming 12 bars per batch) roughly contains:
| Nutrient | Amount per Bar |
|---|---|
| Calories | 160-180 kcal |
| Protein | 5-6 g |
| Fat | 8-10 g (mostly healthy fats) |
| Carbohydrates | 18-20 g |
| Fiber | 3-4 g |
Key ingredients like oats provide fiber for digestive health and steady energy. Nut butter and nuts add heart-healthy fats and protein, making these bars a balanced snack. Adding flaxseed or chia seeds boosts omega-3 fatty acids and antioxidants. This recipe is naturally gluten-free if you use certified gluten-free oats, and dairy-free as long as you avoid chocolate chips with milk solids.
From a wellness standpoint, these bars offer a satisfying, nutrient-dense alternative to processed snacks. I find making them at home helps me avoid added sugars and preservatives that sneak into commercial bars, which is a win for both taste and health.
Conclusion
If you’re after a quick snack fix that’s wholesome, easy, and downright delicious, these no bake granola bars are a winner every time. They come together in minutes with ingredients you know and trust, no oven needed, and deliver that perfect chewy crunch I crave when hunger hits.
Feel free to mix up the nuts, seeds, or flavorings to suit your taste or dietary needs — I love seeing how people make this recipe their own. Personally, these bars have become my trusty snack companion for busy days and outdoor adventures alike.
Give this recipe a try, and I’d love to hear how you customize it. Drop a comment below to share your favorite add-ins or tweaks, and don’t forget to pass this along to anyone needing a simple snack idea. Here’s to snack time made easy and tasty!
FAQs About No Bake Granola Bars
Can I use quick oats instead of rolled oats?
Quick oats can work, but the texture will be softer and less chewy. Rolled oats hold up better for that classic granola bar bite.
How long do these bars last in the fridge?
Stored in an airtight container, they keep well for about a week. Beyond that, they might dry out or get sticky.
Can I freeze the granola bars?
Yes! Wrap individually and freeze for up to 2 months. They thaw quickly at room temperature or in the fridge.
What if my bars don’t stick together?
Warm your nut butter and honey more and press the mixture firmly into the pan. Adding a little extra honey or nut butter can help improve binding.
Are these bars suitable for kids?
Absolutely! They’re a wholesome snack with natural sweetness and no artificial ingredients. Just watch for nut allergies if serving to younger children.
Pin This Recipe!
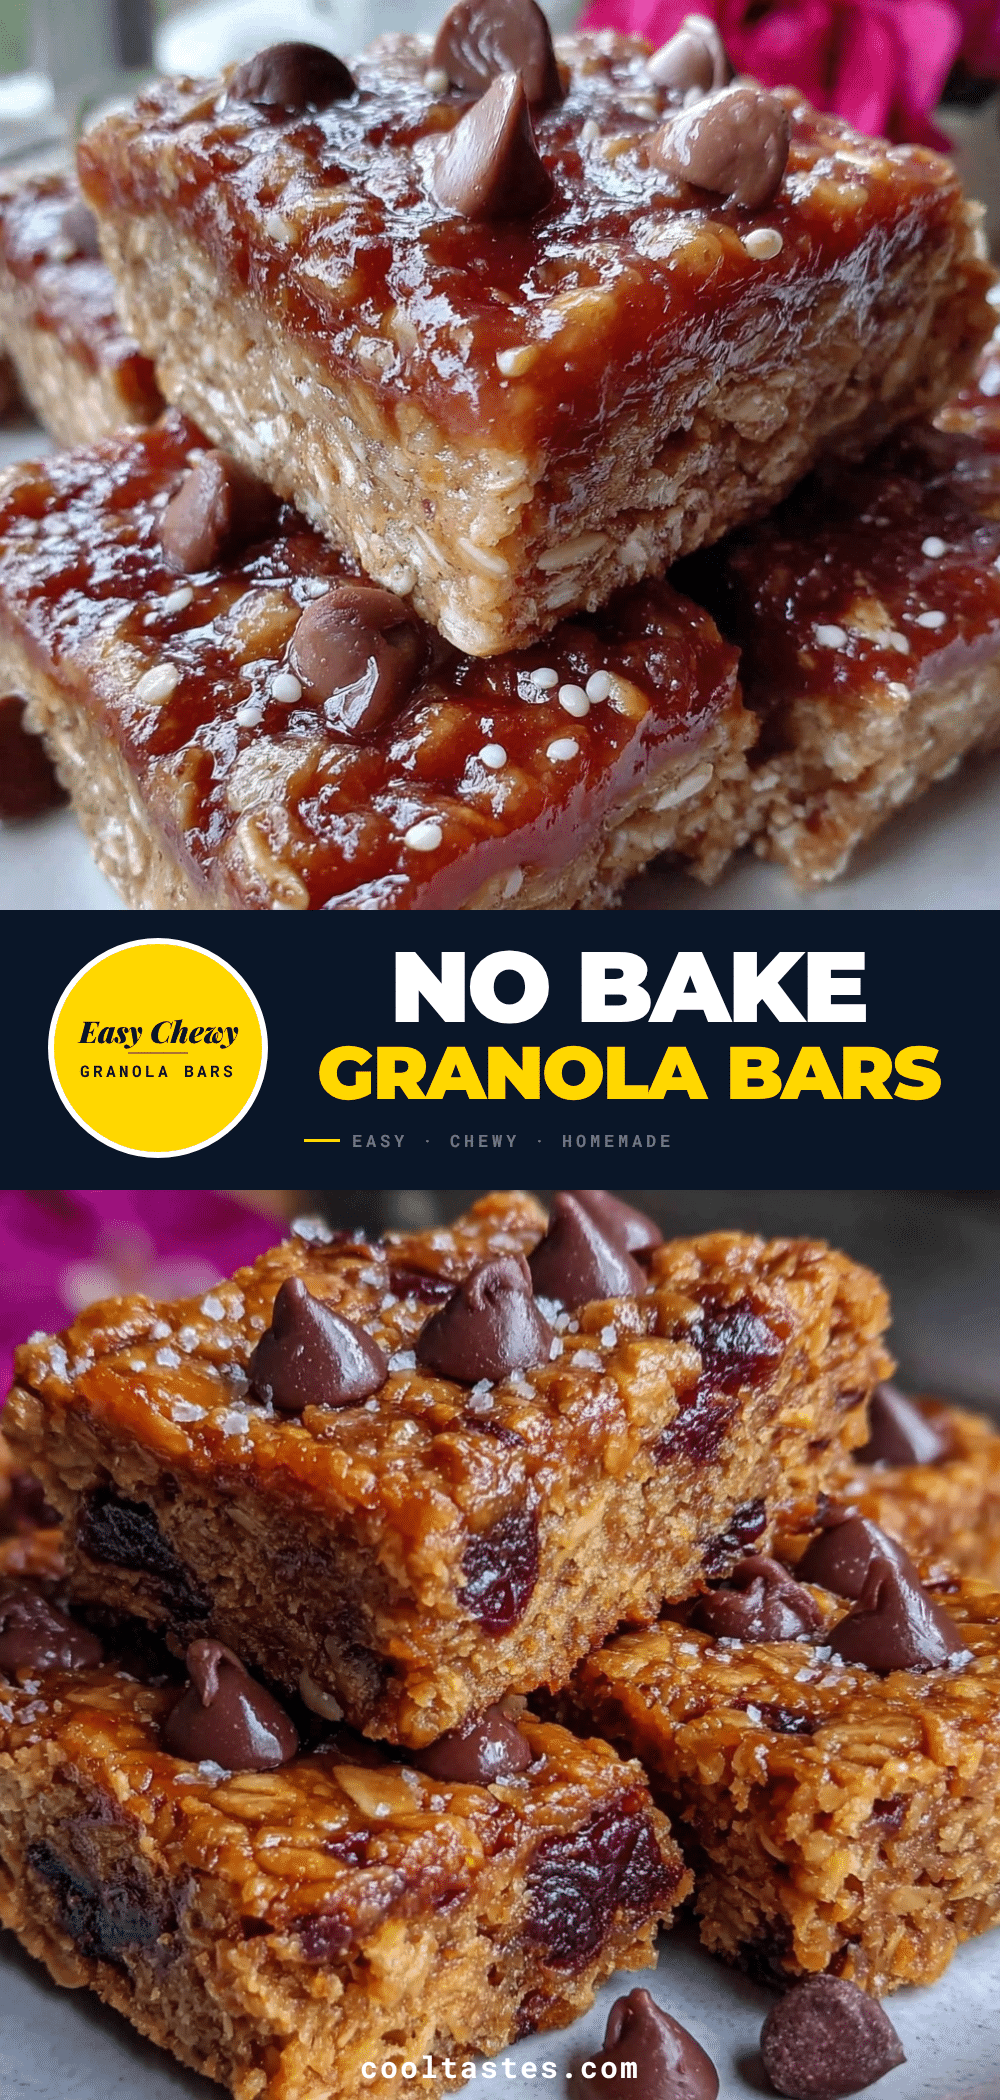
No Bake Granola Bars
Quick and easy no bake granola bars made with oats, nut butter, honey, and nuts for a wholesome, chewy snack perfect for on-the-go energy.
- Prep Time: 5 minutes
- Cook Time: 0 minutes
- Total Time: 1 hour 5 minutes
- Yield: 10-12 bars 1x
- Category: Snack
- Cuisine: American
Ingredients
- 2 cups old-fashioned rolled oats (about 180 g)
- 1 cup nut butter (peanut, almond, or cashew) (240 ml)
- 1/3 cup honey (113 g)
- 1 teaspoon vanilla extract
- 1/2 cup chopped nuts (almonds, walnuts, or pecans) (60 g)
- 1/4 cup mini chocolate chips (optional) (45 g)
- 2 tablespoons flaxseed meal or chia seeds
- Pinch of salt
Instructions
- Line an 8×8-inch (20×20 cm) baking pan with parchment paper, leaving some overhang for easy bar removal.
- Gently warm 1 cup nut butter and 1/3 cup honey in a microwave-safe bowl for 20-30 seconds, stirring until smooth. Alternatively, warm slowly in a small saucepan over low heat.
- In a large mixing bowl, combine 2 cups rolled oats, 1/2 cup chopped nuts, 2 tablespoons flaxseed meal or chia seeds, a pinch of salt, and 1/4 cup mini chocolate chips if using. Stir to distribute evenly.
- Pour the warm nut butter and honey mixture into the dry ingredients along with 1 teaspoon vanilla extract. Stir until fully coated and sticky. If too crumbly, add a teaspoon of honey or nut butter.
- Transfer the mixture into the prepared pan. Press firmly and evenly using a spatula or lightly dampened hands.
- Chill in the refrigerator for at least 1 hour to set.
- Lift the mixture out using parchment edges and cut into 10-12 bars or squares. Store in an airtight container in the fridge for up to a week or freeze for longer storage.
Notes
Warm the nut butter and honey to help bind the bars better. Press the mixture firmly into the pan to avoid crumbling. Chill bars for at least 1 hour before slicing. For quicker firming, chill in the freezer for 15 minutes. Customize by swapping nuts, adding dried fruit, or using seed butters for nut-free versions.
Nutrition
- Serving Size: 1 bar (if cut into 1
- Calories: 170
- Sugar: 8
- Sodium: 50
- Fat: 9
- Saturated Fat: 1
- Carbohydrates: 19
- Fiber: 3.5
- Protein: 5.5
Keywords: no bake granola bars, quick snack, healthy snack, easy granola bars, nut butter bars, homemade granola bars, no oven snack


