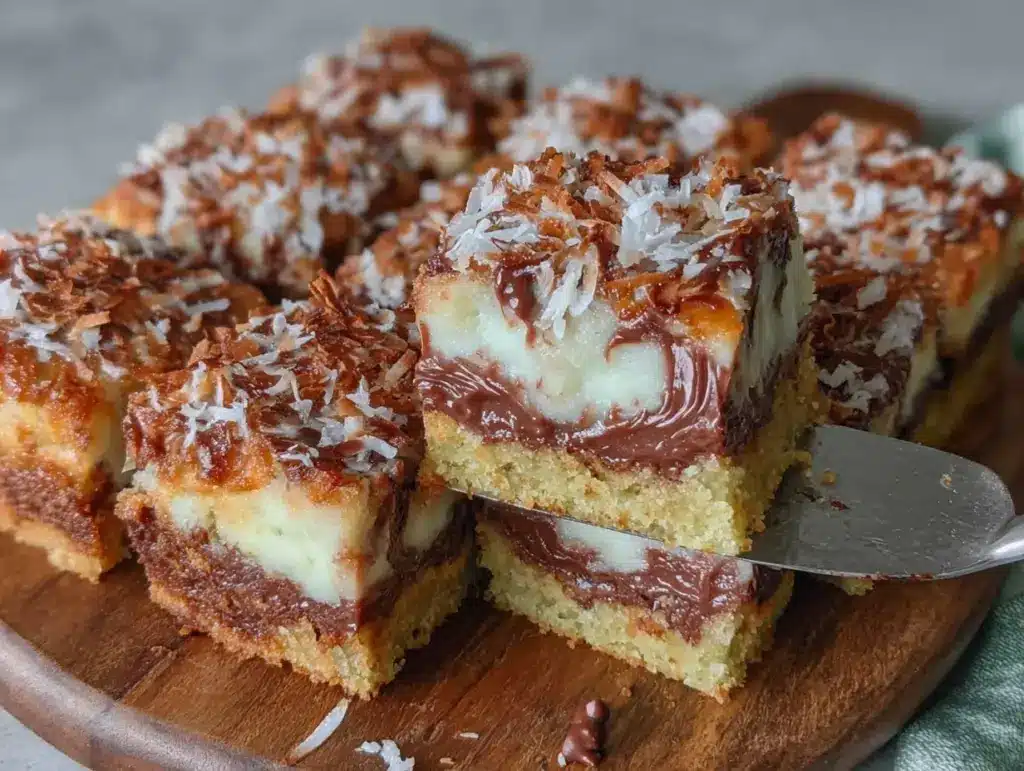
The moment I unwrap a bar of rich coconut chocolate, my kitchen fills with that sweet, tropical aroma mingling with deep cocoa notes — it’s like a mini vacation in every bite. I still remember the first time I made these Rich Coconut Chocolate Bars; it was a rainy afternoon when I craved something comforting yet a bit exotic. Honestly, I’d been experimenting with coconut in desserts, and this recipe came together almost by accident, but it quickly became a favorite for anyone lucky enough to try it.
These bars aren’t just your average chocolate treat. They combine creamy coconut layers with a luscious chocolate coating, creating a texture combo that’s both chewy and silky. If you’ve ever wished for a homemade candy bar that’s rich, satisfying, and just a little bit fancy without hours of fuss, this recipe is your new go-to. I’ve made these bars countless times, tweaking the coconut-to-chocolate ratio until it felt just right.
Whether you’re a chocolate lover looking for a new indulgence or someone searching for a quick, crowd-pleasing dessert for family movie nights, these Rich Coconut Chocolate Bars fit the bill perfectly. They’re also a fantastic option for a simple yet impressive homemade gift. So, if you’re ready to whip up a batch of bars that taste like a tropical dream wrapped in chocolate, let’s get started!
Why You’ll Love This Recipe
Having tested this recipe repeatedly, I can say with confidence it’s a keeper. Here’s why these Rich Coconut Chocolate Bars stand out:
- Quick & Easy: Ready in under 45 minutes, these bars suit busy days or last-minute cravings.
- Simple Ingredients: No complicated pantry hunts—just everyday staples like shredded coconut, chocolate, and sweetened condensed milk.
- Perfect for Any Occasion: Whether a casual snack, a potluck contribution, or a holiday treat, these bars hit the spot.
- Crowd-Pleaser: Kids, adults, coconut skeptics—everyone comes back for seconds.
- Unbelievably Delicious: The chewy, creamy coconut center pairs flawlessly with the bittersweet chocolate shell.
What sets this recipe apart is the way the coconut layer stays moist without being soggy, thanks to the right balance of condensed milk and shredded coconut. Plus, coating the bars in melted chocolate instead of just drizzling adds a gourmet touch that feels special but takes hardly any extra effort. I’ve tried versions with different chocolates, and using a dark chocolate blend really brings out the coconut’s natural sweetness without being overly sugary.
Honestly, these bars are the kind of treat you’ll want to make again once the plate’s empty. Something about that satisfying chew mixed with a rich chocolate snap just makes you close your eyes and savor every bite. If you love desserts that feel indulgent yet homemade, this recipe will quickly become a staple in your kitchen.
What Ingredients You Will Need
This recipe keeps things straightforward, focusing on ingredients that create a rich, chewy coconut center with a smooth chocolate coating. Most of these are pantry staples, so you likely have them on hand already.
- Shredded Coconut (Sweetened or Unsweetened): About 3 cups (240g). I prefer sweetened for extra moisture, but unsweetened works if you want to control sugar levels.
- Sweetened Condensed Milk: 1 cup (240ml). This binds the coconut while adding sweetness and creaminess.
- Vanilla Extract: 1 teaspoon. Adds warmth and depth to the coconut filling.
- Salt: A pinch. Balances the sweetness and enhances flavor.
- Chocolate (Semi-Sweet or Dark): 12 ounces (340g), chopped or chips. I recommend a quality brand like Ghirardelli for smooth melting and rich flavor.
- Coconut Oil or Butter: 1 tablespoon. Helps melt the chocolate smoothly and gives a glossy finish.
Optional but recommended:
- Flaked Coconut (Unsweetened): ½ cup (40g) for sprinkling on top, adds texture and extra coconut flavor.
- Nuts (Chopped Almonds or Pecans): ½ cup (60g), if you want a crunchy twist.
Feel free to swap the shredded coconut with finely chopped macadamia nuts for a nutty variation, or use dairy-free condensed milk alternatives to keep it vegan-friendly. Just keep in mind that ingredient quality really shines here—fresh coconut and good chocolate make all the difference.
Equipment Needed
- 8×8-inch Baking Pan: Standard size, lined with parchment paper for easy removal.
- Mixing Bowls: One medium bowl for the coconut mixture and another for melting chocolate.
- Spatula or Wooden Spoon: For mixing the coconut filling thoroughly.
- Double Boiler or Heatproof Bowl: To melt the chocolate gently without burning it. Alternatively, a microwave-safe bowl works if you melt chocolate in short bursts.
- Measuring Cups and Spoons: For accuracy—especially important with condensed milk and vanilla.
If you don’t have a double boiler, you can place a heatproof bowl over a pot of simmering water, stirring the chocolate until smooth. For budget-conscious cooks, a microwave is perfectly fine—just watch it closely! Using parchment paper to line your pan is a tip I swear by; it makes lifting the bars out a breeze and keeps the edges clean.
Preparation Method
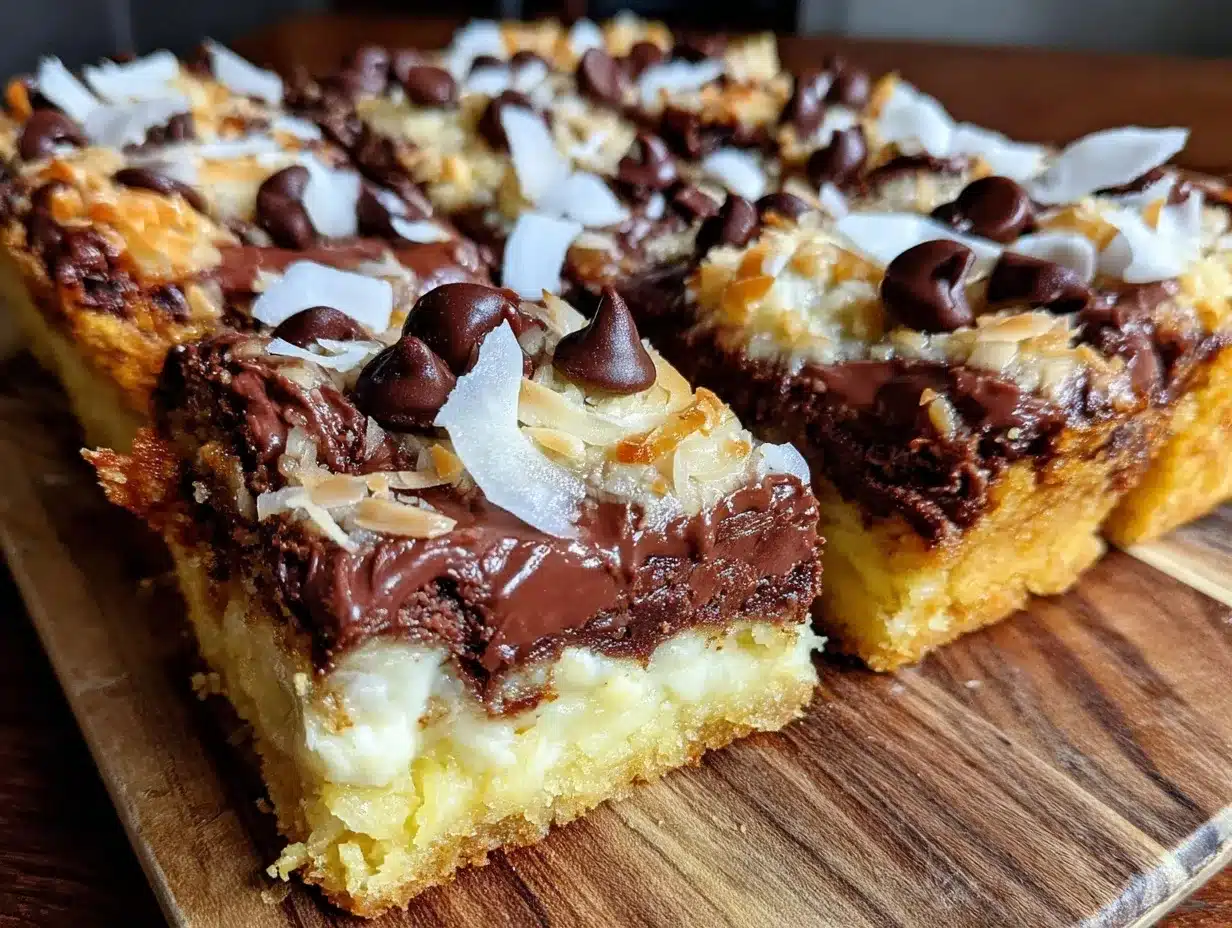
- Prepare Your Pan: Line an 8×8-inch (20×20 cm) baking pan with parchment paper, leaving an overhang on the sides for easy removal. Prepping this ahead saves cleanup headaches.
- Mix the Coconut Filling: In a medium bowl, combine 3 cups (240g) shredded coconut, 1 cup (240ml) sweetened condensed milk, 1 teaspoon vanilla extract, and a pinch of salt. Stir until everything is evenly coated and sticky. The mixture should hold together when pressed; if too dry, add a splash more condensed milk.
- Press the Mixture into the Pan: Transfer the coconut mixture into the prepared pan. Use a spatula or your hands to press it down firmly and evenly, creating a compact base. This helps the bars hold their shape after chilling.
- Chill the Coconut Layer: Place the pan in the refrigerator for at least 30 minutes. Cooling helps the coconut firm up, making it easier to coat with chocolate.
- Melt the Chocolate: While the coconut chills, melt 12 ounces (340g) of chopped semi-sweet or dark chocolate with 1 tablespoon of coconut oil or butter. Use a double boiler or microwave in 20-second bursts, stirring each time until silky smooth.
- Coat the Coconut Layer: Remove the pan from the fridge. Pour the melted chocolate evenly over the chilled coconut base, spreading with a spatula to cover all edges. If you like, sprinkle ½ cup (40g) flaked coconut or chopped nuts on top while the chocolate is still wet for extra texture.
- Final Chill: Return the pan to the fridge for at least 2 hours, or until the chocolate is completely set. This step is crucial for that satisfying snap when you bite into the bars.
- Cut and Serve: Use the parchment paper overhang to lift the set bars out of the pan. Cut into 12 squares with a sharp knife warmed under hot water for clean edges.
If the chocolate cracks while cutting, don’t worry—it still tastes amazing! I’ve learned that warming the knife helps make cleaner cuts, especially with thicker chocolate coatings. Plus, try to keep the bars refrigerated if you’re not serving immediately to keep that chocolate shell firm.
Cooking Tips & Techniques
Here are a few nuggets I’ve picked up from making these bars over and over:
- Choose the Right Coconut: I find sweetened shredded coconut works best for moist bars, but if you prefer less sugar, unsweetened is fine—just add a bit more condensed milk to compensate.
- Mix Thoroughly: Make sure every bit of coconut is coated with condensed milk. This prevents dry patches and keeps the texture chewy and delicious.
- Chill Before Chocolate: Don’t skip chilling the coconut layer. I tried skipping this once, and the chocolate never set properly. Patience pays off!
- Melting Chocolate: Use gentle heat to melt chocolate slowly. Overheating causes it to seize, becoming grainy and unusable. Stir constantly and remove from heat as soon as it’s mostly melted.
- Even Chocolate Layer: Pour the chocolate in one go and spread quickly to avoid streaks or uneven thickness. A quick hand here makes a big difference in presentation.
- Cutting Bars: Warm your knife under hot water and wipe dry before slicing. It makes clean cuts without cracking the chocolate.
One time, I accidentally used coconut flakes instead of shredded, and the bars felt a bit too chunky—lesson learned! Also, multitasking by melting chocolate while chilling the filling saves time, making the whole process feel streamlined.
Variations & Adaptations
These bars are really versatile, so here are some ways to customize them:
- Vegan Version: Use dairy-free sweetened condensed coconut milk and dark chocolate certified vegan. Coconut oil replaces butter for melting chocolate.
- Nutty Twist: Stir in ½ cup chopped almonds, pecans, or macadamia nuts into the coconut mixture for crunch and flavor contrast.
- Chocolate Swirl: Mix in white chocolate chips into the coconut layer or swirl melted white chocolate over the dark chocolate coating before it sets for a pretty marbled effect.
- Tropical Flair: Add ¼ cup dried pineapple or mango bits to the coconut filling for a fruity surprise.
- Spiced Coconut: Add ½ teaspoon ground cinnamon or a pinch of cayenne pepper for a subtle kick that complements the chocolate beautifully.
Personally, I love adding chopped pecans when making these for holiday gatherings—it adds a cozy, rustic vibe. If you want a gluten-free treat, rest assured this recipe is naturally gluten-free, so it’s great for guests with dietary restrictions.
Serving & Storage Suggestions
These Rich Coconut Chocolate Bars are best served chilled or at room temperature. I like to let them sit out for about 10 minutes before eating so the chocolate softens slightly but still retains that satisfying snap when you bite in.
For a simple presentation, arrange bars on a decorative plate or wrap them individually in parchment for gifting. They pair wonderfully with a cup of coffee or a creamy hot chocolate, making them perfect for cozy afternoons.
Store leftover bars in an airtight container in the refrigerator for up to one week. For longer storage, freeze them in a single layer on a baking sheet, then transfer to a freezer-safe container or bag for up to 3 months. Thaw in the fridge overnight before serving.
Flavors actually deepen and meld a bit after a day or two, so these bars taste even better a day after making. Just remember to keep them chilled to avoid melting, especially if your kitchen’s warm.
Nutritional Information & Benefits
Each Rich Coconut Chocolate Bar contains approximately:
| Calories | 220-250 kcal |
|---|---|
| Fat | 15g |
| Carbohydrates | 22g |
| Protein | 3g |
| Sugar | 18g |
Thanks to the shredded coconut, these bars provide a good source of healthy fats and dietary fiber. Using dark chocolate adds antioxidants and reduces sugar compared to milk chocolate options. If you swap in unsweetened coconut and vegan condensed milk, you can keep these bars lower in sugar and dairy-free.
As someone mindful of balancing indulgence with nutrition, I appreciate that these bars deliver that rich chocolatey satisfaction without overloading on artificial ingredients or preservatives. Just a little treat that feels homemade and wholesome.
Conclusion
There’s something truly special about making your own Rich Coconut Chocolate Bars from scratch—each bite is a little moment of joy wrapped in tropical and chocolatey goodness. This recipe hits that sweet spot between easy and impressive, making it a favorite to whip up whenever I need a quick treat or a homemade gift that looks and tastes amazing.
I encourage you to play around with the variations and make it your own. Whether you add nuts, spice it up, or keep it classic, these bars never fail to bring smiles. Personally, I always find myself sneaking an extra piece after a long day—it’s just that comforting.
If you try this recipe, I’d love to hear how you customize your bars or any tips you discover along the way. Don’t hesitate to share your thoughts or questions below—let’s keep the chocolate love flowing!
FAQs About Rich Coconut Chocolate Bars
Can I use unsweetened shredded coconut instead of sweetened?
Yes, you can. Just add a bit more sweetened condensed milk or a touch of honey to balance the sweetness since unsweetened coconut is less sweet.
How do I prevent the chocolate from melting too soft?
Make sure to chill the bars thoroughly in the refrigerator after coating with chocolate. Also, store them in a cool place to keep the chocolate firm and prevent melting.
Can I make these bars ahead of time?
Definitely! They keep well in the fridge for up to a week and freeze beautifully for up to 3 months.
Is there a gluten-free version of this recipe?
Yes, the recipe is naturally gluten-free since it doesn’t use any flour or gluten-containing ingredients.
What’s the best chocolate to use for coating?
I recommend semi-sweet or dark chocolate with at least 60% cocoa for a rich flavor that balances the sweetness of the coconut filling.
If you’re looking for other comforting recipes to enjoy alongside your coconut chocolate bars, you might appreciate the cozy vibes of loaded potato soup or the creamy goodness of easy creamy tomato soup. Both pair beautifully with a sweet treat for a complete cozy day at home.
Pin This Recipe!
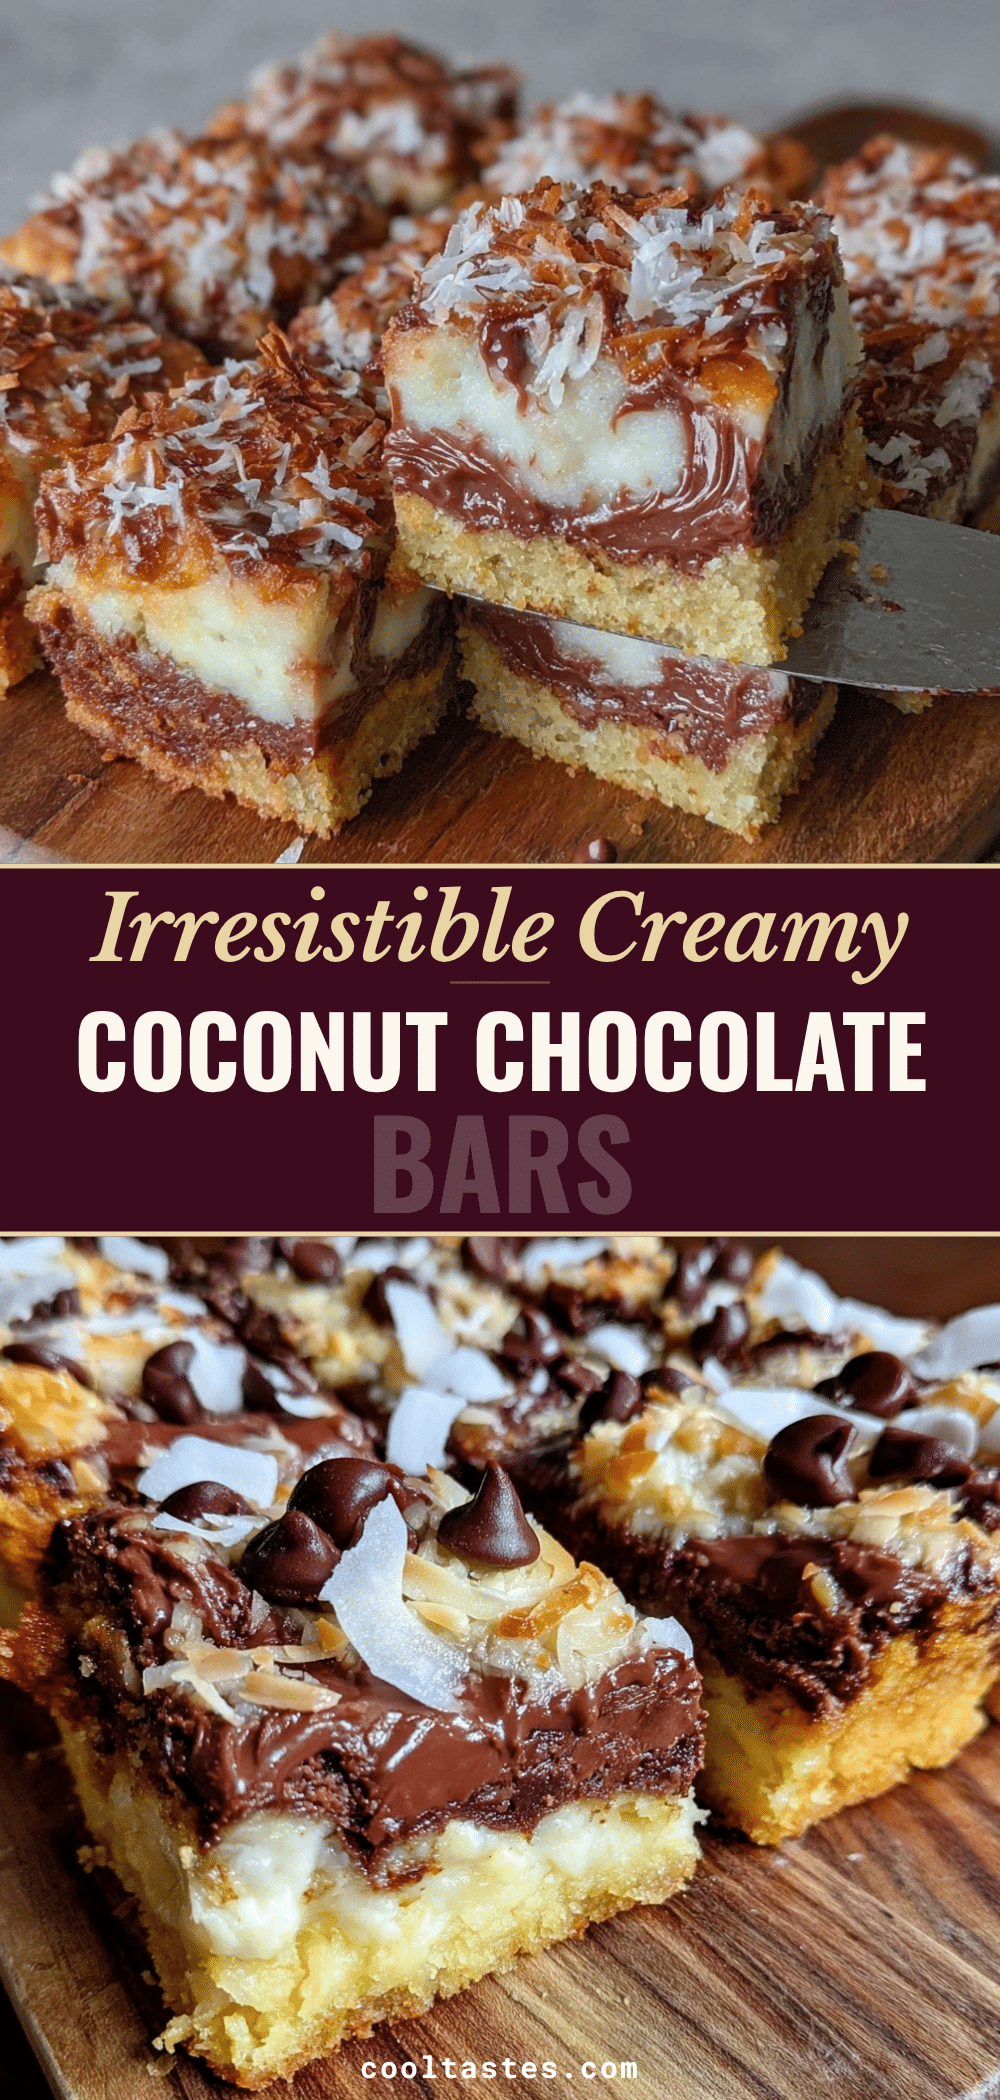
Rich Coconut Chocolate Bars
These Rich Coconut Chocolate Bars combine creamy coconut layers with a luscious chocolate coating, creating a chewy and silky texture perfect for chocolate lovers. Quick and easy to make, they are ideal for snacks, gifts, or dessert.
- Prep Time: 15 minutes
- Cook Time: 30 minutes
- Total Time: 45 minutes
- Yield: 12 bars 1x
- Category: Dessert
- Cuisine: American
Ingredients
- 3 cups (240g) shredded coconut (sweetened or unsweetened)
- 1 cup (240ml) sweetened condensed milk
- 1 teaspoon vanilla extract
- A pinch of salt
- 12 ounces (340g) semi-sweet or dark chocolate, chopped or chips
- 1 tablespoon coconut oil or butter
- Optional: ½ cup (40g) flaked coconut (unsweetened) for sprinkling
- Optional: ½ cup (60g) chopped almonds or pecans
Instructions
- Line an 8×8-inch (20×20 cm) baking pan with parchment paper, leaving an overhang on the sides for easy removal.
- In a medium bowl, combine shredded coconut, sweetened condensed milk, vanilla extract, and a pinch of salt. Stir until evenly coated and sticky. Add more condensed milk if too dry.
- Press the coconut mixture firmly and evenly into the prepared pan.
- Chill the coconut layer in the refrigerator for at least 30 minutes.
- Melt the chocolate with coconut oil or butter using a double boiler or microwave in short bursts, stirring until smooth.
- Pour the melted chocolate evenly over the chilled coconut base and spread with a spatula. Sprinkle flaked coconut or chopped nuts on top if desired.
- Return the pan to the refrigerator for at least 2 hours until the chocolate is completely set.
- Lift the bars out using the parchment paper overhang and cut into 12 squares with a knife warmed under hot water for clean edges.
Notes
Use sweetened shredded coconut for moist bars or unsweetened with extra condensed milk to control sugar. Chill the coconut layer before coating with chocolate to ensure the chocolate sets properly. Warm the knife before cutting for clean edges. Store bars refrigerated or freeze for longer storage.
Nutrition
- Serving Size: 1 bar (1/12th of rec
- Calories: 235
- Sugar: 18
- Sodium: 40
- Fat: 15
- Saturated Fat: 10
- Carbohydrates: 22
- Fiber: 2
- Protein: 3
Keywords: coconut chocolate bars, homemade candy bars, easy dessert, chocolate coconut bars, chewy coconut bars, chocolate treat