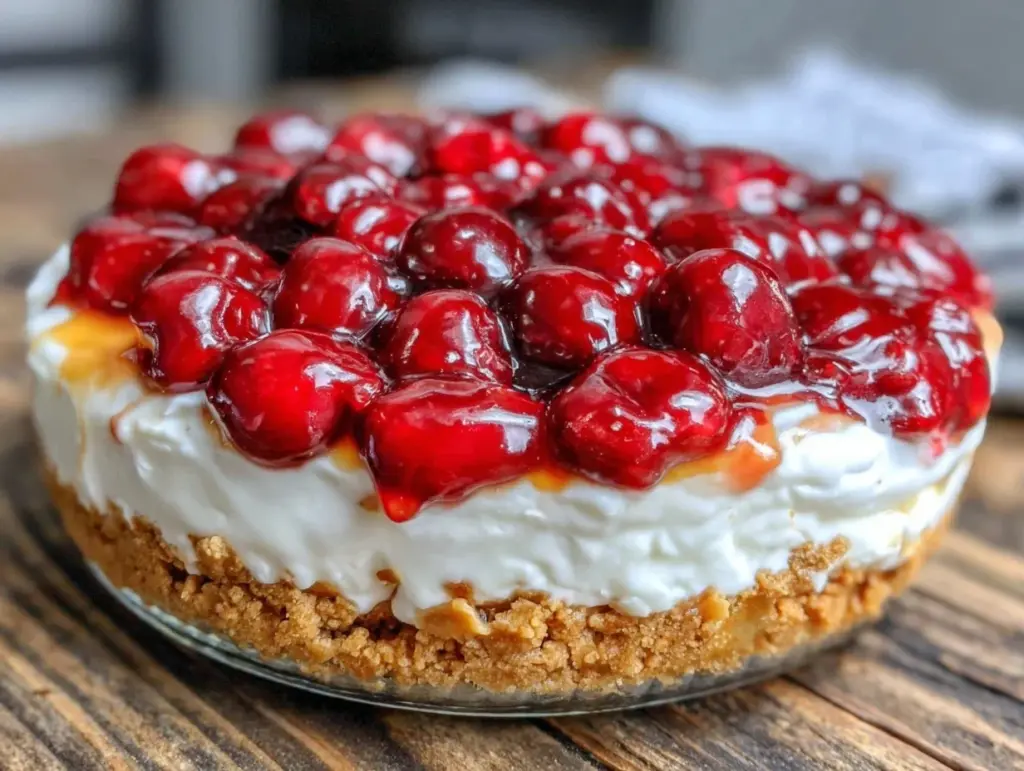
The first time I made this no bake cheesecake recipe, it was a last-minute save for a family gathering. I remember staring at my fridge, realizing the oven was out of commission, and panic starting to set in. But honestly, this easy make-ahead dessert saved the day. The creamy, tangy filling paired with a buttery graham cracker crust instantly won over everyone’s hearts without breaking a sweat in the kitchen. It’s funny how some of the best recipes come from those “uh-oh” moments, isn’t it?
Since then, this no bake cheesecake has become my go-to for busy days when I want impressive dessert vibes without the fuss. I’ve made it countless times, tweaking it just a bit here and there, but the core is always the same: simple ingredients, quick prep, and a dessert that tastes like it needed hours of baking. If you’ve been intimidated by cheesecake before, or just don’t want to wait around for an oven, this recipe is going to be your new best friend.
Whether you’re feeding a crowd or just treating yourself to some indulgence, this no bake cheesecake offers that perfect balance of rich cream cheese flavor and light texture. Plus, it’s fantastic for busy families, last-minute guests, or anyone who loves a dessert you can make ahead and relax with. After testing this recipe multiple times, I’m confident it’ll become a staple in your dessert rotation, too.
Why You’ll Love This Recipe
When it comes to easy desserts, this no bake cheesecake really shines. Here’s why I keep coming back to it:
- Quick & Easy: Ready in just 20 minutes of hands-on time, then chill. Perfect for those busy evenings when you want something sweet without the hassle.
- Simple Ingredients: No fancy or hard-to-find items here — just pantry staples like cream cheese, graham crackers, and a touch of sugar.
- Make-Ahead Friendly: This cheesecake actually tastes better after chilling overnight, making it ideal for parties or prepping in advance.
- Crowd-Pleaser: Kids, adults, picky eaters — everyone’s a fan. It’s creamy, smooth, and just the right amount of sweetness.
- Customizable: Add fresh berries, chocolate drizzle, or even a swirl of caramel for your own twist.
What really sets this no bake cheesecake apart is how effortlessly creamy it is without any baking or complicated steps. The secret is whipping the cream cheese until it’s silky smooth and folding in just the right amount of whipped cream to keep it light but luscious. This texture combo makes it feel totally indulgent but without the heaviness you sometimes get with baked cheesecakes.
Honestly, it’s the kind of dessert that makes you close your eyes after the first bite—comfort food that doesn’t require hours in the kitchen. Plus, it’s versatile enough to impress guests or make a regular weeknight feel special. If you want an easy dessert that feels homemade and thoughtful, this recipe is a winner every time.
What Ingredients You Will Need
This no bake cheesecake uses straightforward, wholesome ingredients to deliver a rich and creamy dessert that’s surprisingly simple to pull off. Most are pantry staples, so you likely have everything on hand already.
- For the crust:
- 1 ½ cups graham cracker crumbs (about 10–12 full crackers, crushed finely)
- 5 tablespoons unsalted butter, melted (adds richness and helps the crust set)
- 2 tablespoons granulated sugar (balances the buttery flavor)
- For the cheesecake filling:
- 16 oz (450 g) cream cheese, softened (I prefer Philadelphia brand for smooth texture)
- 1 cup powdered sugar, sifted (for easy blending and smooth sweetness)
- 1 teaspoon pure vanilla extract (quality vanilla makes a big difference here)
- 1 cup heavy whipping cream, cold (whipped to soft peaks for lightness)
- Optional: 1 tablespoon lemon juice (adds a subtle tang and brightness)
- For topping ideas:
- Fresh berries like strawberries, blueberries, or raspberries
- Chocolate shavings or a drizzle of chocolate sauce
- Caramel or fruit preserves (adds a beautiful touch of flavor and color)
If you want to switch things up, you can use almond flour instead of graham crackers for a gluten-free crust or swap the heavy cream with coconut cream for a dairy-free option. Just make sure the cream cheese is softened well to avoid lumps in the filling. I’ve found that small-curd cream cheese tends to give the best smooth consistency.
Equipment Needed
- 9-inch (23 cm) springform pan or pie dish — springform is easier for removal but a pie dish works fine
- Mixing bowls — one large for the filling, one medium for whipping cream
- Electric mixer or stand mixer — essential for whipping the cream cheese and cream to the right texture
- Spatula — for folding whipped cream gently into the filling
- Measuring cups and spoons for accuracy
- Food processor or plastic bag and rolling pin to crush graham crackers (if you don’t have a food processor)
If you don’t own a springform pan, no worries — line your pie dish with parchment paper for easier slicing and serving. For whipping, a hand mixer works great and saves your arm from tiring out. I once tried whipping by hand and honestly, it took forever and wasn’t as fluffy, so I’d recommend the electric route if you can.
Preparation Method

- Prepare the crust (10 minutes): In a bowl, combine the graham cracker crumbs, melted butter, and sugar. Stir until the mixture is evenly moistened. Press firmly into the bottom of your 9-inch springform pan or pie dish, making sure it’s compact and even. Chill in the fridge while you make the filling to help it set.
- Soften the cream cheese (if not already): Take the cream cheese out of the fridge about 30 minutes before starting, or microwave in 10-second bursts until just softened but not melted. This helps avoid lumps and ensures a smooth filling.
- Make the filling (15 minutes): Using an electric mixer, beat the softened cream cheese until creamy and smooth, about 2-3 minutes. Gradually add the powdered sugar and vanilla extract, mixing until well combined and velvety.
- Whip the cream: In a separate chilled bowl, whip the heavy cream to soft peaks — it should hold shape but still be creamy. This step is crucial for that light, airy cheesecake texture.
- Fold the whipped cream into the cream cheese mixture: Using a spatula, gently fold the whipped cream into the cream cheese base in batches. Avoid overmixing — you want to keep as much air as possible for a fluffy finish.
- Pour the filling over the crust: Smooth the top with an offset spatula or the back of a spoon. Cover loosely with plastic wrap.
- Chill for at least 4 hours, preferably overnight: This allows the cheesecake to firm up properly and the flavors to meld beautifully.
- Add toppings before serving: Fresh berries, chocolate drizzle, or caramel sauce all work wonderfully here. If you want a fancier touch, sprinkle some crushed nuts or edible flowers.
Quick tip: If you find the crust isn’t sticking well, try baking it for 5 minutes at 350°F (175°C) before adding the filling. It’s not necessary but can help if your crust feels crumbly. Also, don’t rush the chilling — that’s what transforms this from a simple mixture into a dreamy, sliceable dessert.
Cooking Tips & Techniques
From my many attempts, here are some tips that really make this no bake cheesecake shine:
- Softening cream cheese: Be patient with this step. Cold or lumpy cream cheese will ruin your smooth texture. Room temp or just slightly warmed is perfect.
- Whip cream properly: Whip to soft peaks, not stiff or runny. Overwhipping can turn it into butter, and underwhipping won’t give the lightness you want.
- Folding technique: Use a gentle folding motion to keep air in the mixture. A quick stir will deflate the whipped cream, making the cheesecake dense.
- Chill time: Don’t skimp on chilling. I’ve learned the hard way that cutting into it too soon leads to a runny mess. Overnight chilling is best.
- Crust press: Press your crust firmly with the back of a spoon or bottom of a glass — this prevents crumbling when slicing.
One memorable flop was when I tried to speed things up by using cold cream cheese straight from the fridge. The filling ended up lumpy and just not enjoyable. Since then, I always plan ahead to soften it properly. Also, multitasking helps: I prepare the crust while the cream cheese comes to room temp, saving time without rushing.
Variations & Adaptations
This no bake cheesecake is a fantastic base for flavor experiments. Here are some variations I’ve tried and loved:
- Fruit Swirl: Fold in ½ cup of pureed strawberries or blueberries before chilling for a pretty, fruity marbled effect.
- Chocolate Lover’s: Add ¼ cup melted dark chocolate to the filling and sprinkle shaved chocolate on top. You can also switch the graham crust for an Oreo crust for extra chocolate punch.
- Nutty Crunch: Mix chopped toasted pecans or almonds into the crust or sprinkle on top for texture contrast.
- Seasonal Flavors: Add pumpkin puree and a pinch of cinnamon and nutmeg for fall vibes, or a splash of coconut extract for tropical flair.
- Dairy-Free Option: Use dairy-free cream cheese and coconut cream whipped to soft peaks. The crust can be made with vegan butter or coconut oil.
Personally, I love a classic version topped with fresh raspberries and a drizzle of honey for a simple, elegant touch. If you enjoy hearty soups, pairing this dessert after a bowl of the loaded potato soup makes for a perfectly balanced meal that’s cozy and satisfying.
Serving & Storage Suggestions
Serve this no bake cheesecake chilled, right out of the fridge. The texture is at its best when cold and firm but still creamy. For presentation, a few fresh berries or a mint leaf on each slice adds a pop of color and freshness.
This cheesecake pairs really well with a cup of coffee or a light dessert wine, making it a great finale for dinner parties or casual family meals.
To store, cover the cheesecake tightly with plastic wrap or place it in an airtight container. It keeps well in the fridge for up to 4 days. You can also freeze it for up to 1 month — just thaw overnight in the fridge before serving. The texture might soften slightly after freezing, but it’s still delicious.
Interestingly, the flavors tend to deepen and mellow the longer it chills, so if you make it a day ahead, you’ll notice a richer taste. Just be mindful to add fresh toppings right before serving to keep them vibrant.
Nutritional Information & Benefits
This no bake cheesecake is a moderately indulgent treat but can be part of a balanced diet when enjoyed in moderation. A typical slice (1/10 of the cheesecake) contains approximately:
| Calories | Fat | Carbohydrates | Protein |
|---|---|---|---|
| 320 kcal | 24 g | 20 g | 5 g |
The cream cheese provides a good source of calcium and protein, while the heavy cream adds richness. Using natural vanilla extract avoids artificial flavors. For those needing gluten-free options, substituting the crust with almond flour or gluten-free crackers works well.
As a nutrition coach, I appreciate how this recipe balances indulgence with simplicity. It’s a dessert that feels special yet doesn’t overload on sugars or additives. You could even add fresh fruit toppings for additional vitamins and antioxidants.
Conclusion
This no bake cheesecake recipe is truly a lifesaver for anyone craving a delicious, fuss-free dessert. It requires minimal effort, uses simple ingredients, and tastes like something you’d find in a fancy bakery. Whether you’re preparing for a last-minute celebration or just want a make-ahead dessert for a busy week, it fits the bill perfectly.
Feel free to customize with your favorite toppings or mix-ins to make it your own. I still remember the first time I served this at a family dinner and how everyone kept asking for seconds — that warm feeling of sharing something homemade is priceless.
If you try this recipe, I’d love to hear how it turned out or what variations you made! Drop a comment below or share your photos. Your feedback always makes my day and helps others discover easy, tasty recipes like this one.
Happy no baking and even happier eating!
FAQs About No Bake Cheesecake
Can I use low-fat cream cheese for this recipe?
Yes, but keep in mind that low-fat cream cheese may result in a less creamy and slightly tangier filling. Full-fat cream cheese gives the best texture and flavor.
How long should I chill the cheesecake before serving?
At least 4 hours is necessary for it to set, but overnight chilling is ideal for the best texture and flavor.
Can I make this cheesecake gluten-free?
Absolutely! Swap the graham cracker crust for almond flour or gluten-free cookie crumbs to keep it gluten-free.
What’s the best way to store leftover cheesecake?
Keep it covered in the fridge for up to 4 days or freeze for up to a month. Thaw in the fridge before serving.
Can I add fruit inside the cheesecake filling?
Yes! Gently fold in pureed or finely chopped fruit before chilling for a fresh, fruity twist.
Pin This Recipe!
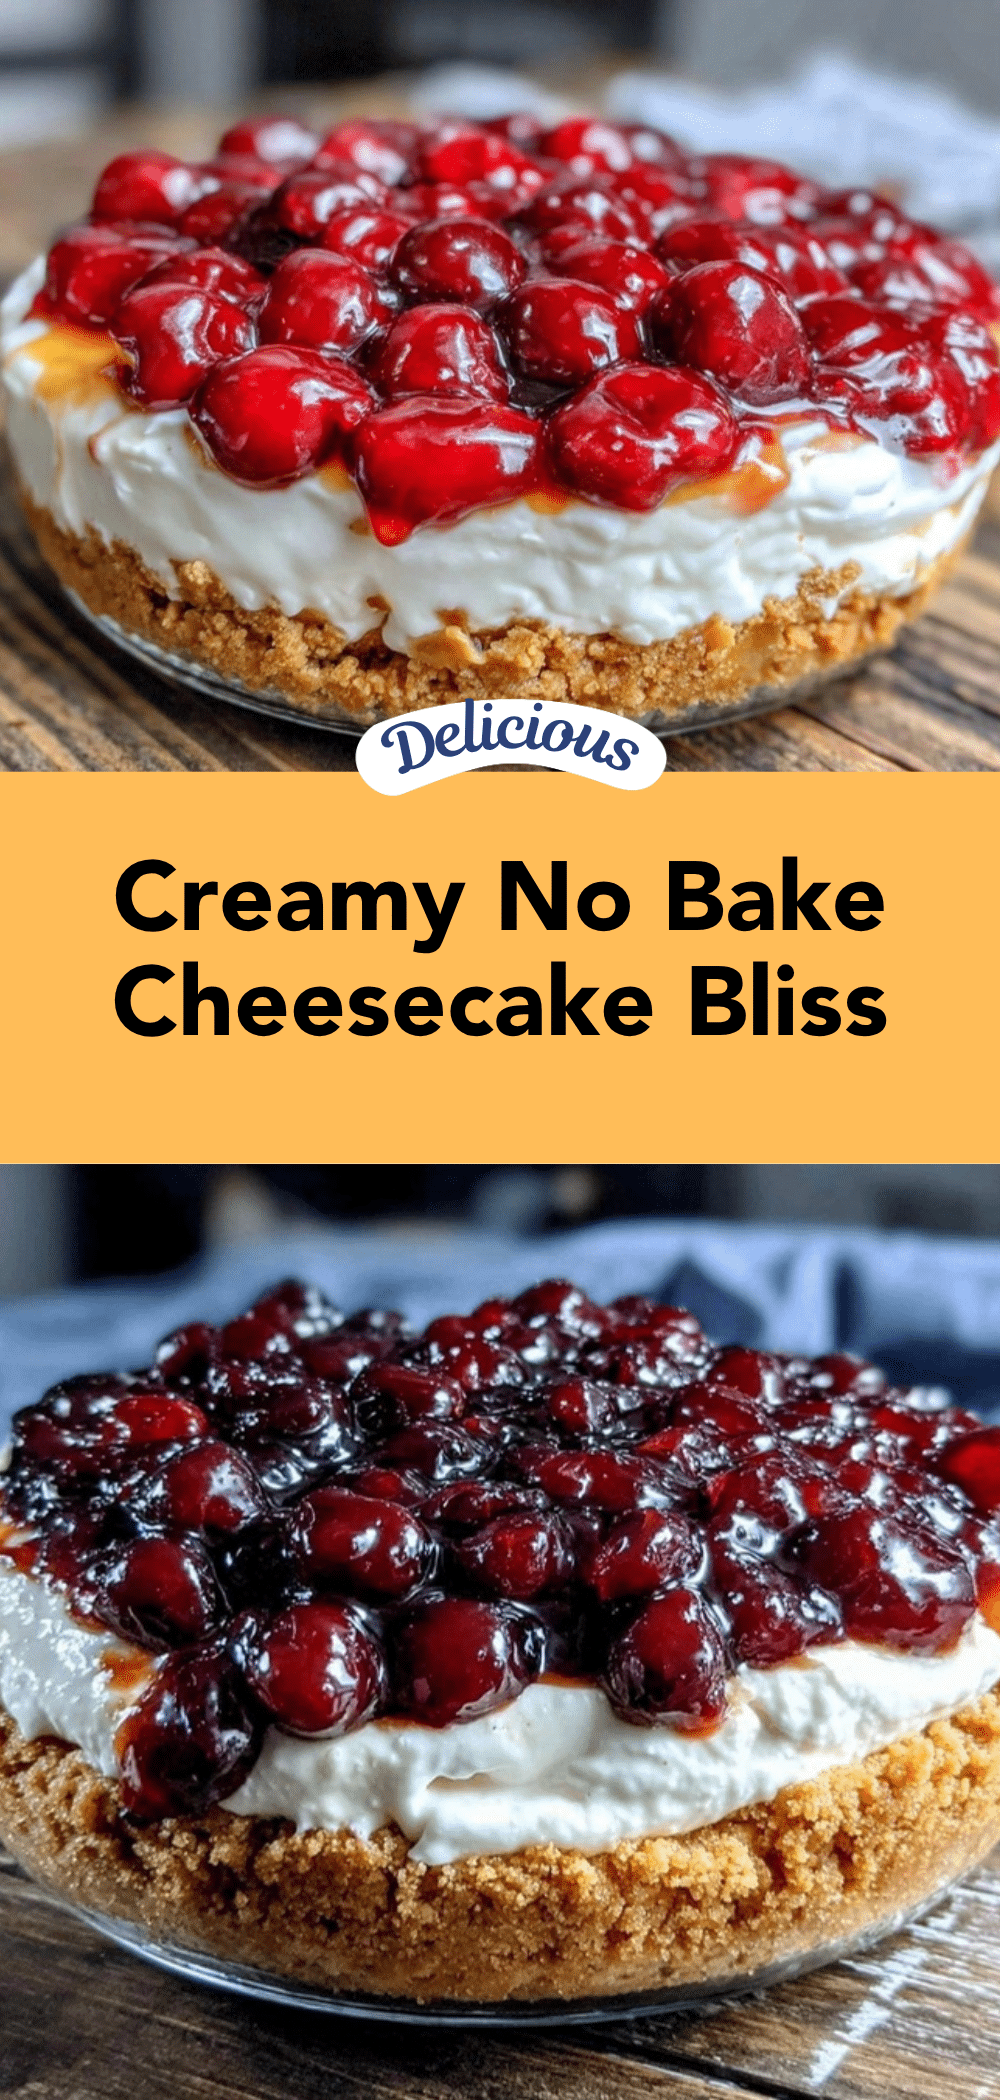
No Bake Cheesecake Recipe Easy Make Ahead Dessert for Busy Days
An easy, creamy no bake cheesecake with a buttery graham cracker crust, perfect for busy days and make-ahead dessert needs. This recipe requires minimal effort and delivers rich, smooth flavor without baking.
- Prep Time: 20 minutes
- Cook Time: 0 minutes
- Total Time: 4 hours 20 minutes
- Yield: 10 servings 1x
- Category: Dessert
- Cuisine: American
Ingredients
- 1 ½ cups graham cracker crumbs (about 10–12 full crackers, crushed finely)
- 5 tablespoons unsalted butter, melted
- 2 tablespoons granulated sugar
- 16 oz (450 g) cream cheese, softened
- 1 cup powdered sugar, sifted
- 1 teaspoon pure vanilla extract
- 1 cup heavy whipping cream, cold
- Optional: 1 tablespoon lemon juice
- Optional toppings: fresh berries (strawberries, blueberries, raspberries), chocolate shavings or drizzle, caramel or fruit preserves
Instructions
- Prepare the crust (10 minutes): In a bowl, combine the graham cracker crumbs, melted butter, and sugar. Stir until evenly moistened. Press firmly into the bottom of a 9-inch springform pan or pie dish, making sure it’s compact and even. Chill in the fridge while making the filling.
- Soften the cream cheese about 30 minutes before starting or microwave in 10-second bursts until just softened but not melted.
- Make the filling (15 minutes): Using an electric mixer, beat the softened cream cheese until creamy and smooth, about 2-3 minutes. Gradually add powdered sugar and vanilla extract, mixing until well combined and velvety.
- Whip the heavy cream in a separate chilled bowl to soft peaks.
- Gently fold the whipped cream into the cream cheese mixture in batches using a spatula, avoiding overmixing to keep it fluffy.
- Pour the filling over the crust and smooth the top. Cover loosely with plastic wrap.
- Chill for at least 4 hours, preferably overnight, to allow the cheesecake to firm up and flavors to meld.
- Add desired toppings before serving, such as fresh berries, chocolate drizzle, or caramel sauce.
Notes
If crust is crumbly, bake for 5 minutes at 350°F before adding filling (optional). Soften cream cheese properly to avoid lumps. Whip cream to soft peaks, not stiff. Fold whipped cream gently to keep air in mixture. Chill overnight for best texture and flavor. For gluten-free crust, substitute almond flour. For dairy-free, use dairy-free cream cheese and coconut cream.
Nutrition
- Serving Size: 1 slice (1/10 of che
- Calories: 320
- Fat: 24
- Carbohydrates: 20
- Protein: 5
Keywords: no bake cheesecake, easy cheesecake, make ahead dessert, graham cracker crust, creamy cheesecake, quick dessert, no oven dessert


